
Xinjiang Duku Highway Guide | Bikepacking & Camping
Translated from the article republished with the author’s permission from Bikepacking diary (流浪者日誌). Originally published on September 18, 2019: Duku Highway Guide: Bikepacking & Camping.
Editor’s note: This translation preserves the author’s experiences and opinions from the original trip. It is a historical travel account, not an up-to-date travel advisory. Road openings, travel documents, accommodation eligibility, bicycle transport, prices and equipment specifications may have changed. Confirm current requirements with the relevant authorities and operators before departure. The author’s document advice concerns a traveler from Taiwan and should not be assumed to apply to other nationalities. Assess drinking-water treatment and camping locations against current safety conditions and local rules. Distances, elevations and kilometer markers are retained from the source and have not been independently verified; the source contains some inconsistent figures.
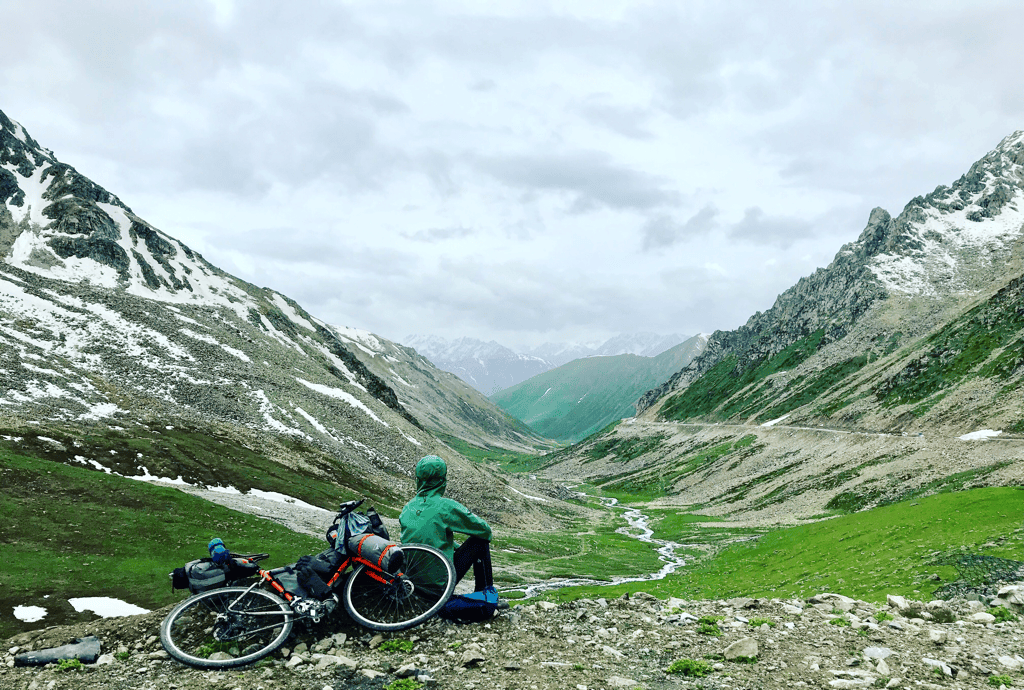
The Tian Shan mountains stretch for 2,500 kilometers and span some 300 kilometers in width, crossing central Xinjiang, Kyrgyzstan and Uzbekistan and extending into Kazakhstan. They form the largest mountain range in Central Asia. Among these seemingly endless peaks, the highest is Tomur Peak, at 7,443 meters.
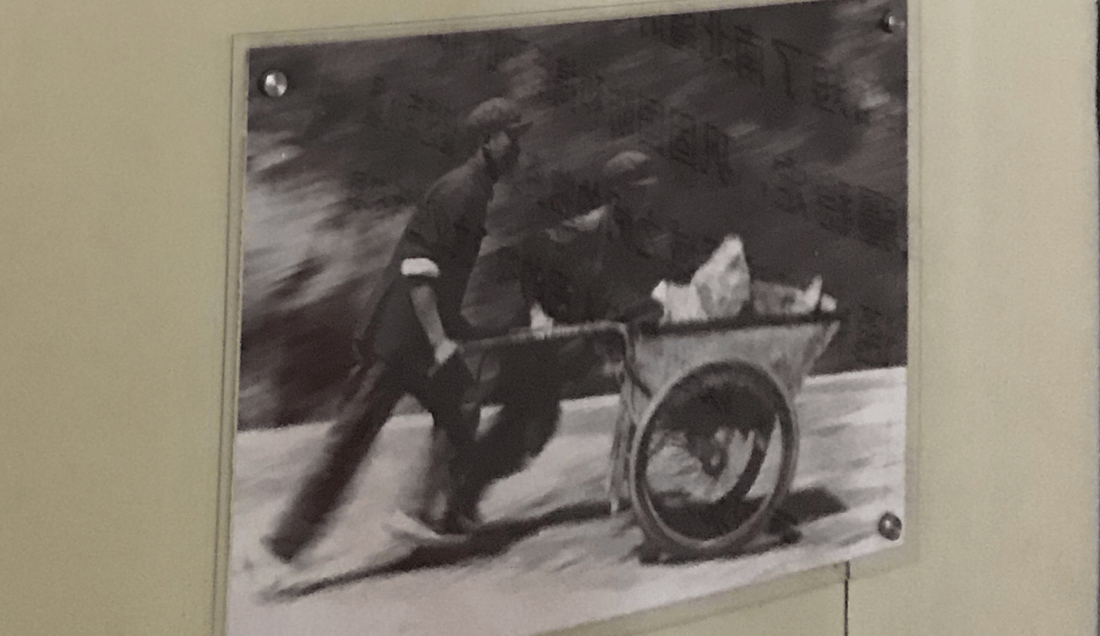
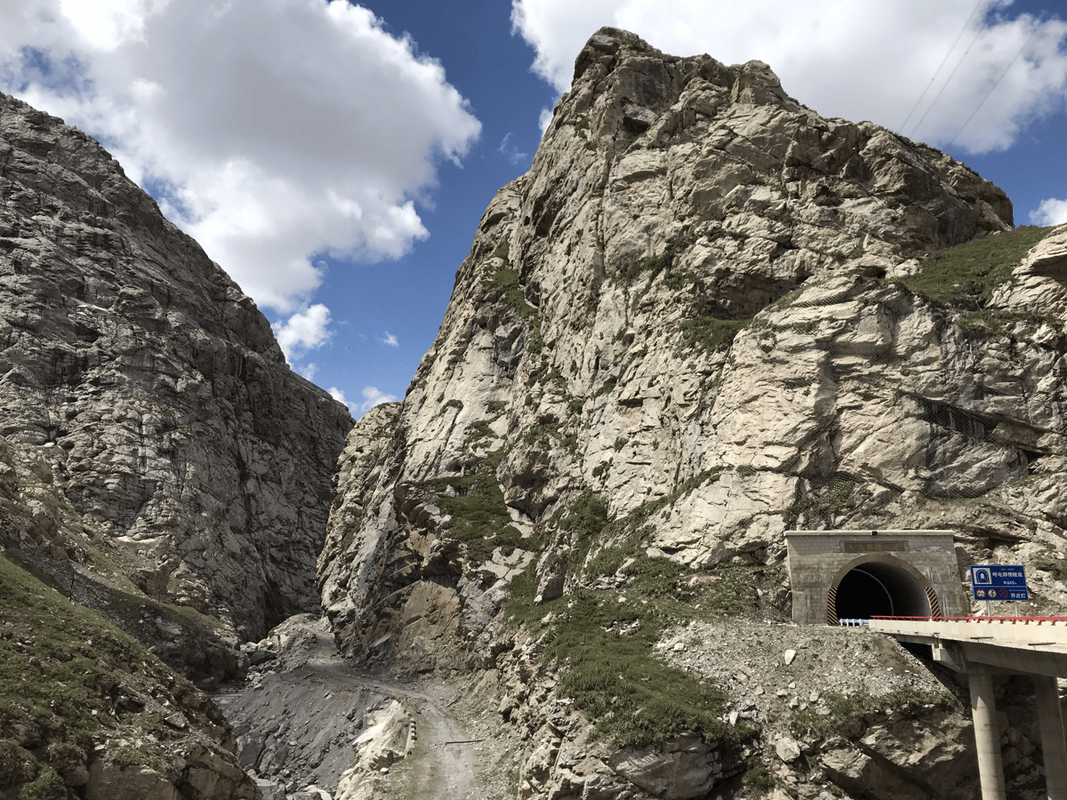
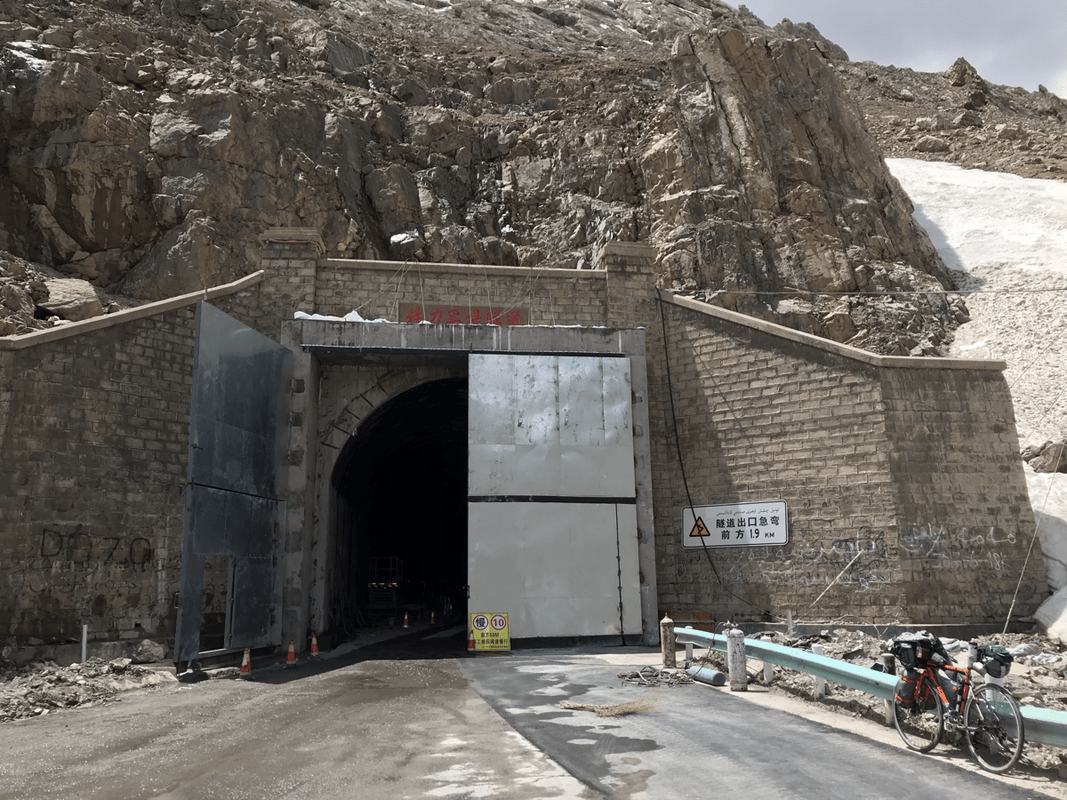
The Duku Highway was originally built as a military defense road. Running from Dushanzi in the north to Kuqa in the south, it covers more than 560 kilometers. Construction took nine years, and 168 people lost their lives to avalanches and landslides; the youngest was just 16. It is a sobering example of the human and financial cost of forcing a passage through the mountains. The road crosses four passes around 3,000 meters high. The 3,390-meter Hashilegen Tunnel was once China’s highest tunnel.
Without this highway, traveling between northern and southern Xinjiang would mean an extra 500 kilometers. Beyond its military purpose, tourism has become one of its main uses. During the June-to-October opening season described in this account, visitors arrive for scenery that has earned it a reputation as one of China’s most beautiful roads.
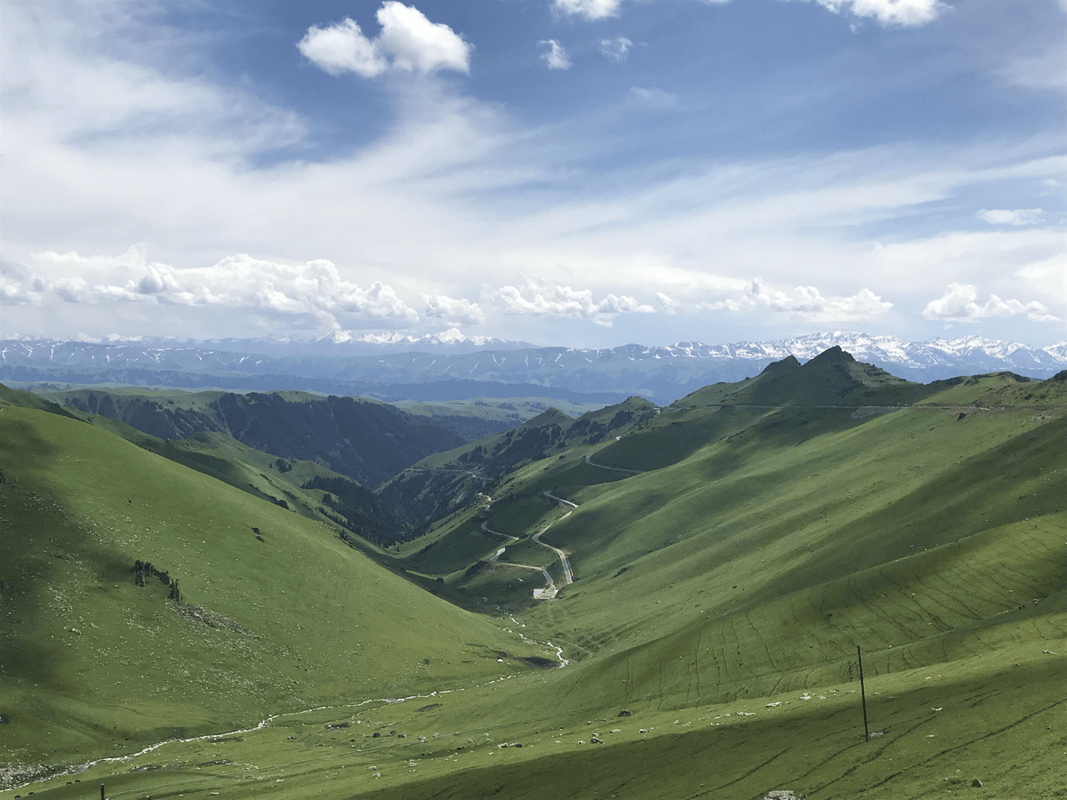
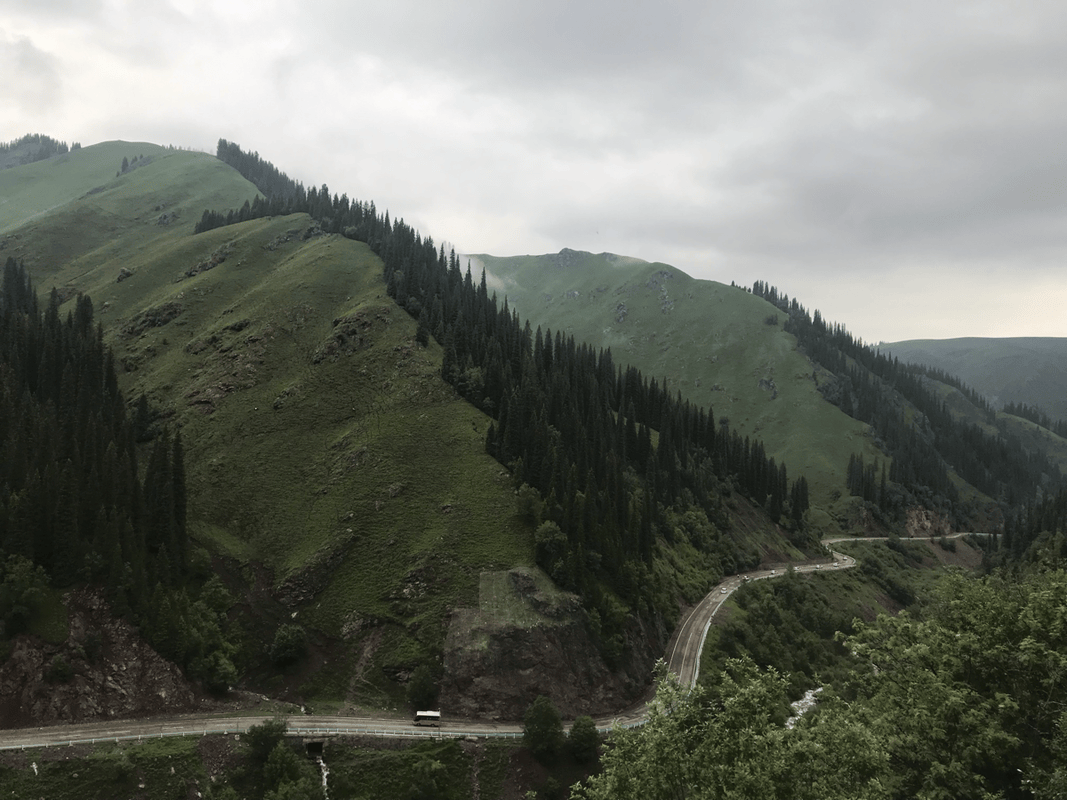
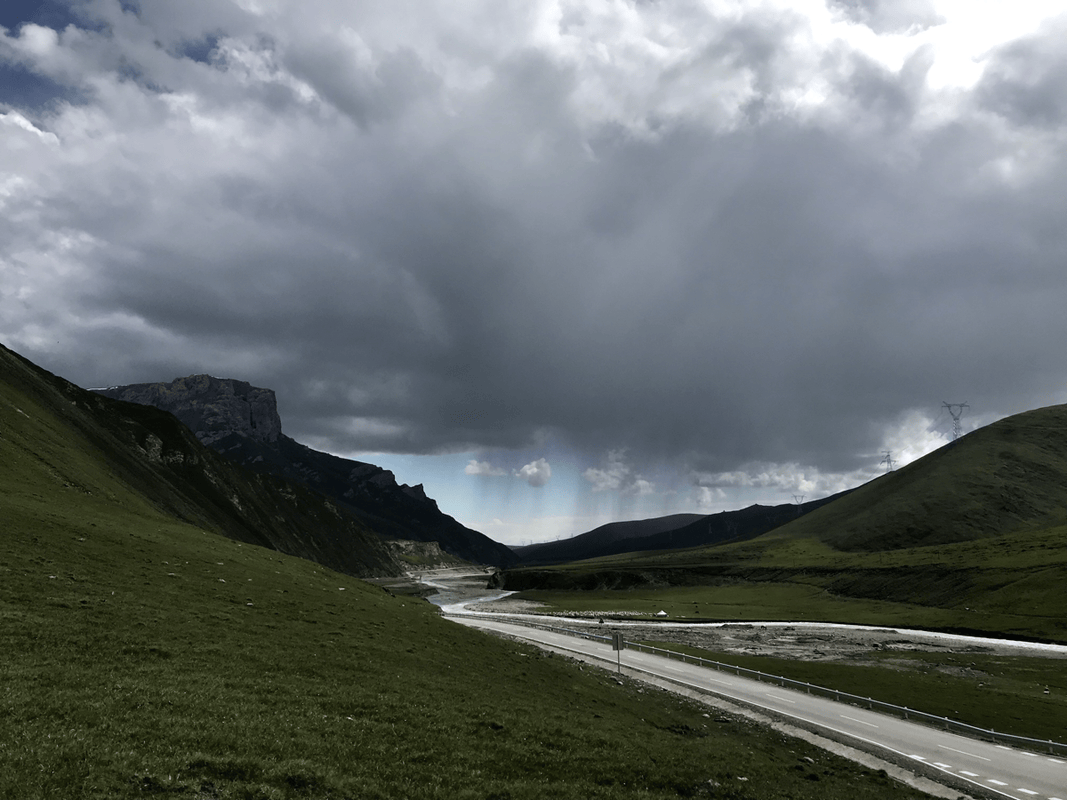
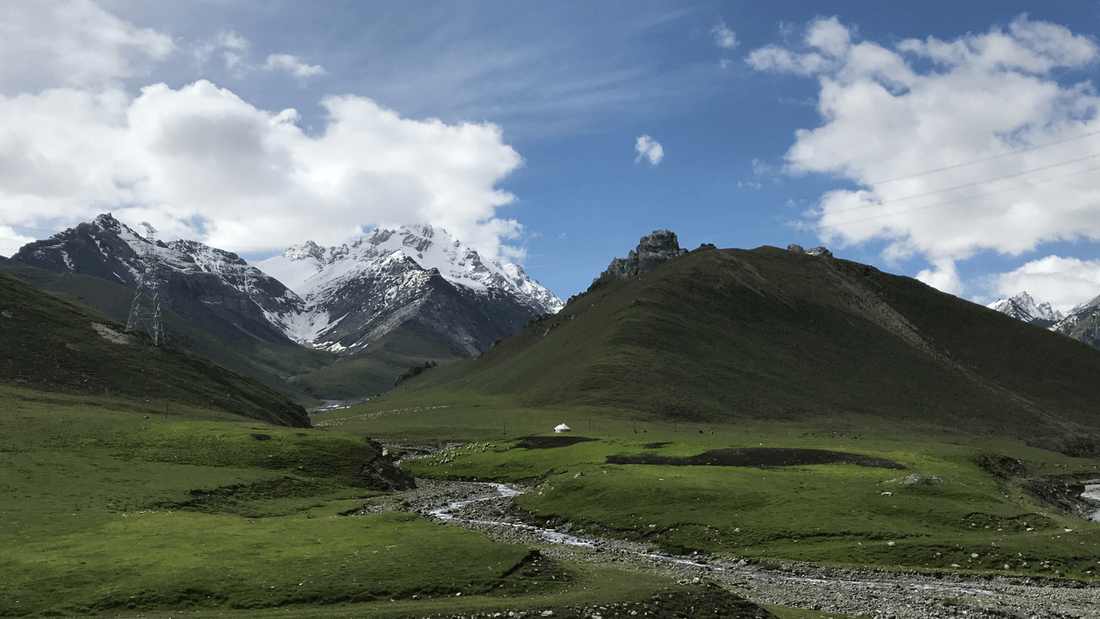
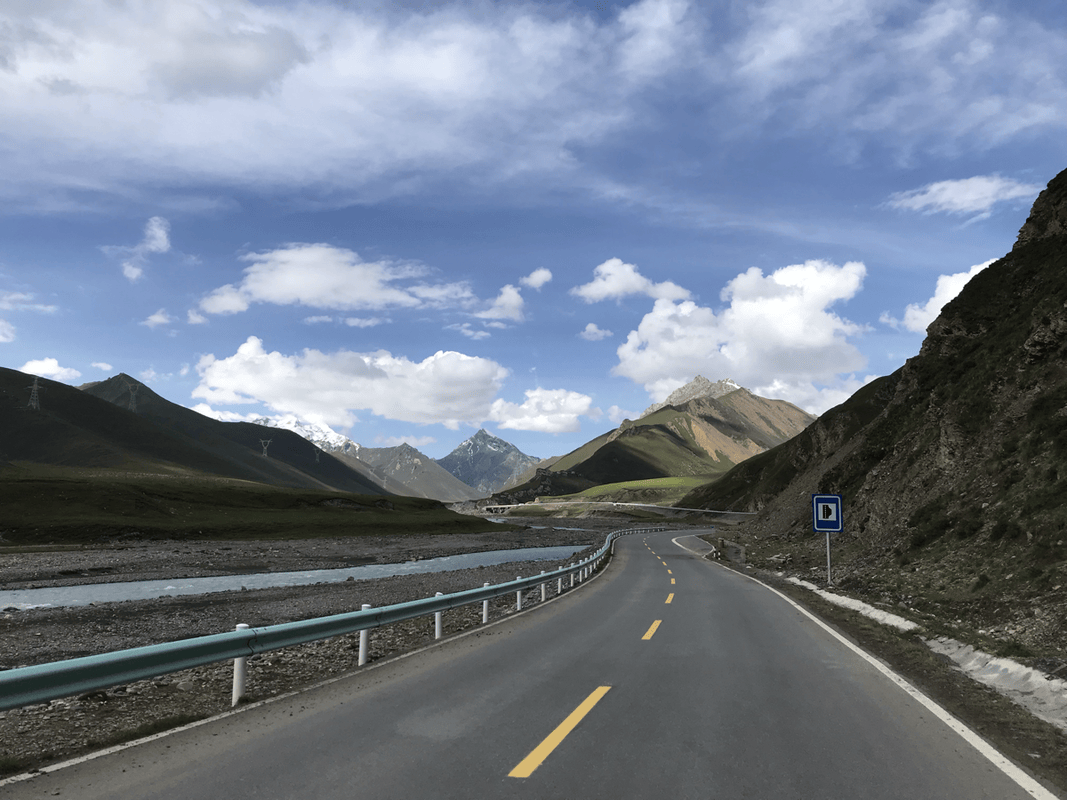
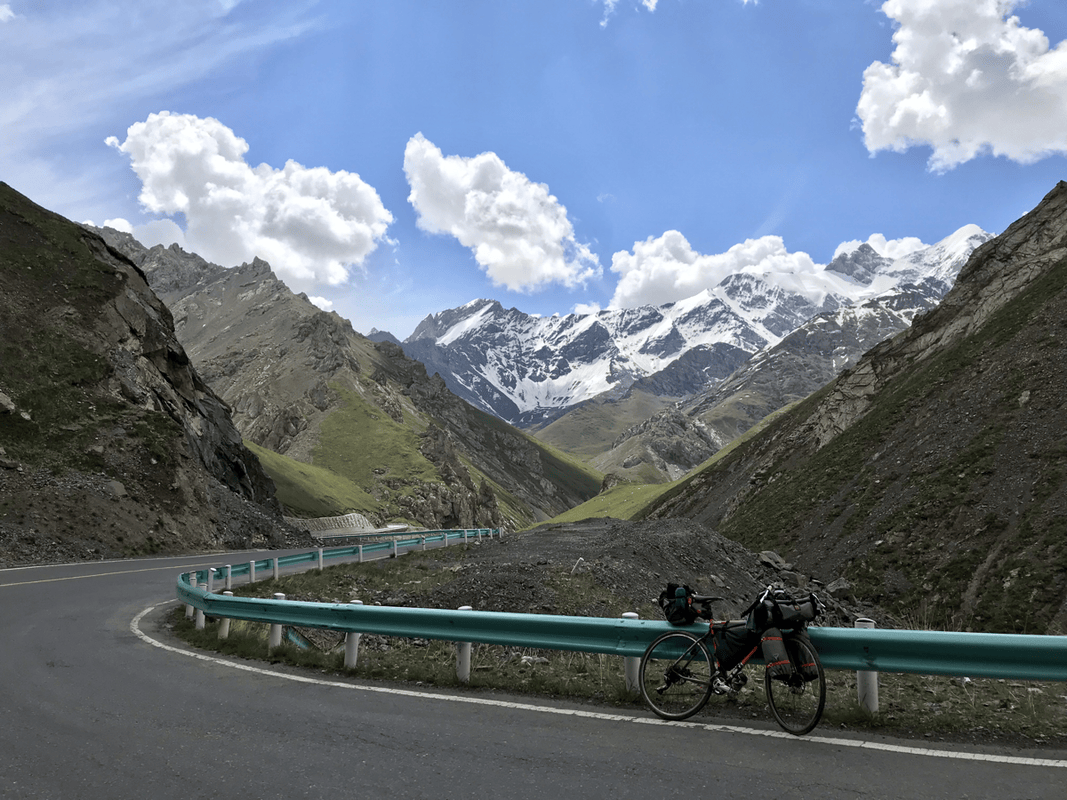
Starting at Dushanzi, the road follows the Kuitun River valley into mountains that look straight out of a martial-arts novel. As you climb, snow-covered peaks surround you. Beyond them lie the seemingly endless Bayinbuluke grasslands, where the openness of China’s second-largest grassland makes your own world feel bigger. Farther on, the mountains become rugged and bare, with dramatic formations rising from the ground, a world apart from the snowy scenery earlier in the ride. This road reveals nature’s extraordinary variety and scale.
People say the Duku Highway has everything Tibet’s Highway 318 has, and more. I have not ridden Highway 318, but Duku certainly left a deep impression on me. A typical itinerary takes about six days. With daylight from around 6 a.m. until after 10 p.m., there are roughly 16 hours to ride, and I found food and accommodation reasonably accessible. In my experience, even a slower beginner could complete it. Still, I recommend taking longer to appreciate it. I spent ten days here and wanted more. The route notes below build on a commonly used six-day plan, with extra places to explore and linger.
Travel Documents
For my trip as a traveler from Taiwan, I needed my Mainland Travel Permit for Taiwan Residents. Some places near the border required a separate border permit, but I did not use one on this trip, so I cannot offer firsthand advice about that process.
I kept my permit with me and easy to reach because checkpoints were frequent. Usually, after I explained that I was from Taiwan, staff took me inside, checked my permit and asked where I had been and where I planned to go. The people I encountered were friendly. I treated the stops as breaks, ate something while waiting and asked for water refills. Be respectful and take security checks seriously. I did not photograph checkpoints, both because photography was prohibited and because I was concerned about my phone being checked. Also, slow down for the speed bumps before checkpoints: they are large and unforgiving.
Getting There
Urumqi has an international airport, but there were no direct flights from Taiwan when I traveled. Connecting through mainland China involved uncertainties about transfers, baggage and bicycle charges, so I flew Korean Air via Korea to Urumqi. It cost more, but reduced some of the hassle.
Once there, I discovered that sending a bicycle by rail freight could be convenient. Another possibility was to fly to a major mainland city and send the bike on to Urumqi. Other travelers told me that major stations often had freight services, prices were reasonable and bicycles could arrive at about the same time as their owners. This seemed a practical and economical option at the time.
Accommodation and Travel Apps
I used local apps such as Qunar and Ctrip to look for accommodation and special rates. One important issue on my trip was finding hotels willing and authorized to accommodate travelers from Taiwan, Hong Kong or Macau. The restrictions I encountered in Xinjiang were strictly enforced, and properties without the relevant authorization generally would not take me. For travel information, I used Qyer and Mafengwo; for rides, I used DiDi.
Equipment
The Bike
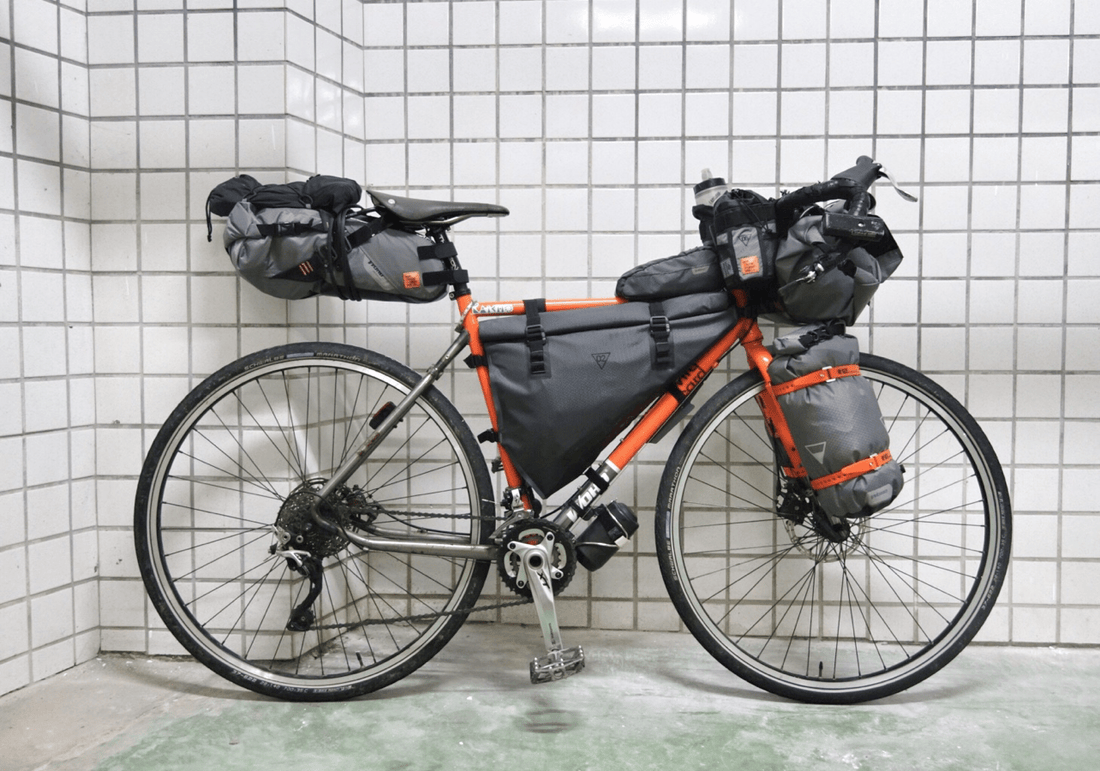
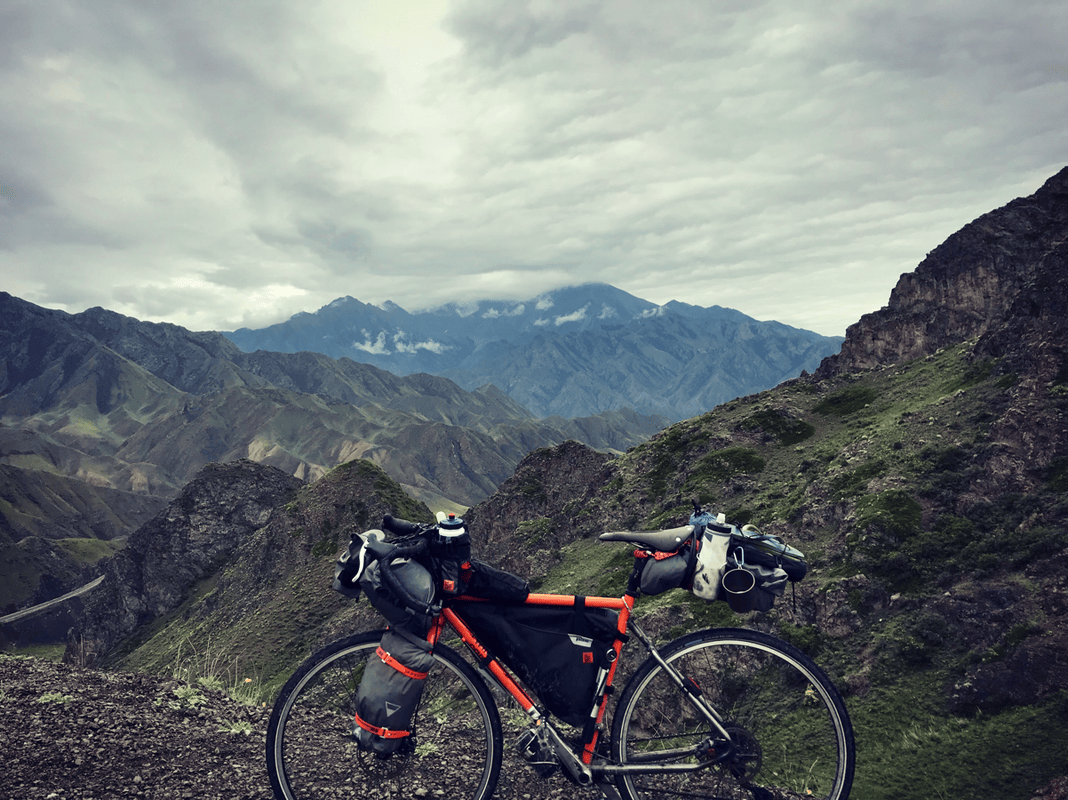
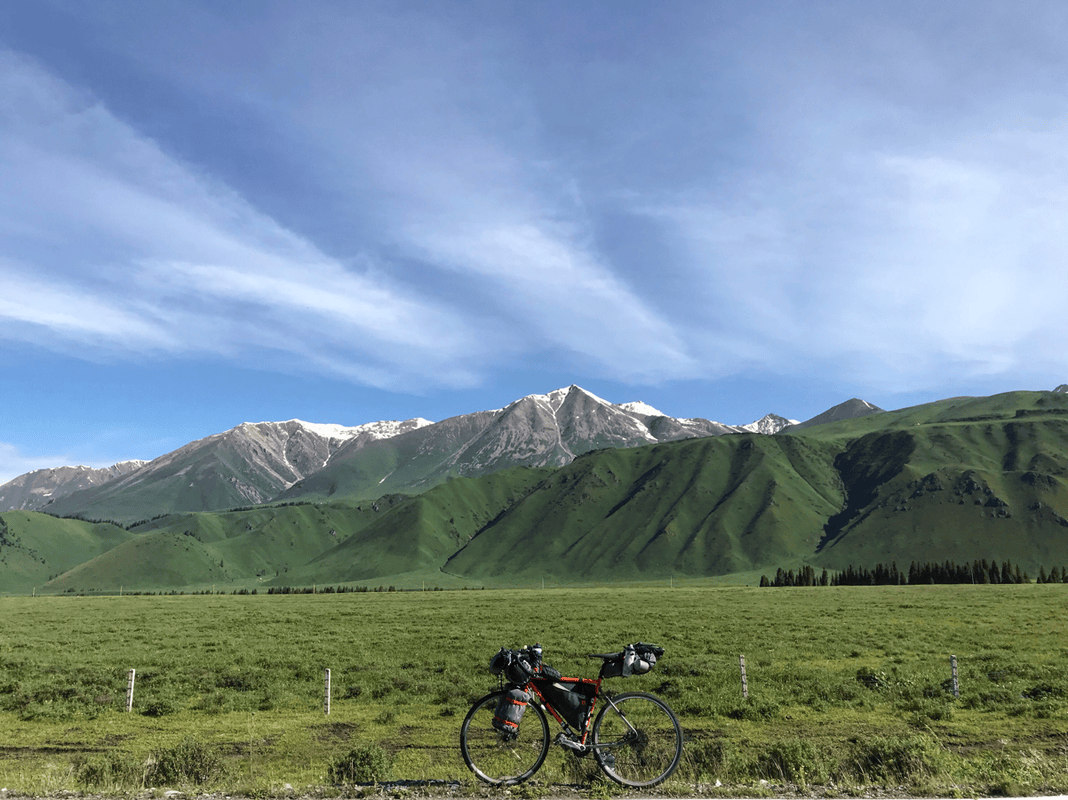
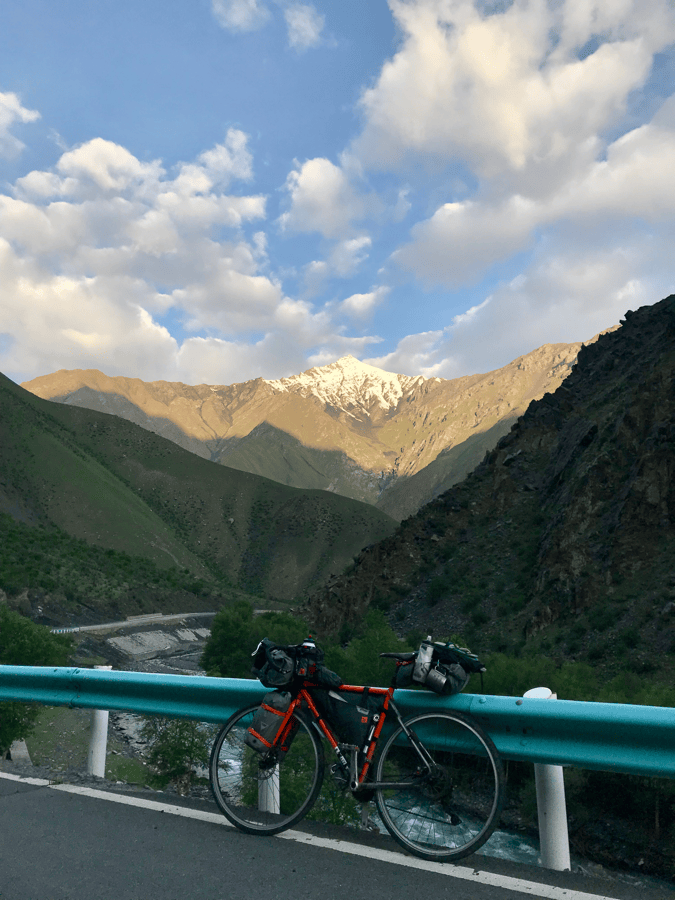
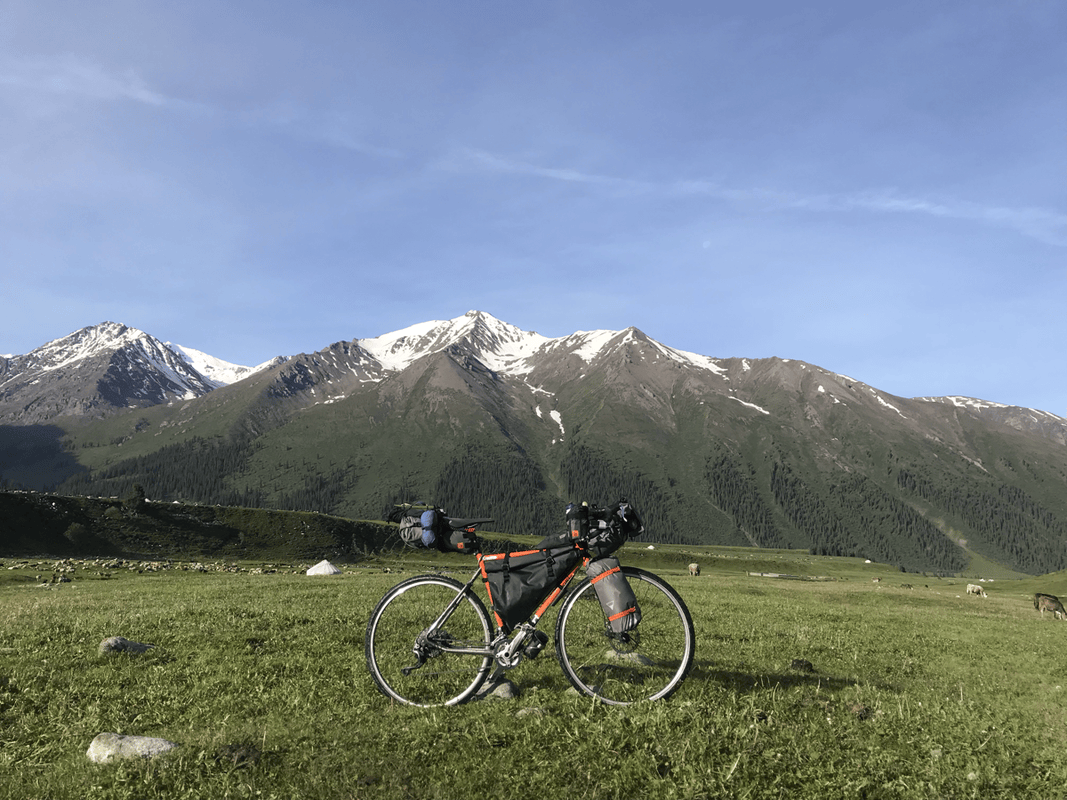
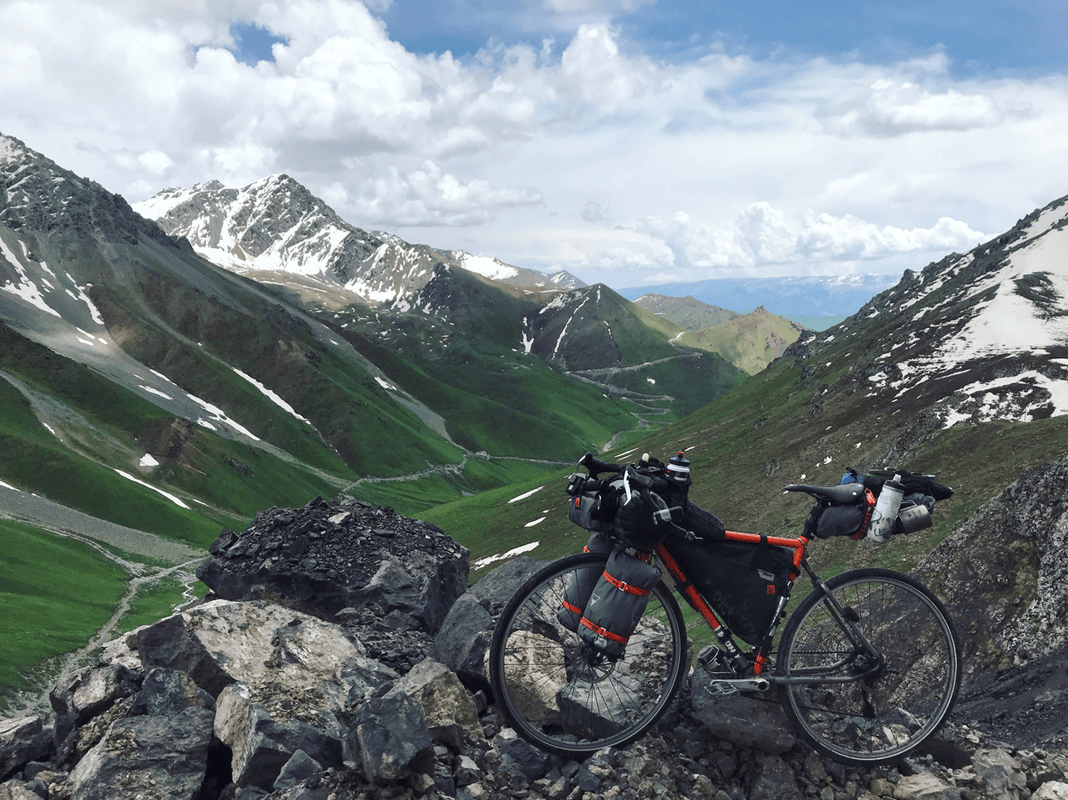
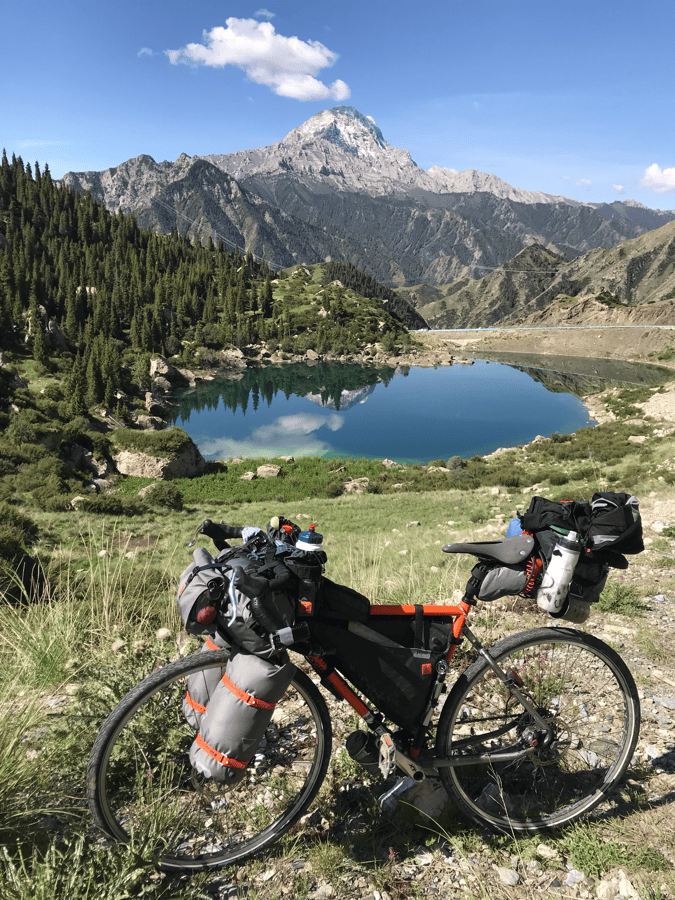
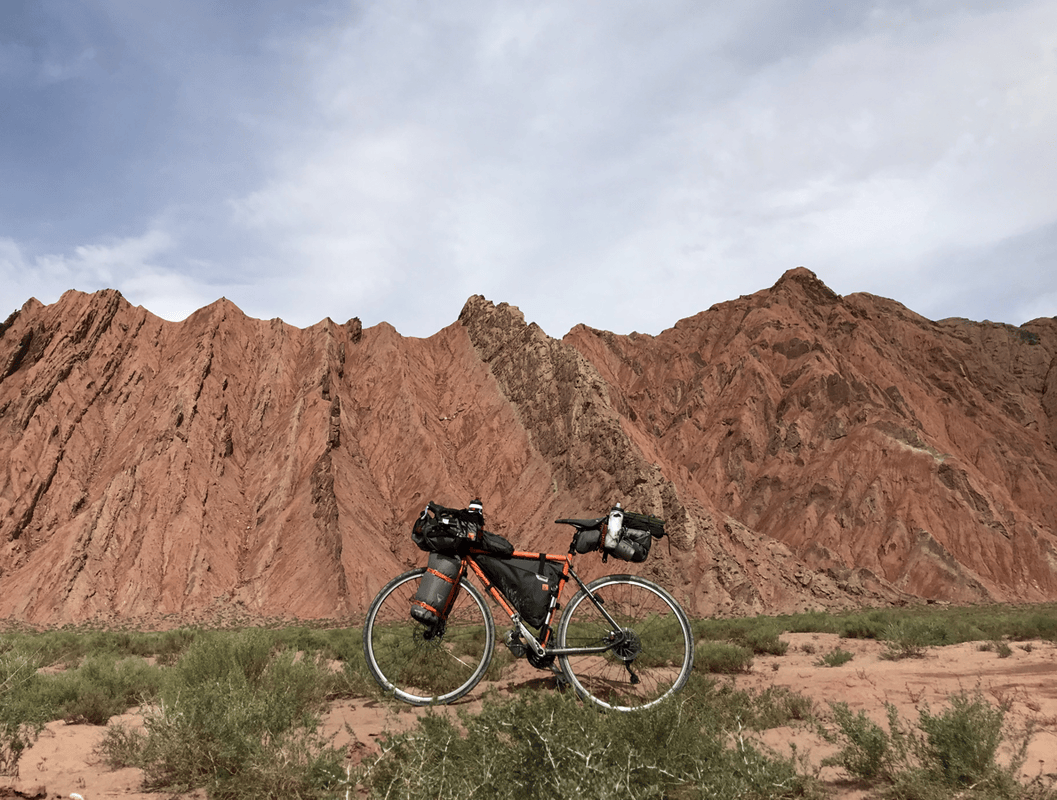
My companion was once again my WOHO WILD CARD, fitted with Schwalbe Marathon tires. They proved durable: after more than 1,000 kilometers, I had not had a puncture. They are not aggressive knobby tires, but were enough for my touring and occasional forest-road riding.
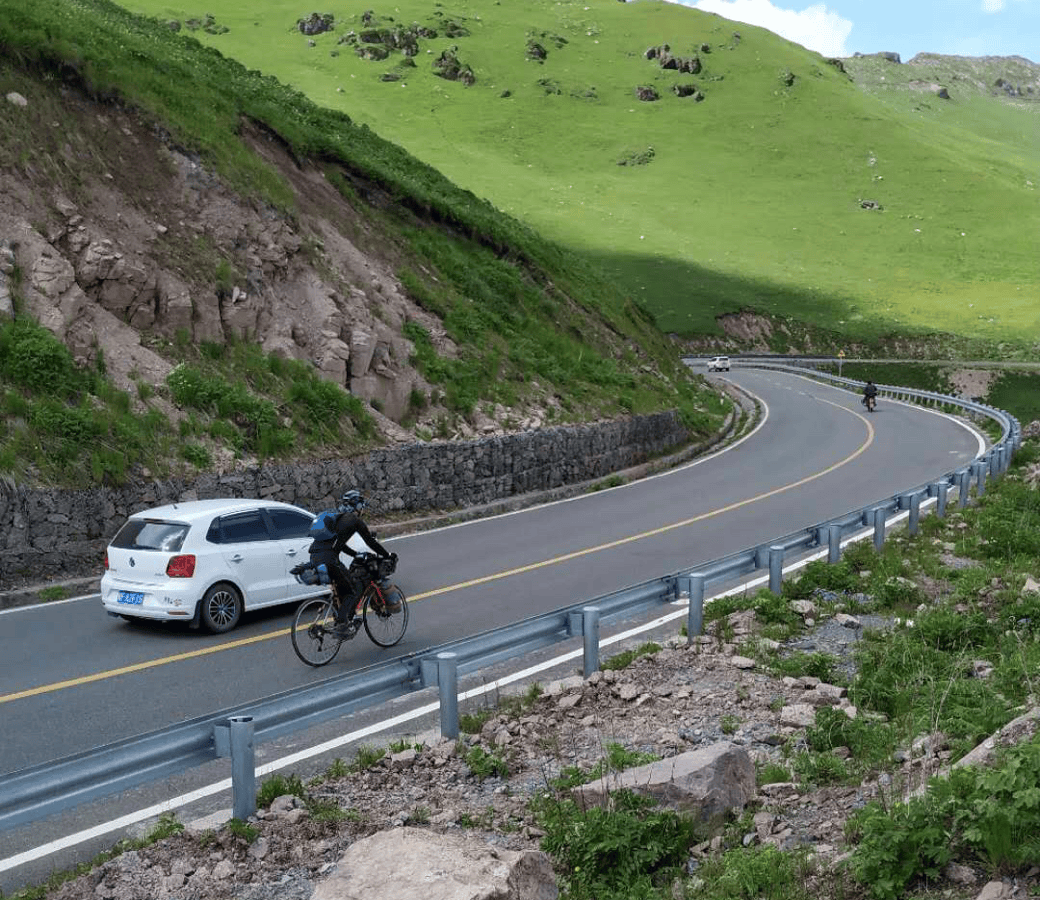
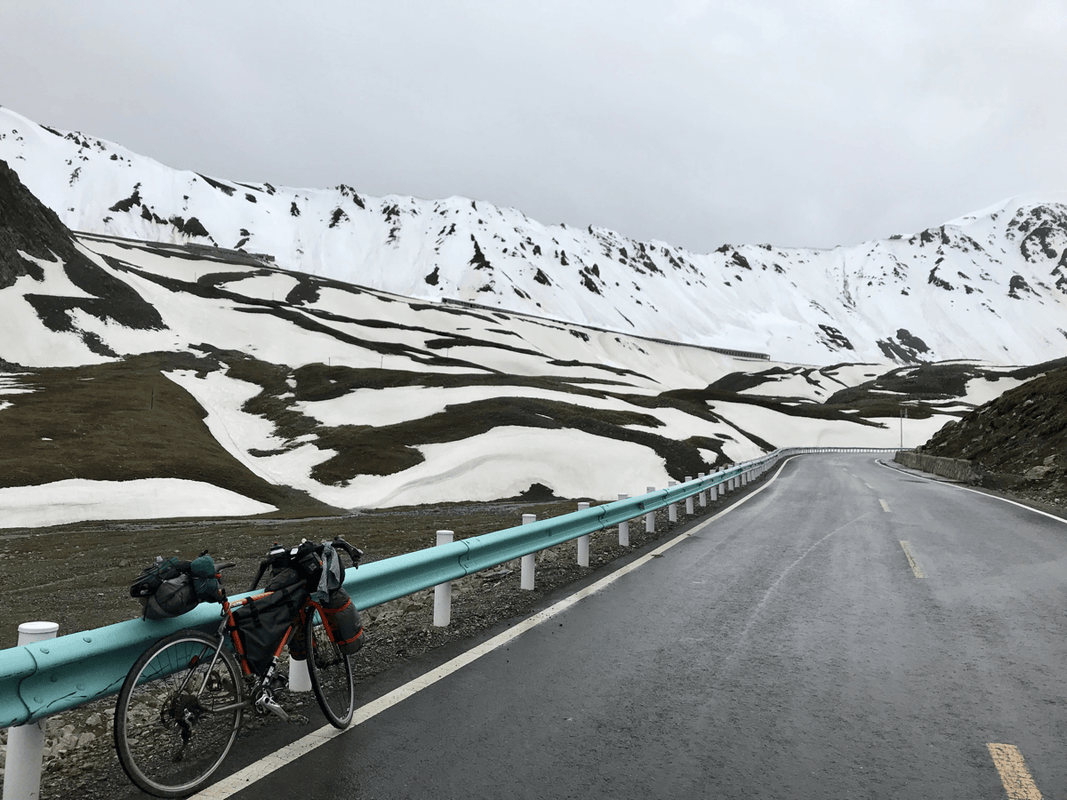
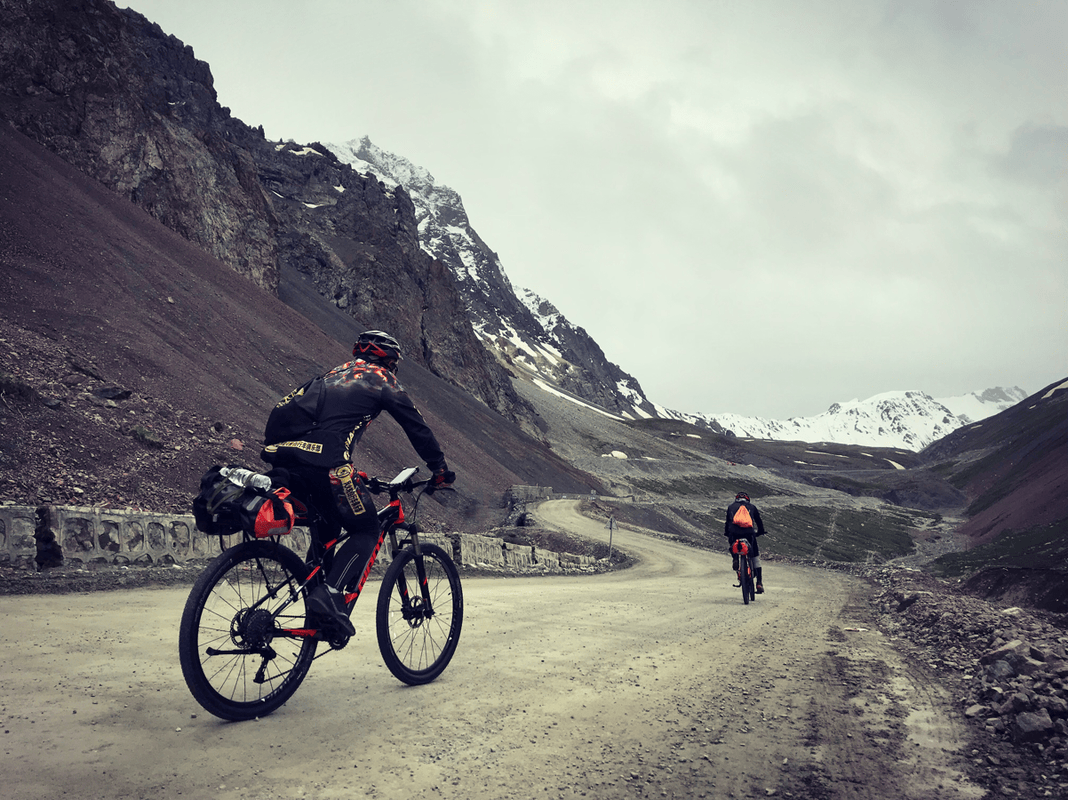
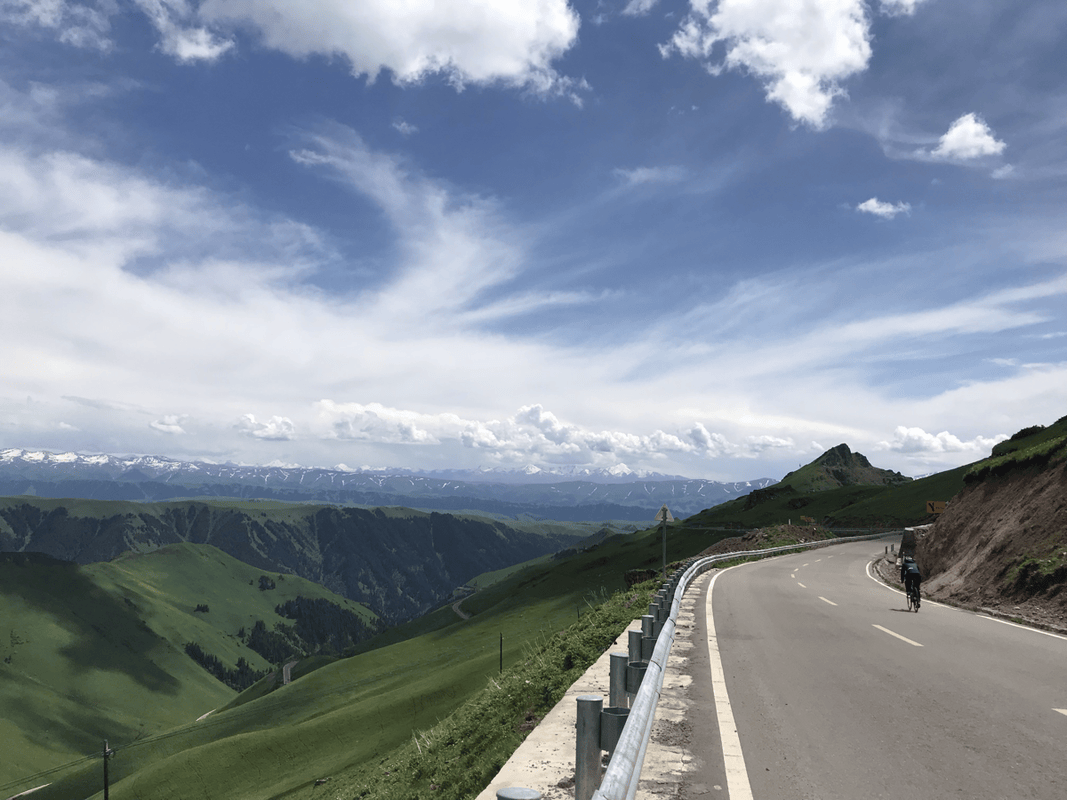
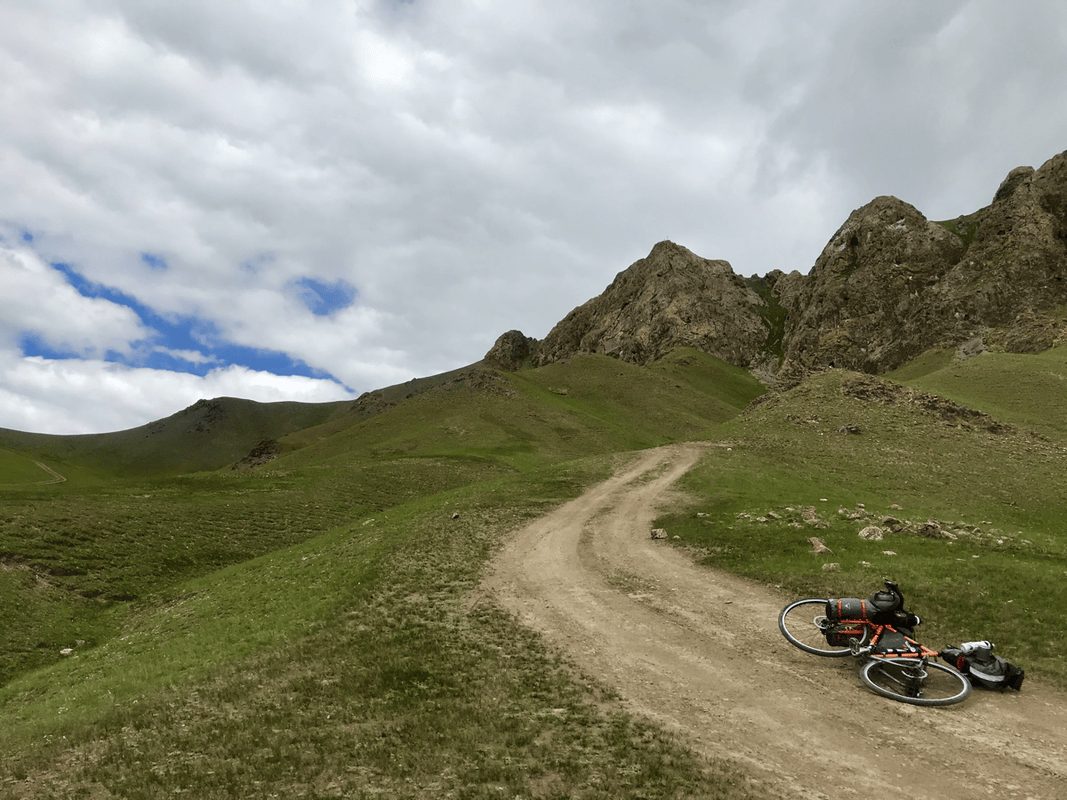
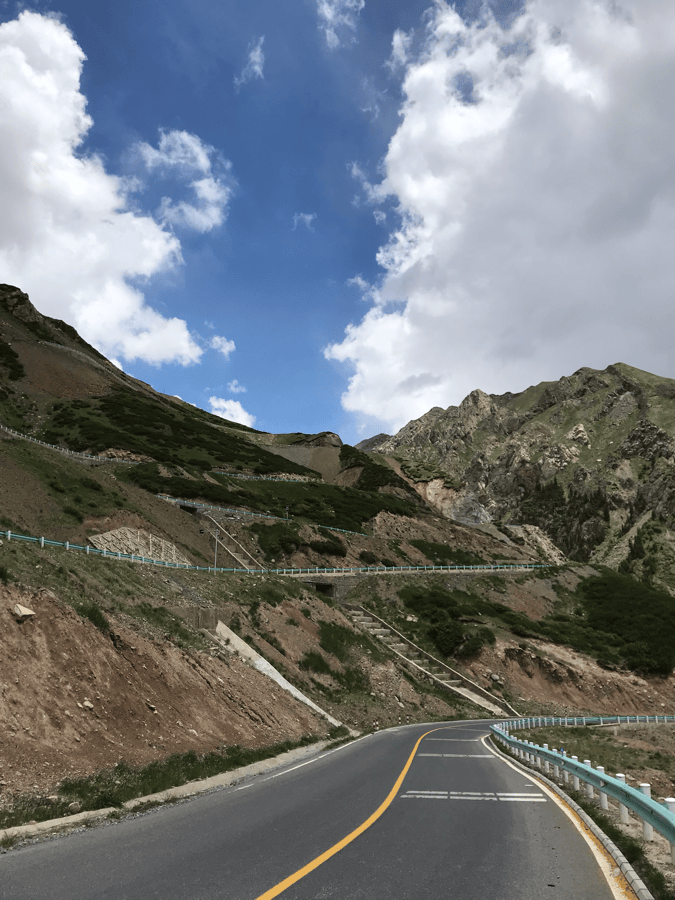
I found the Duku Highway remarkably well maintained, better than many highways between cities. I wondered how much was spent maintaining it each year. A few short construction sections were unpaved, but they did not have large rocks, and I saw people riding road bikes. Unless you like detouring onto grassland as I do, particularly wide tires did not seem necessary for the conditions I encountered. The mountains are high, but the climbs are long rather than extremely steep. The steepest sections felt around 8% to me, so I did not feel a need for an especially large cassette.
Bikepacking Bags
I used WOHO again, this time with some new additions to the range.
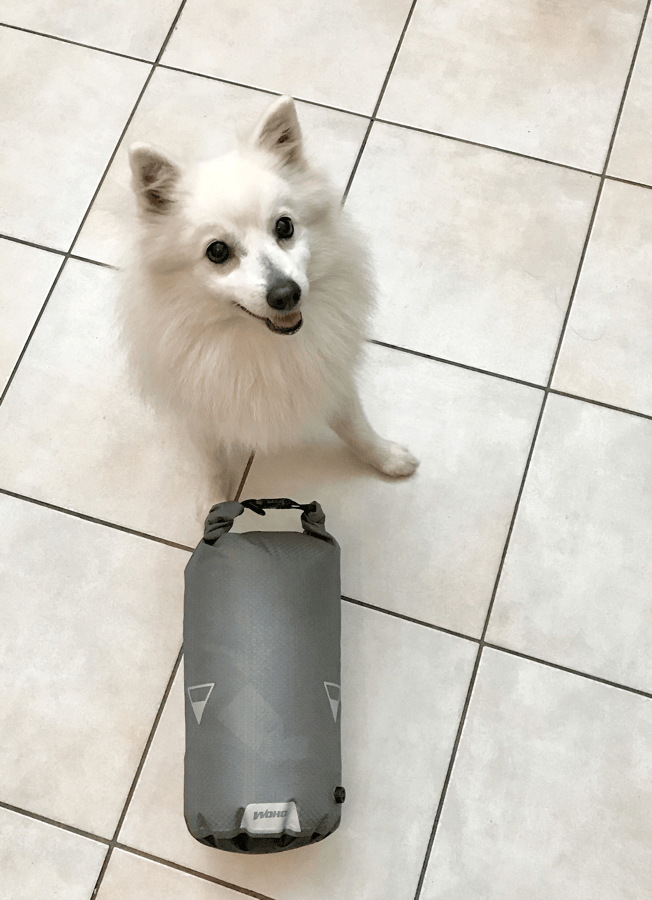
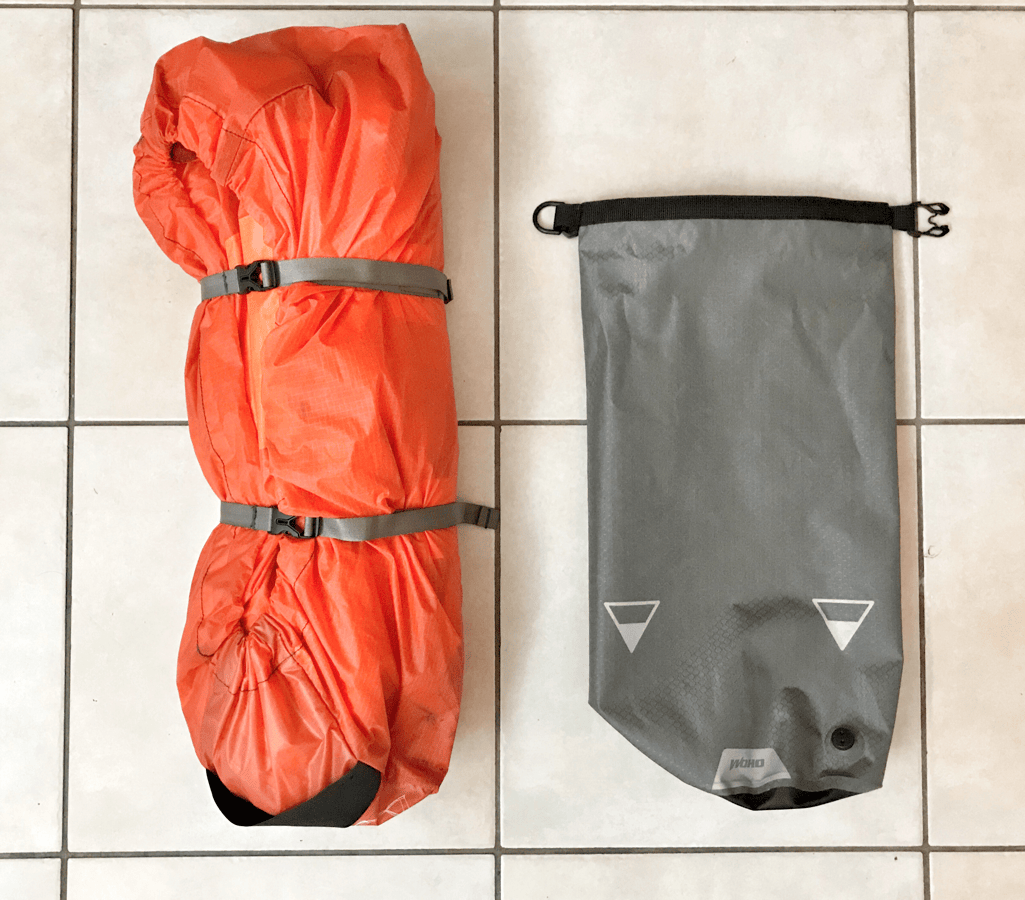
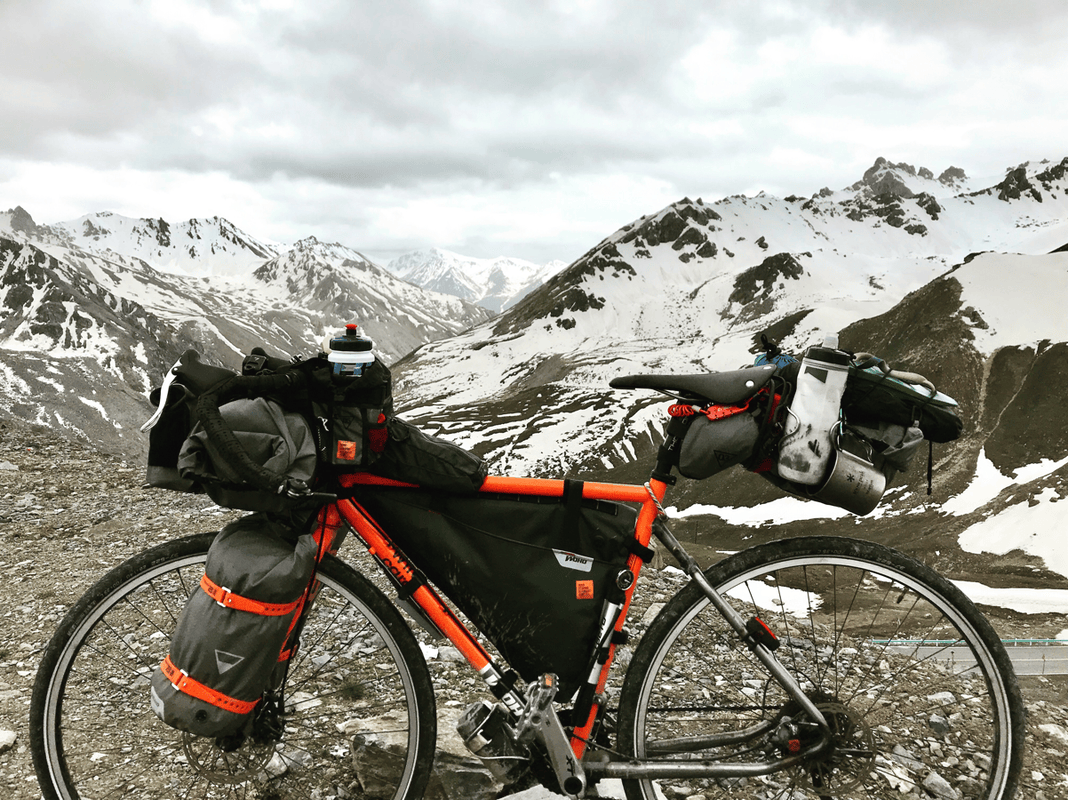
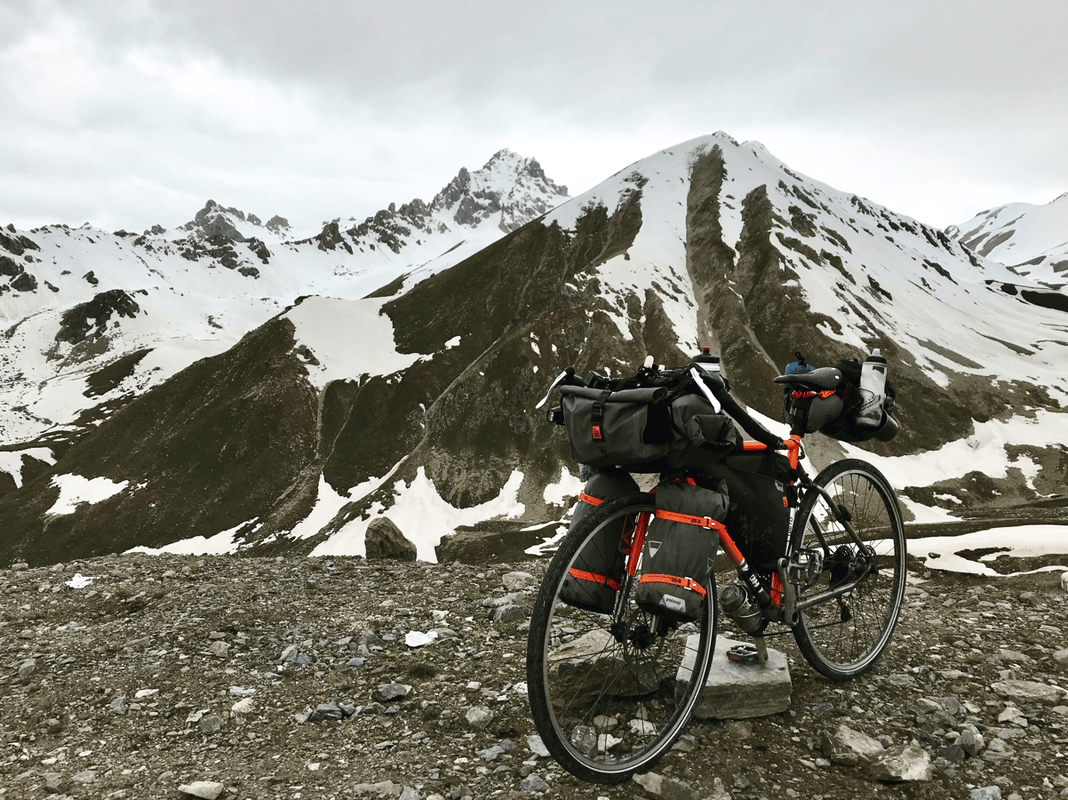
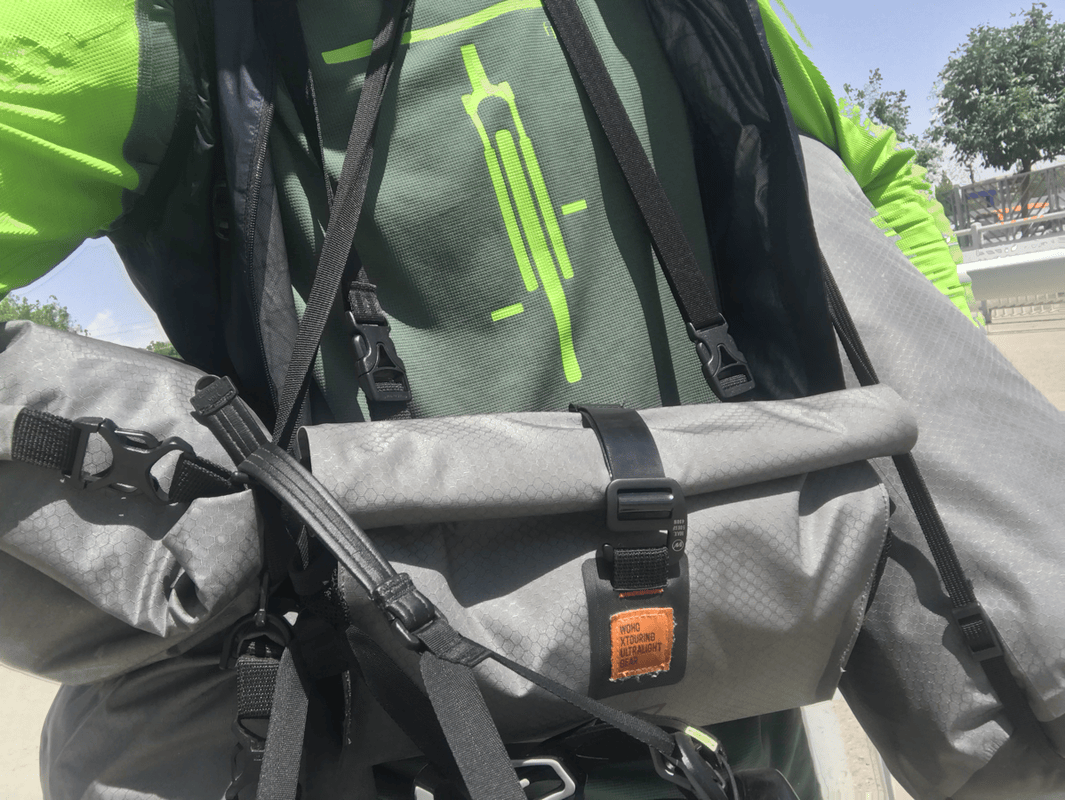
- Large waterproof handlebar bag: The new design separates the dry bag from its harness. Undo two buckles and the dry bag comes off; the harness can also carry other brands’ dry bags. The WOHO bag’s air-release valve makes packing faster and easier. Its larger 15-liter capacity gave me the room I needed, and a shoulder strap made public transport much easier. It held nearly all my clothing: sleeping shorts, base-layer tights, two pairs of underwear, trousers, a short-sleeve T-shirt, a long-sleeve wool base layer, a fleece, a lightweight down jacket, thick wool socks and a small towel. I also packed my GoPro, selfie stick, power bank, universal adapter and cables inside. This was exactly the capacity I had been looking for.
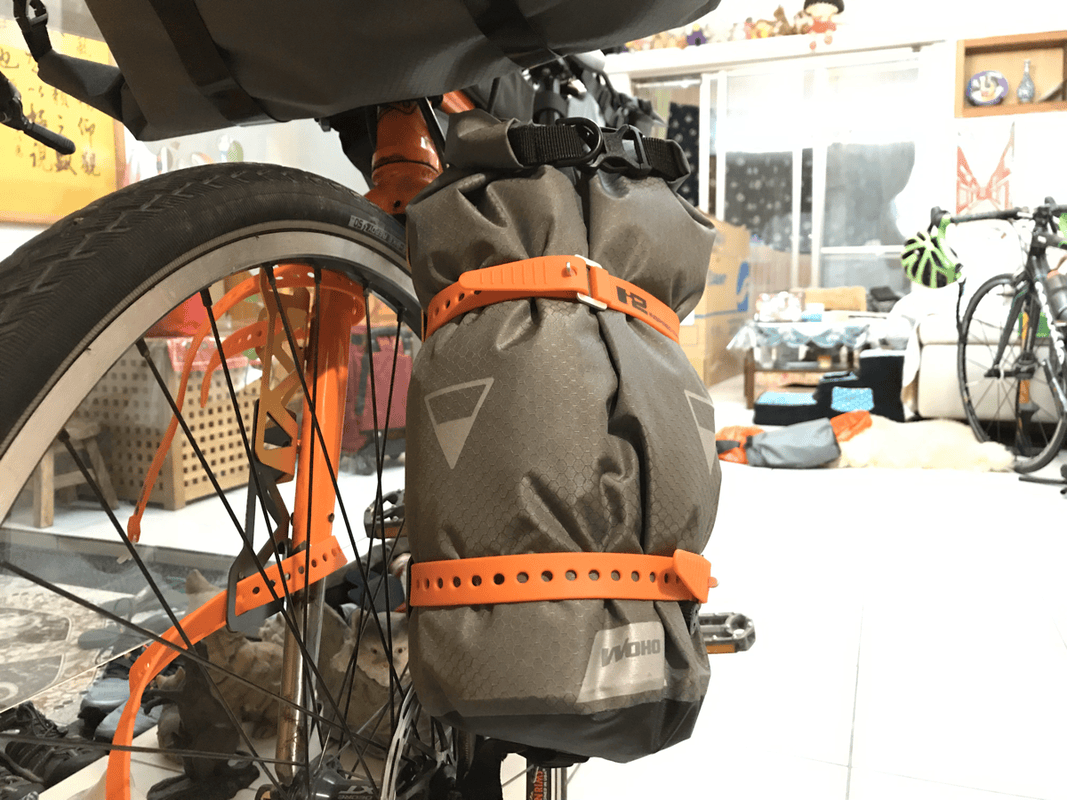
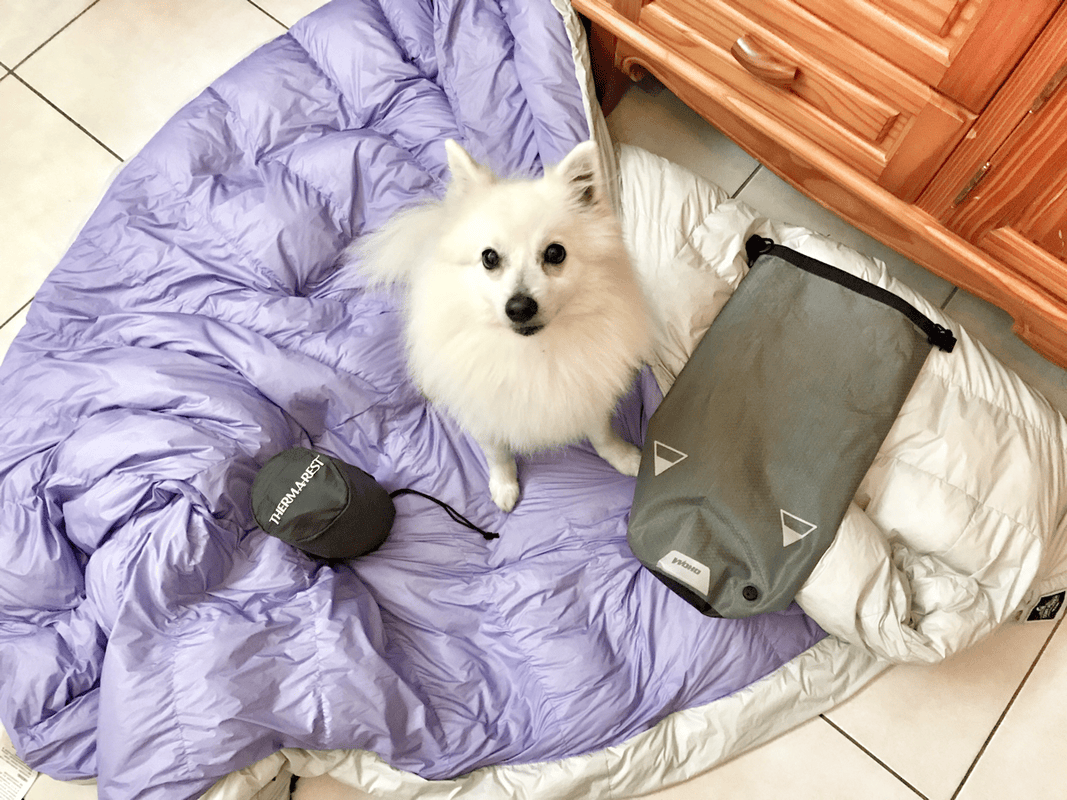
- Waterproof fork bags: One carried my tent and sleeping pad; the other held my sleeping bag and a 450-gram camping gas canister. Filling them firmly helped the straps grip the bags over rough ground. I packed the tent inner, flysheet and pad together, with the sleeping bag and gas in the other bag. My 800-fill-power sleeping bag, rated to a comfort temperature of -4°C, was bulky when lofted, so the air-release valve was invaluable for squeezing it into the dry bag. I used to think those valves were unnecessary. Now I love them.
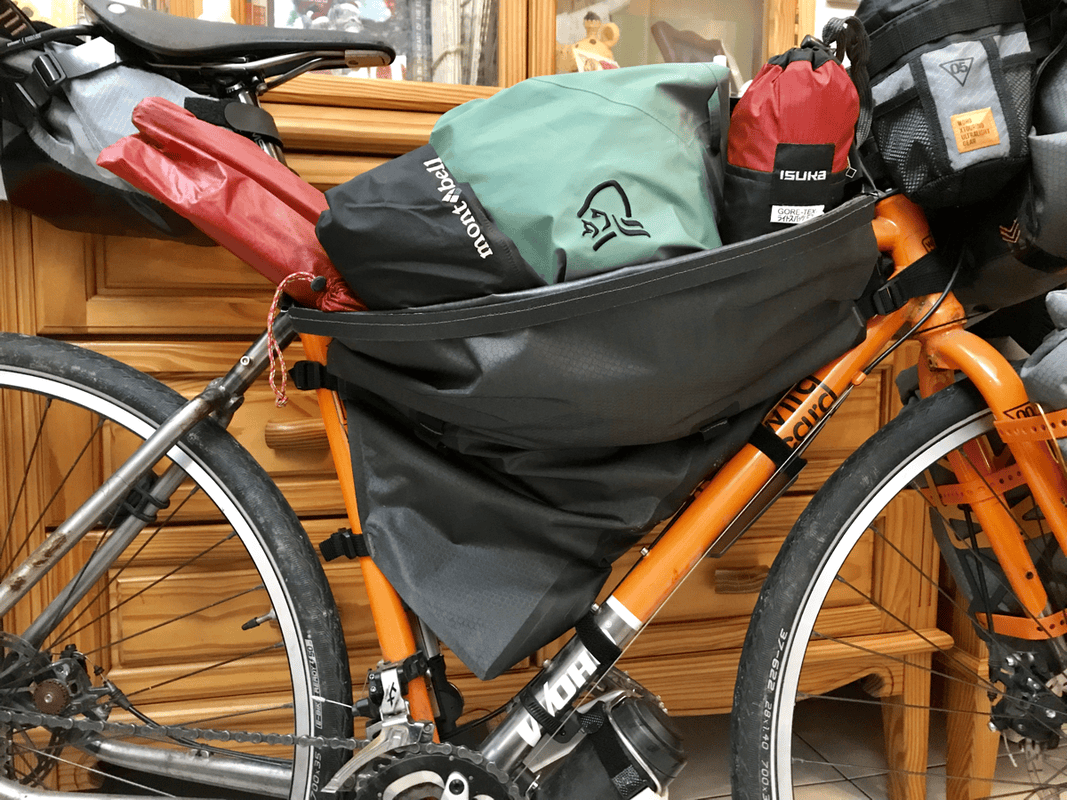
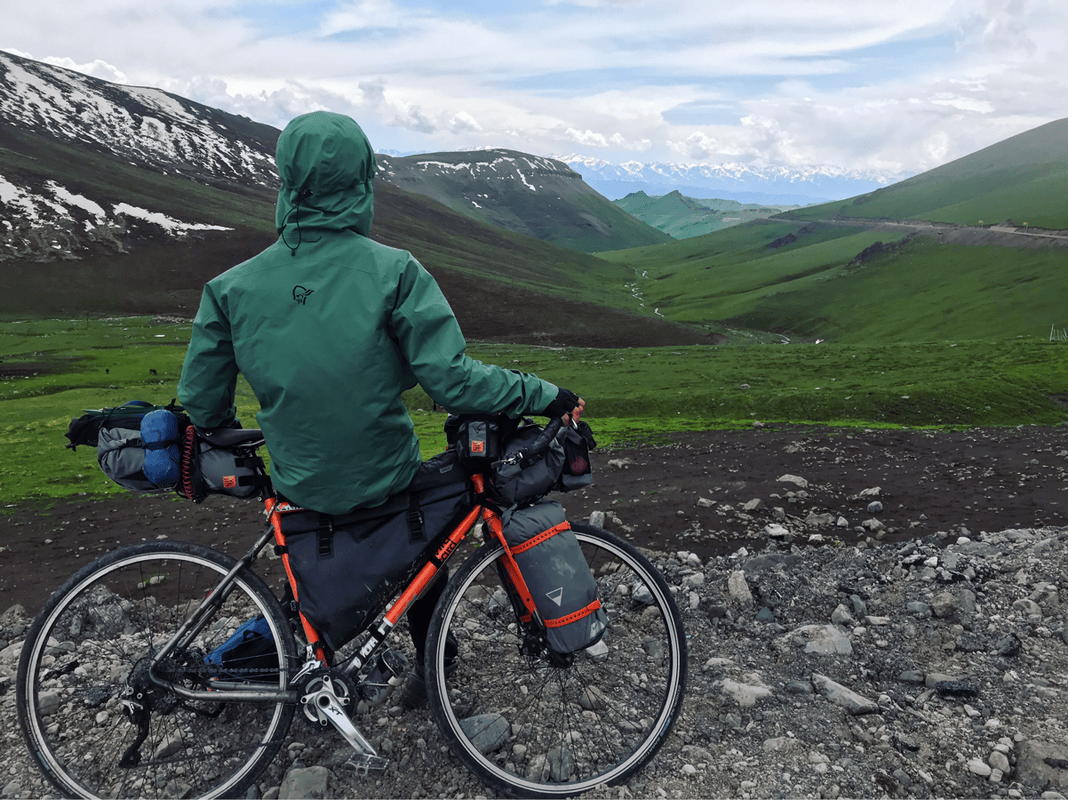
- Triangle frame bag: The larger capacity let me keep more frequently needed items within reach. Even my long, bulky bundle of tent poles fitted diagonally. I also carried a flask, rain jacket, rain trousers, gaiters and tent stakes. A slimmer side compartment held a water bladder. Like the other bags, it had an air-release valve, while the roll-top opening was quicker and easier to use than the older zipper design.
- Stem bags: They looked similar to the older bottle bags, but small changes made them much more useful. Non-stretch webbing replaced the elastic mounting straps for better durability, and mesh at the bottom allowed rainwater to drain. The drawcord could be opened and closed with one hand. Side mesh pockets held small items, in my case dental floss and little bits of rubbish. One bag carried a bottle; the other held snacks, sunscreen, lip balm and my water filter. One-handed access made a real difference.
- Saddle bag: The design had not changed dramatically, but capacity had increased a little. I packed spare clothing at the narrow front end to give it structure: a wicking shirt, underwear, a small towel and board shorts. My cookware and stove went behind them, with small items filling the gaps to keep everything stable. A down jacket worked especially well for filling spaces. The saddle-bag stabilizer carried a bike transport bag and an extra bottle, while sandals and a stove windscreen were strapped on top.
- WOHO: WOHO on Facebook
Tools
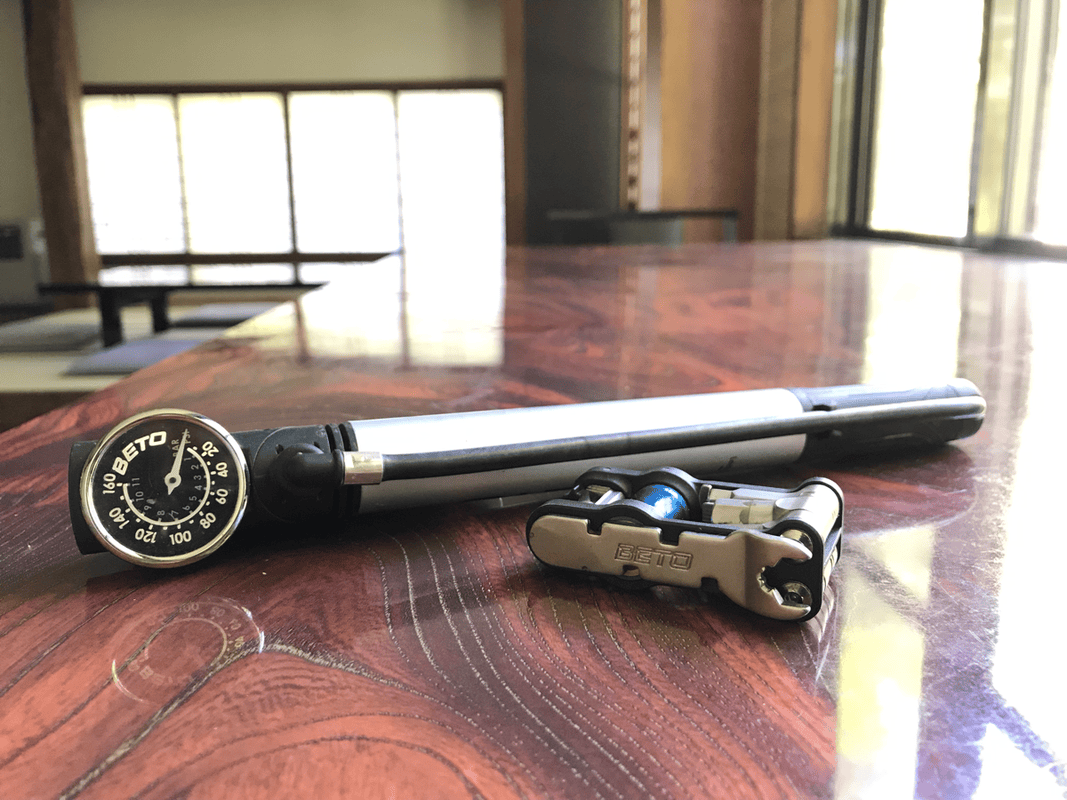
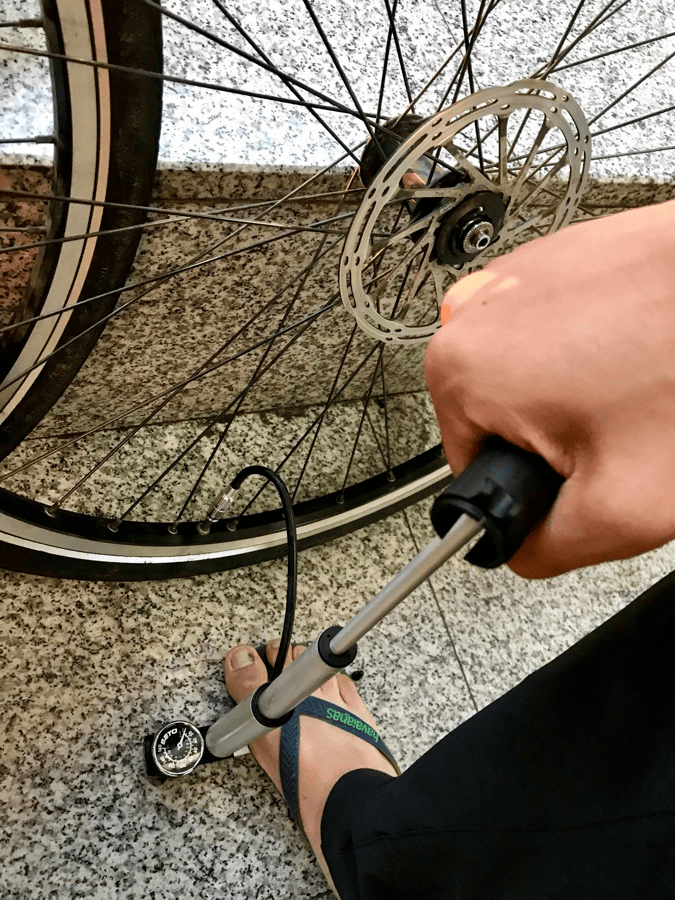
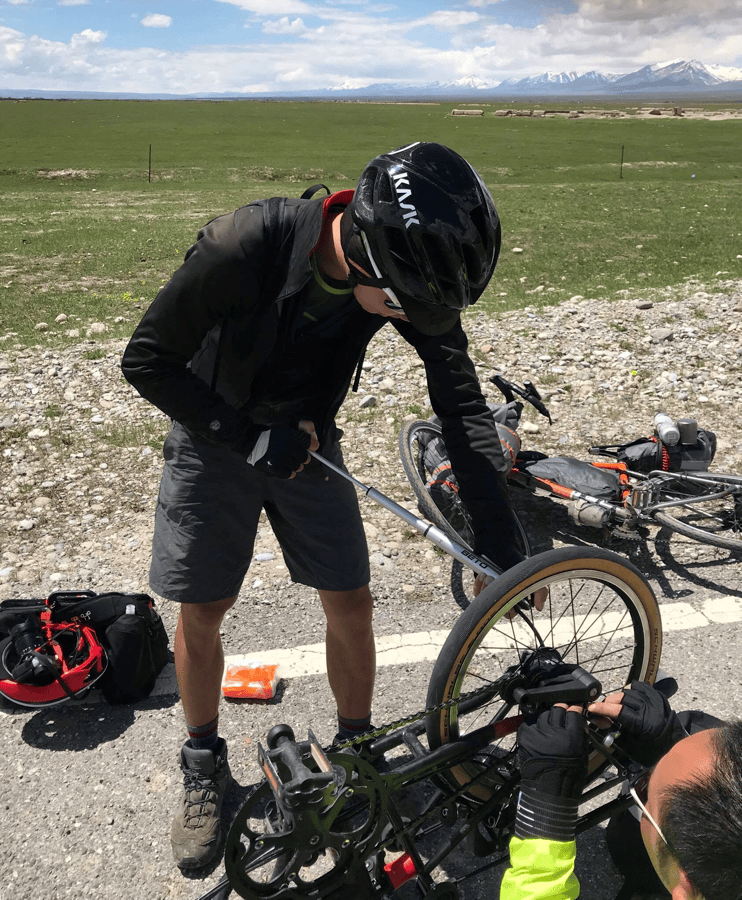
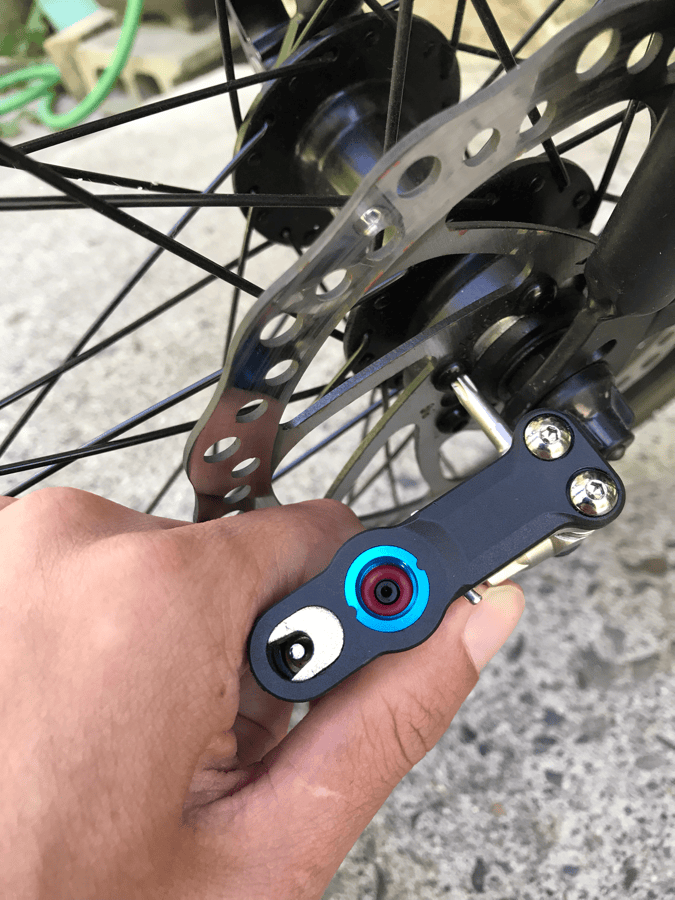
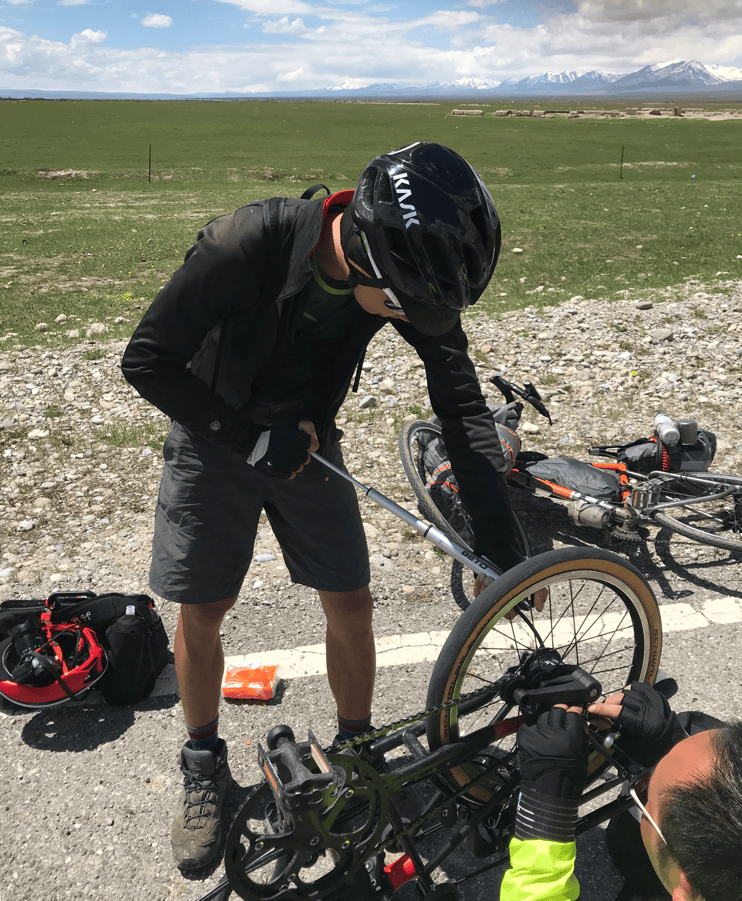
I carried a BETO QikFix Supreme 18-in-1 multitool, a BETO Transformer 17 pump, patches, tire levers and a spare tube.
The compact multitool combined the essentials, including hex keys, Torx tools, screwdrivers and a chain tool. The pump’s pressure gauge helped me set tire pressure more precisely. Its two-stage pumping action made inflation more efficient, and the upright configuration helped overcome the difficulty of reaching higher pressures with a portable pump. For more, see my original review: What’s in My Toolbox.
Clothing
Keeping equipment simple matters when bikepacking, and clothing is an easy place to pack too much. Every unnecessary garment becomes extra weight, so choosing what and how much to carry is important. On my late-June and July trip, temperatures along Duku varied considerably: around 25°C on the plains, but below 5°C on some nights higher up. That made clothing choices more complicated.
While Riding
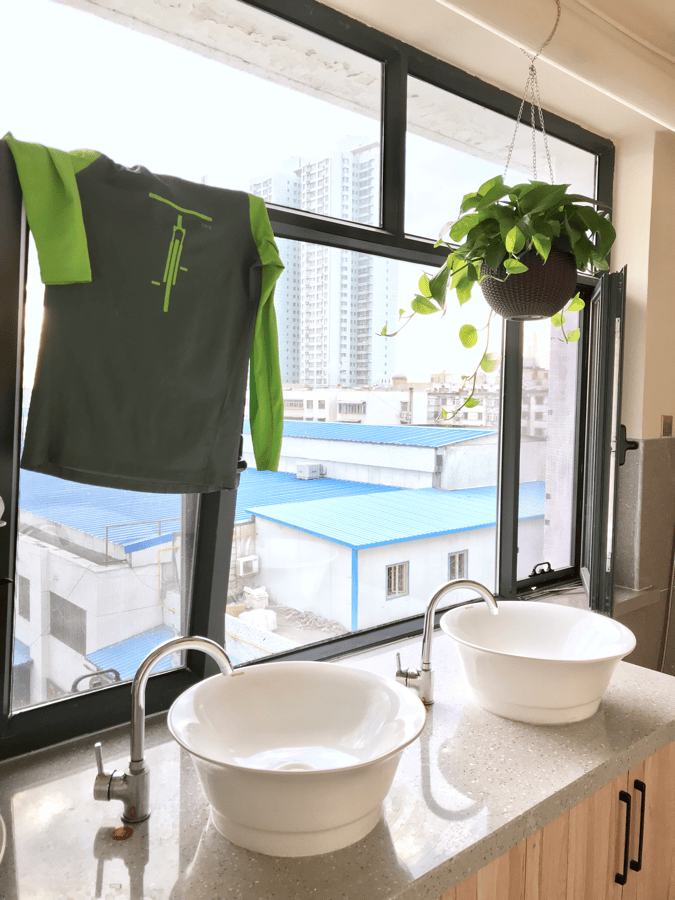
Tops: Xinjiang was still chilly in June, much of the route was around 1,500 meters or higher, and snow was possible at the passes. My main riding top was a Norrøna fjørå long-sleeve wicking shirt, with a lightweight cycling wind vest over it for warmth and wind protection on descents.
I have owned synthetic cycling tops that wicked well but eventually developed stubborn odors. I was a little worried about this shirt, too, but after more than ten days, with only two rinses in plain water, I did not notice an odor.
I used to avoid long-sleeve riding shirts because I assumed they would be too hot. This one did not feel that way, and the sleeves protected my arms during long hours in the sun. Take care of yourself out there rather than being stubborn about it. Original clothing link.
Shorts and trousers: I brought breathable Patagonia shorts simply because they were comfortable and had deep pockets. I wore long trousers less often, mainly over the first and third passes, where temperatures dropped to around 4°C. My Norrøna fjørå flex1 riding trousers stretched well without pulling as I pedaled. Calf zippers and hook-and-loop ankle adjustments helped keep the fabric away from the chainring, while adjustable side vents helped regulate temperature. Riding in long sleeves and trousers has been a major change since I started bikepacking. Original trousers link.
Socks: I brought two pairs of Darn Tough wool socks, one hiking pair and one cycling pair. I wore the hiking socks when cold and the cycling socks when warm. For me, the advantage of wool was odor resistance: I went more than ten days without washing them. Darn Tough Taiwan.
I rode in hiking boots because they were comfortable, warm and waterproof. Leaving the ankle laces a little looser kept them from restricting my pedaling.
Softshell: My long-serving Castelli Alpha provided excellent wind protection and warmth. I wore it in cold weather and on descents, and kept it secured on top of my saddle bag with elastic cord for quick access. Do not skip a stop to put on another layer just because it feels inconvenient. Getting sick on a long trip is far more inconvenient.
Rain Gear
My rain kit included a jacket, trousers, gaiters and gloves.
Rain jacket: I used a Norrøna lofoten Gore-Tex Active jacket from its mountain-skiing range. The original specification listed a 28,000 mm waterproof rating, and the breathable fabric kept me comfortable riding through rain and snow at 3,600 meters. It kept me dry in heavy rain. Underarm zippers vented heat quickly, though I found them easier to use while hiking than while cycling. The hood, designed to accommodate a climbing helmet or winter headwear, also fitted over my bike helmet. Original jacket link.
Rain trousers: My Montbell Gore-Tex trousers had served me for years. They were simple, with hook-and-loop ankle adjustments to keep the cuffs out of the chainring. Applying a waterproofing treatment once or twice a year had kept them working well.
Gaiters: Not many people wear gaiters while cycling, but however good my trousers were, spray from the rear wheel still found its way into my boots. I rarely needed them, but they completed my rain protection. Original gaiters link.
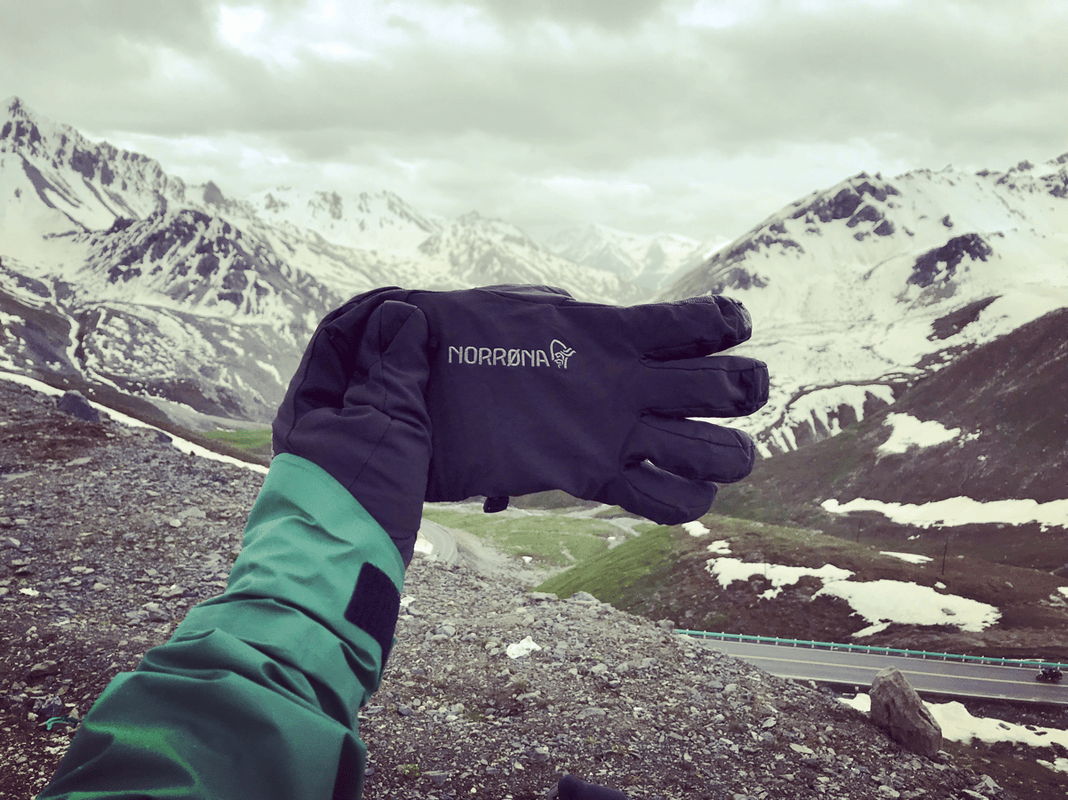
Gloves: Warm, waterproof full-finger gloves were about comfort on ordinary days, but about control on long descents. Cold, numb fingers made precise braking difficult. I used Norrøna lofoten dri1 PrimaLoft gloves from the skiing and winter-mountaineering range and found them warm and waterproof. Original gloves link.
Off the Bike
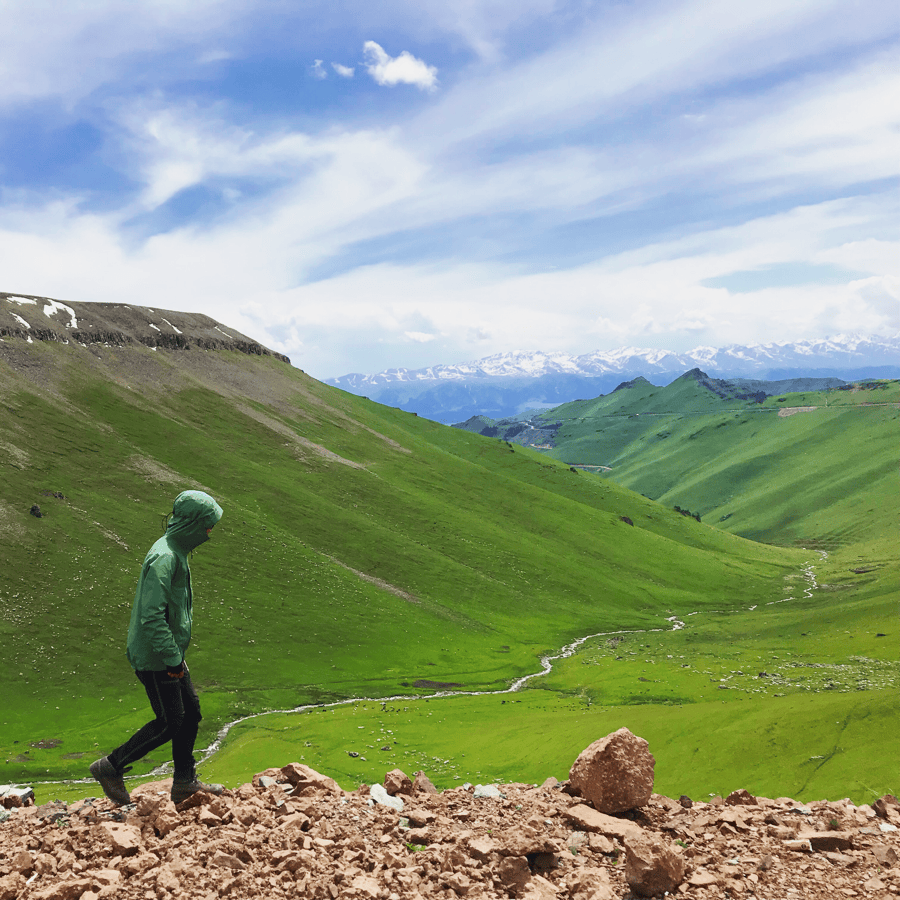
After riding, I changed into a lightweight, breathable Norrøna wool T-shirt and board shorts. If it was cold, I added wool base layers or wore my riding trousers. In colder conditions, I layered a fleece and lightweight down jacket, with my rain jacket outside to block the wind. On a long trip, getting several uses from each garment keeps weight down. I found the wool clothing breathable, quick-drying and resistant to odors. I even rode a few short sections in the T-shirt and still did not notice a smell after more than ten days.
A small packing tip: rather than compressing a lightweight down jacket into a ball, use it to fill the gaps between items in your saddle bag. It makes the load neater and helps reduce sagging and sway.
Tent, Sleeping Pad and Sleeping Bag
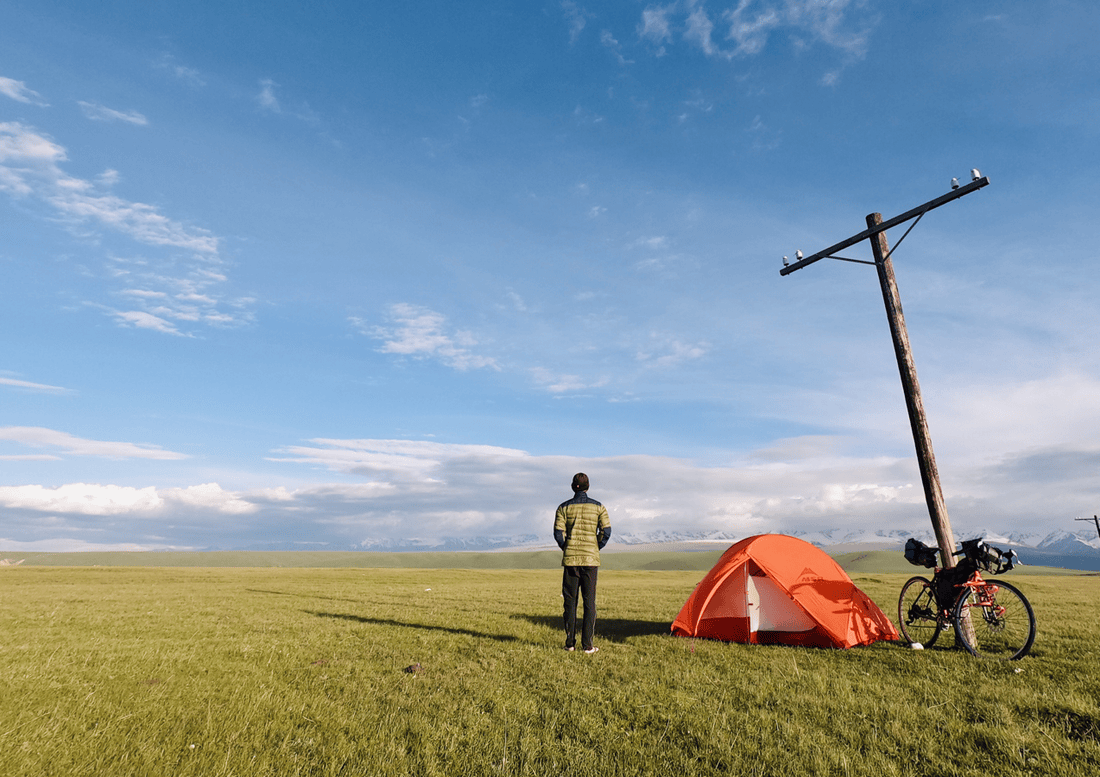
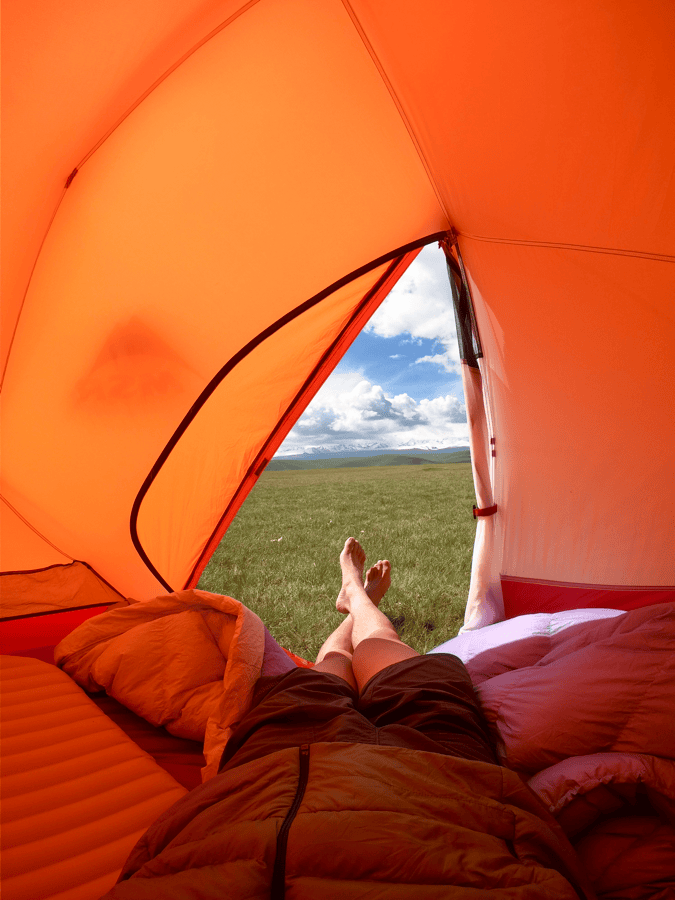
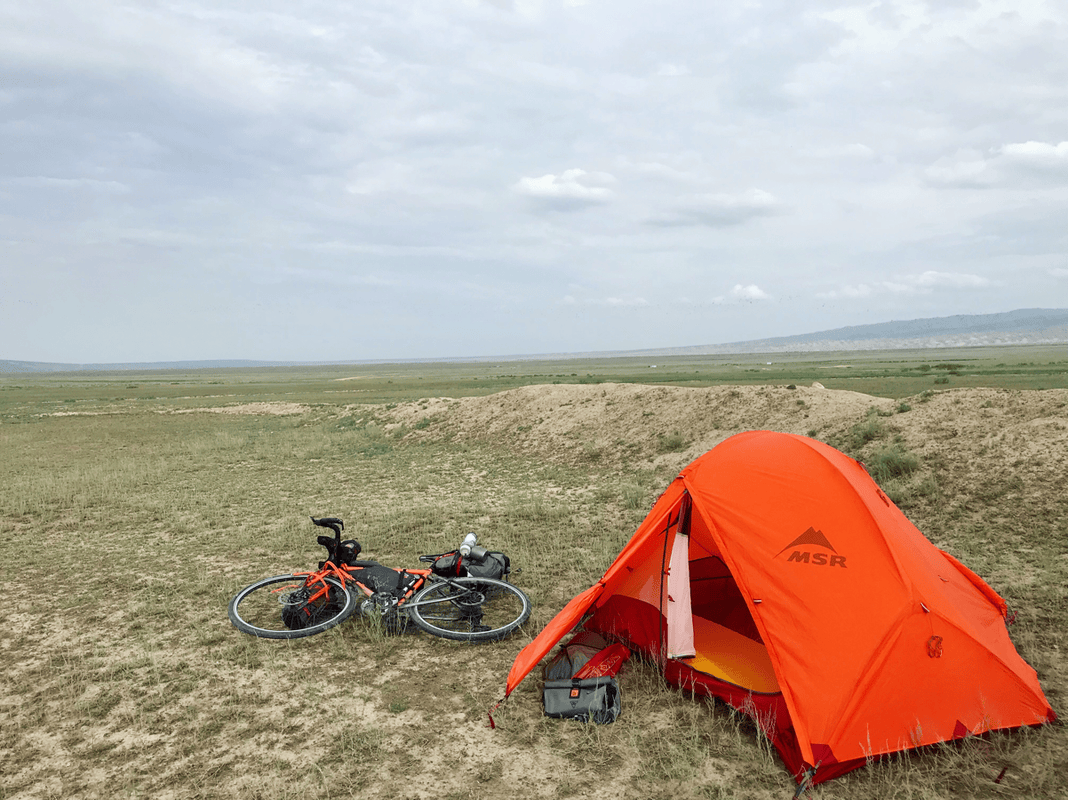
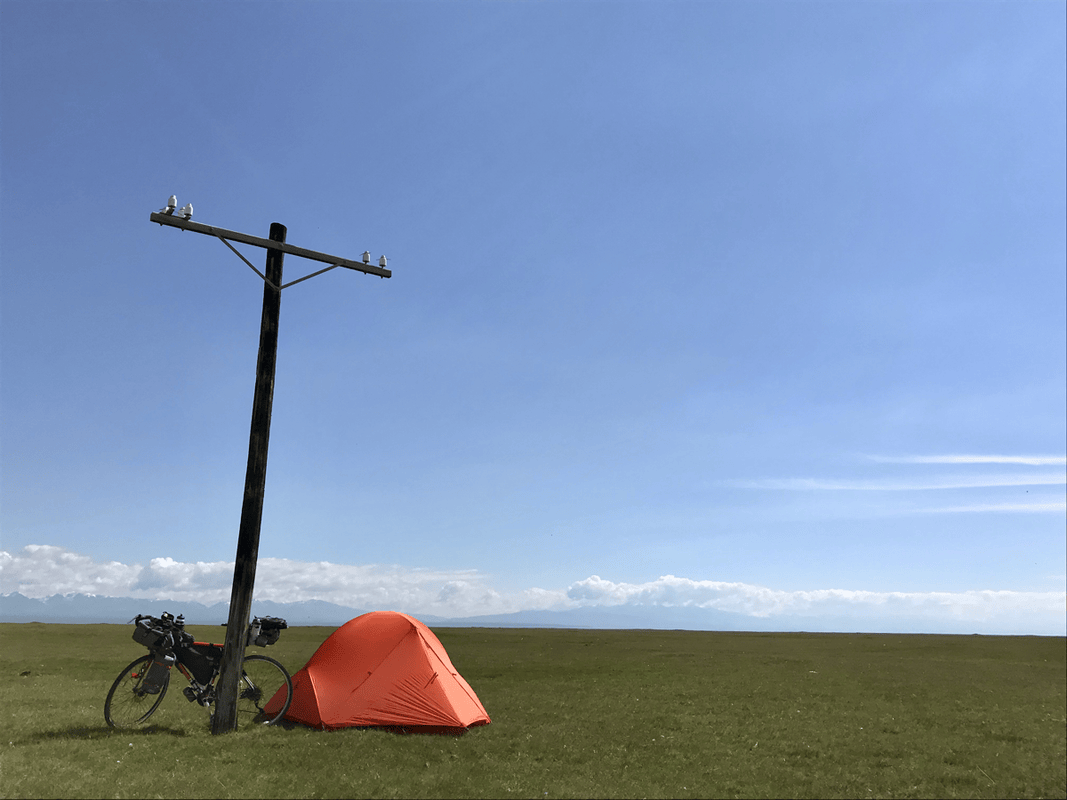
I brought my warmest camping equipment. Do not underestimate the Tian Shan: even after a sunny day, nighttime temperatures can fall into single digits. Sleeping well means having energy the next day. My sleep system was somewhat warmer than the conditions demanded, but I slept comfortably every night in the mountains and was never cold.
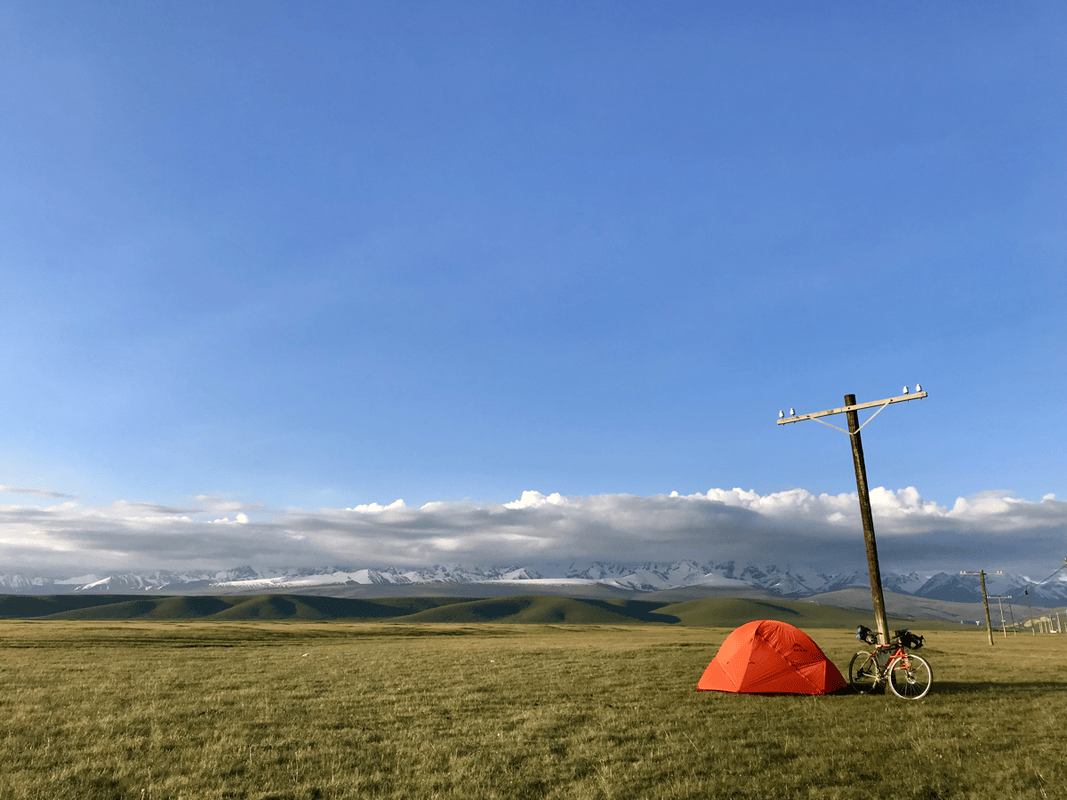
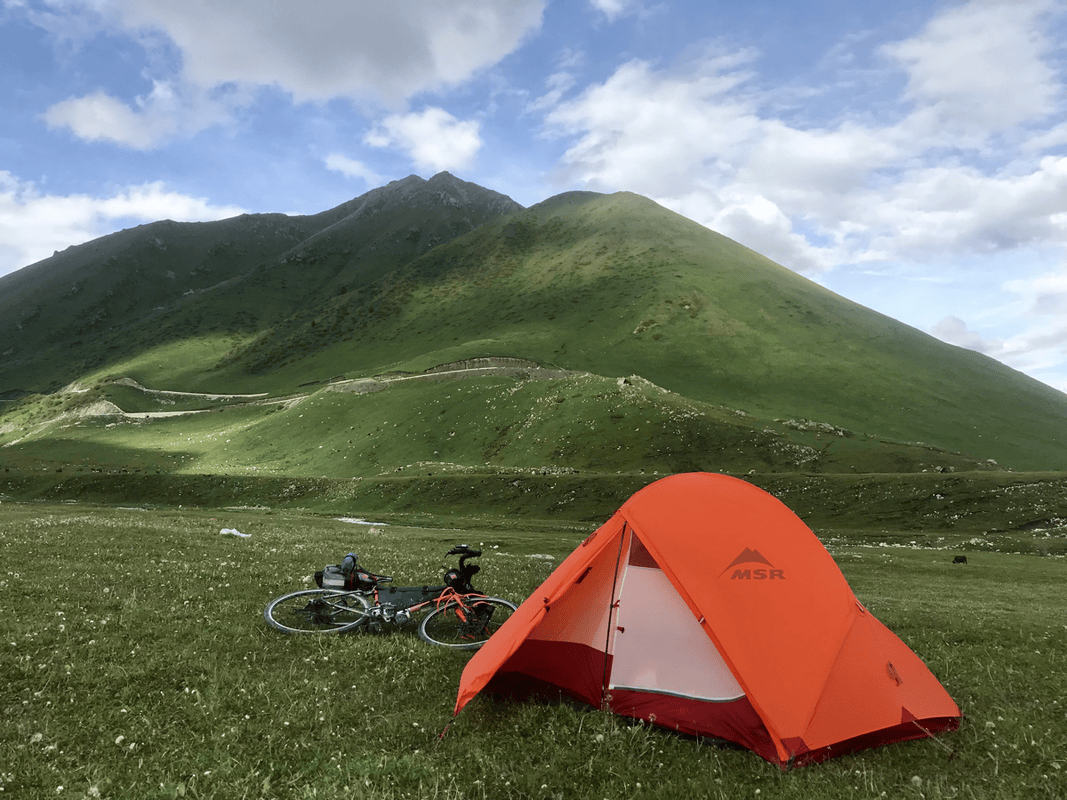
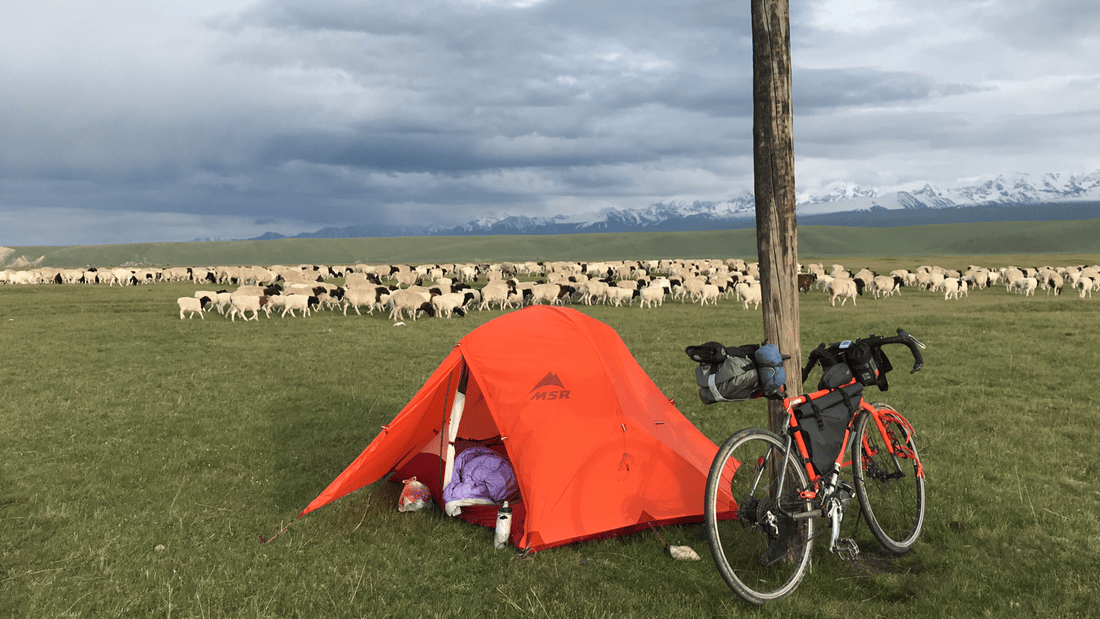
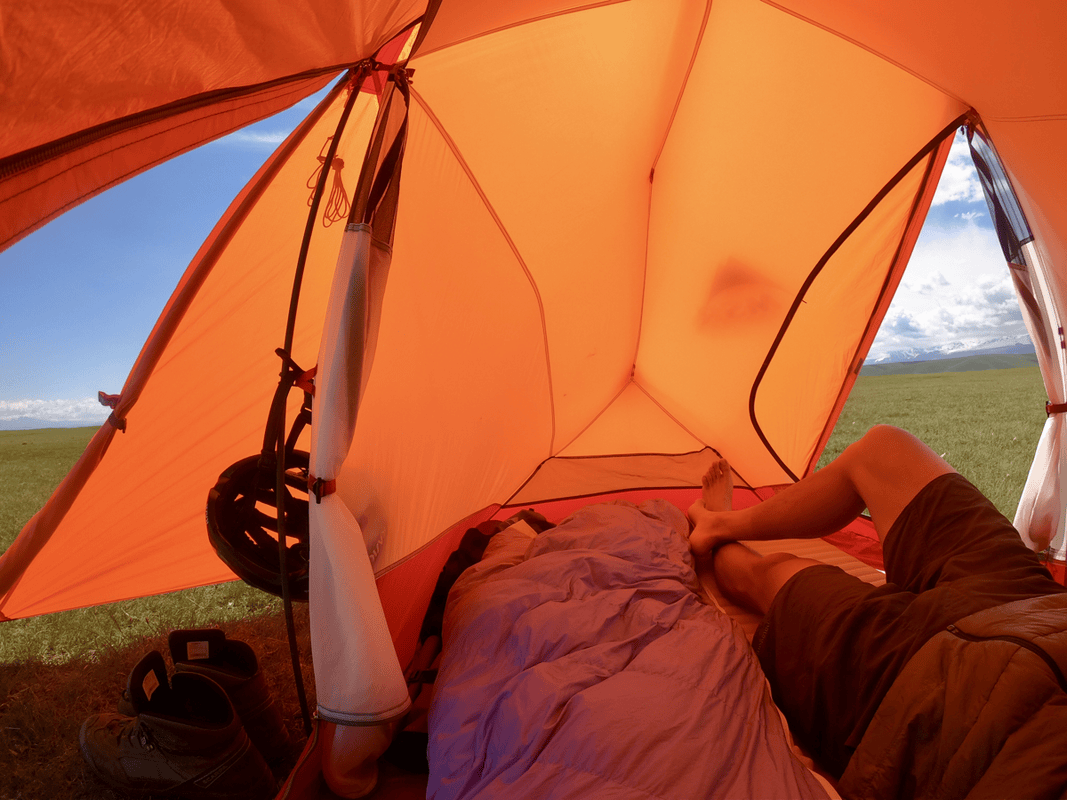
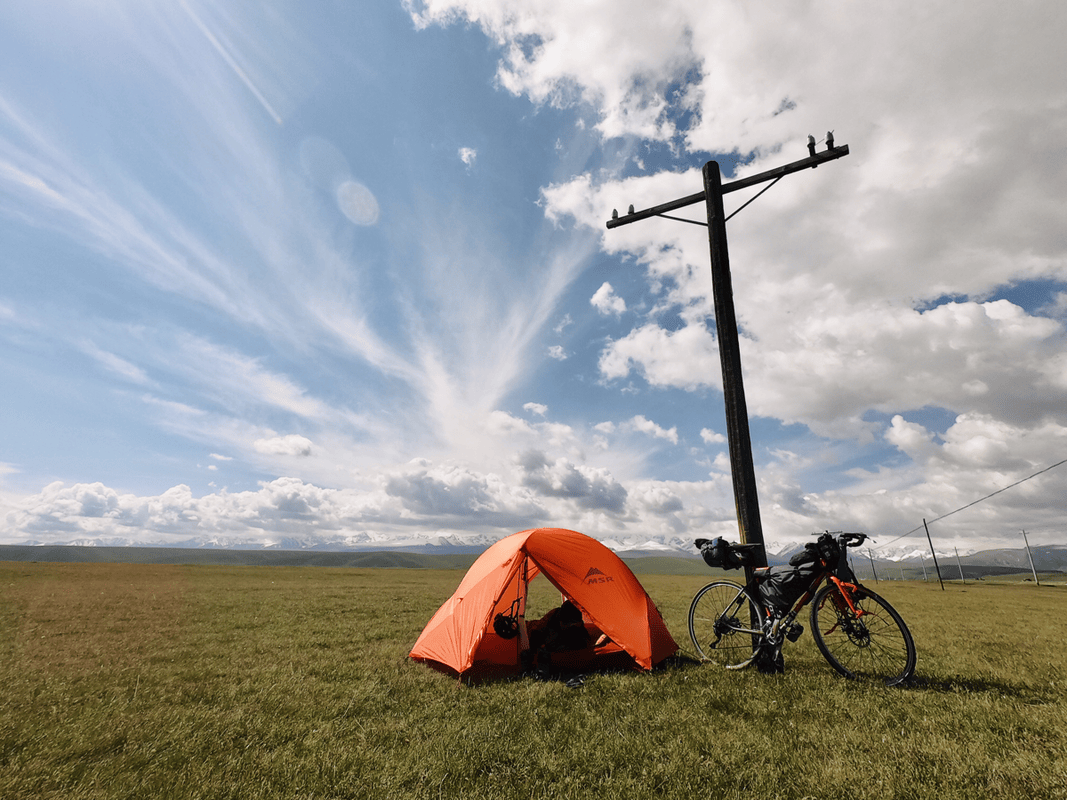
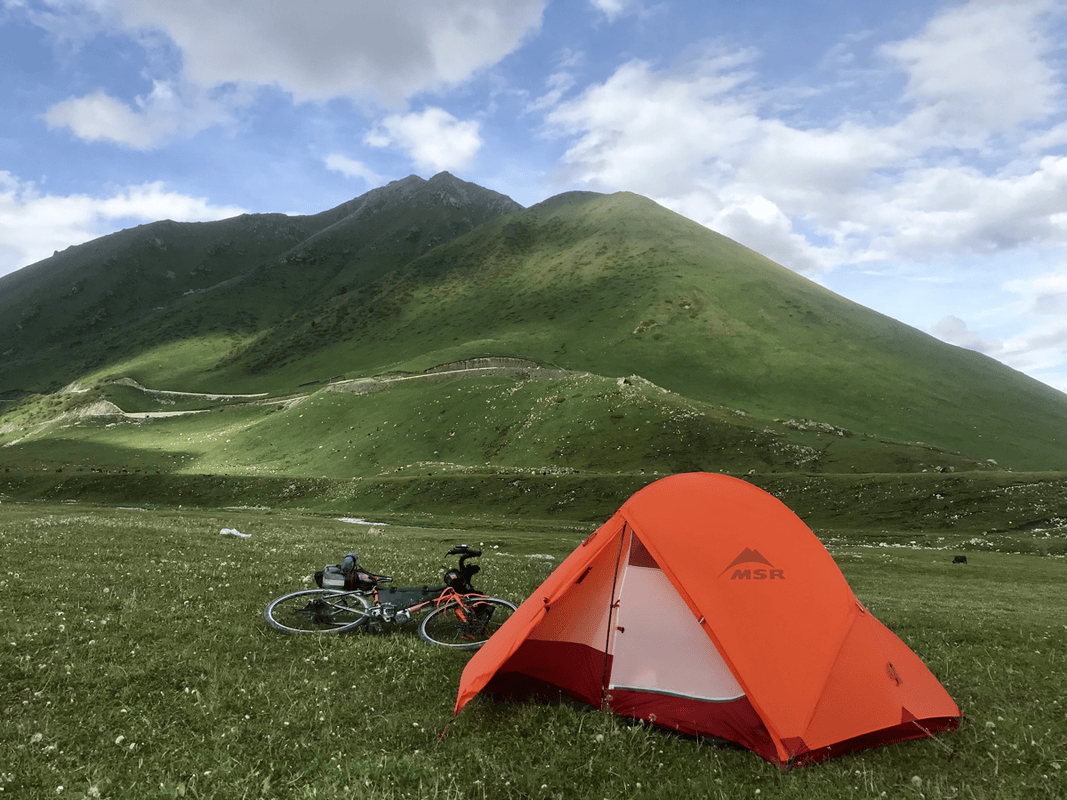
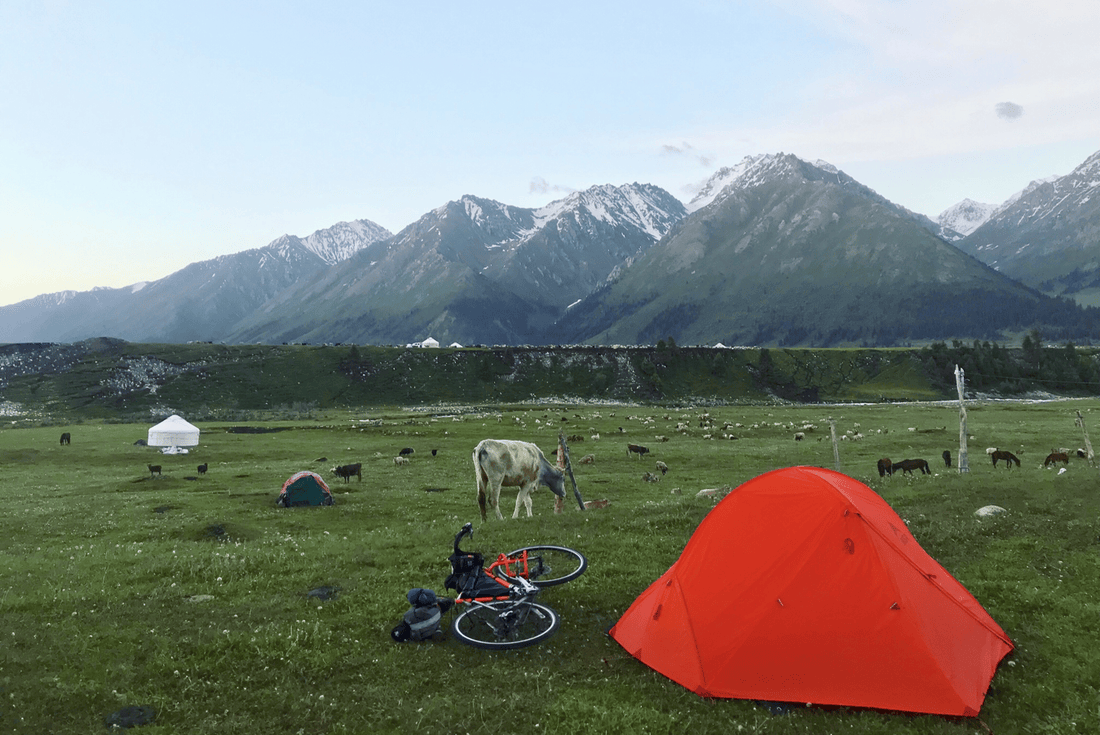
Tent: MSR Access 2. This four-season tent was designed for snowy mountain conditions, with specialized pole materials for demanding weather. It was arguably more tent than I needed here. It could get warm during the day or before sunset, but never left me cold at night. If you do not spend whole days sitting around on the grassland as I sometimes do, the daytime warmth is probably less of an issue. See my earlier tent review video.
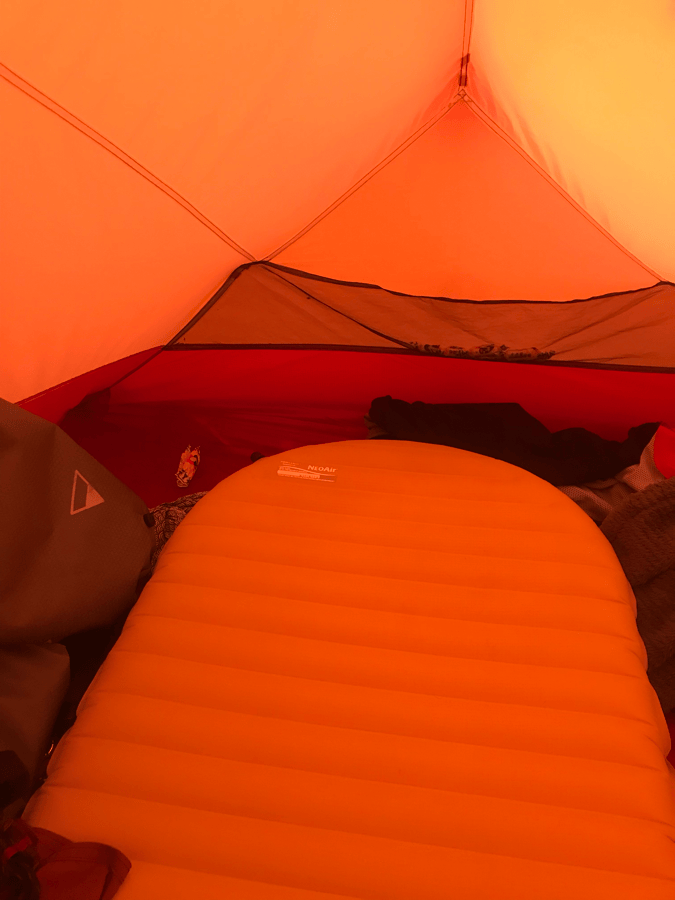
Sleeping pad: Therm-a-Rest NeoAir XLite. I had previously used a Therm-a-Rest egg-crate-style foam pad, but after about two years it had become thinner and less insulating. I worried that an inflatable pad would puncture easily or be difficult to pack. Watching durability tests gave me more confidence, and a repair kit seemed no harder to use than fixing a puncture. Seeing the pad in a shop also showed me that packing it was easier than I had expected. The version I used had a stated R-value of 3.2, compared with 2 for my old foam pad. Lighter, thinner and warmer felt like an excellent combination. Original sleeping-pad link.
Sleeping bag: Down Power Floating Capsule goose-down bag. Its stated comfort temperature was -4°C, and I had previously used it on snow at around -7°C without trouble. The 800-fill-power down compressed enough to fit in a small fork-mounted dry bag alongside a gas canister. One traveler saw it freshly unpacked and wondered whether such a thin bag would keep me warm. A little later, he was just as surprised by how much it had lofted. Original sleeping-bag link.
Food and Water
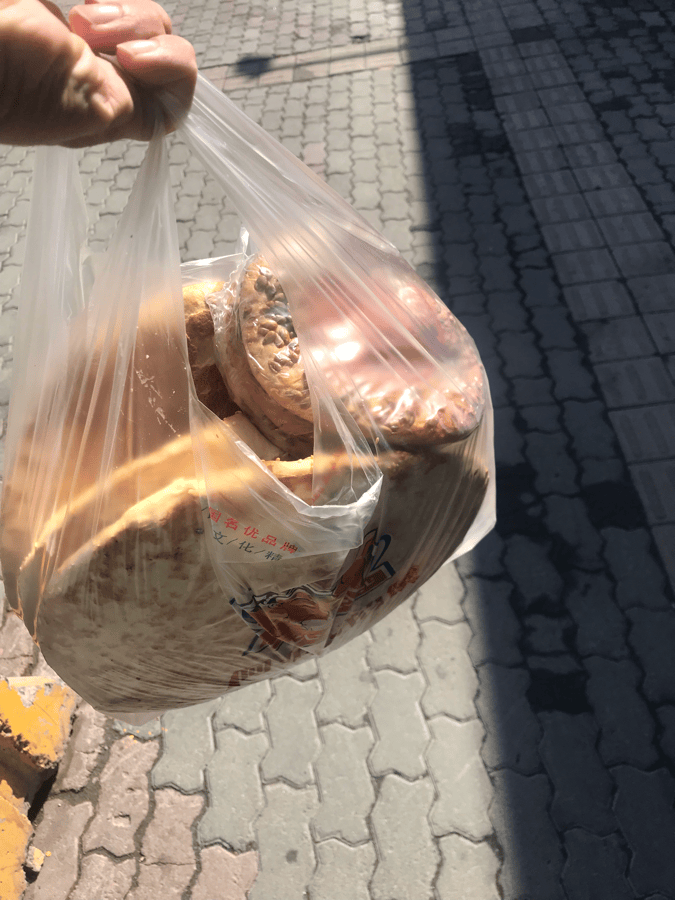
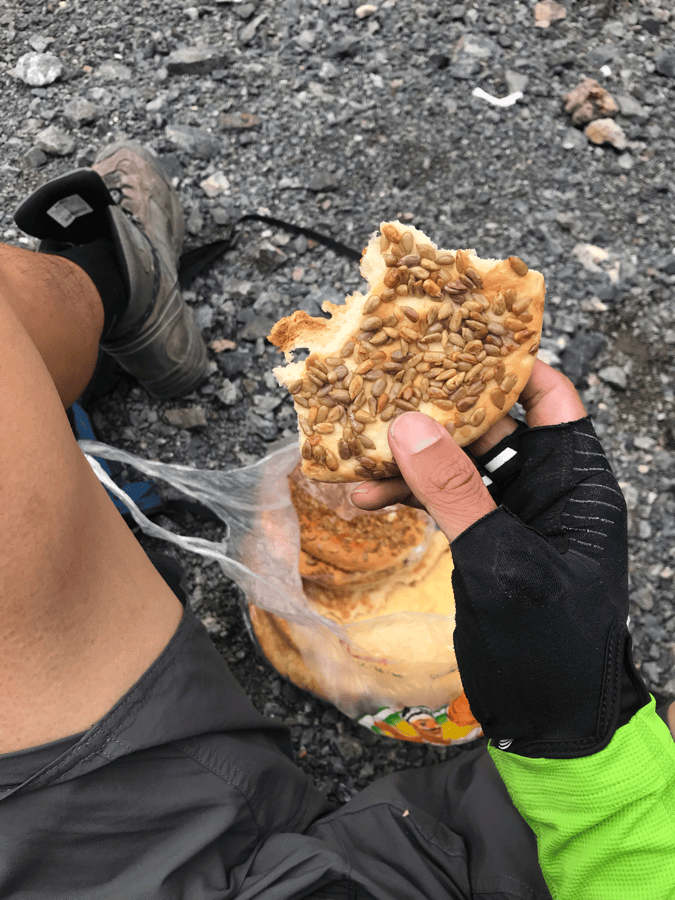
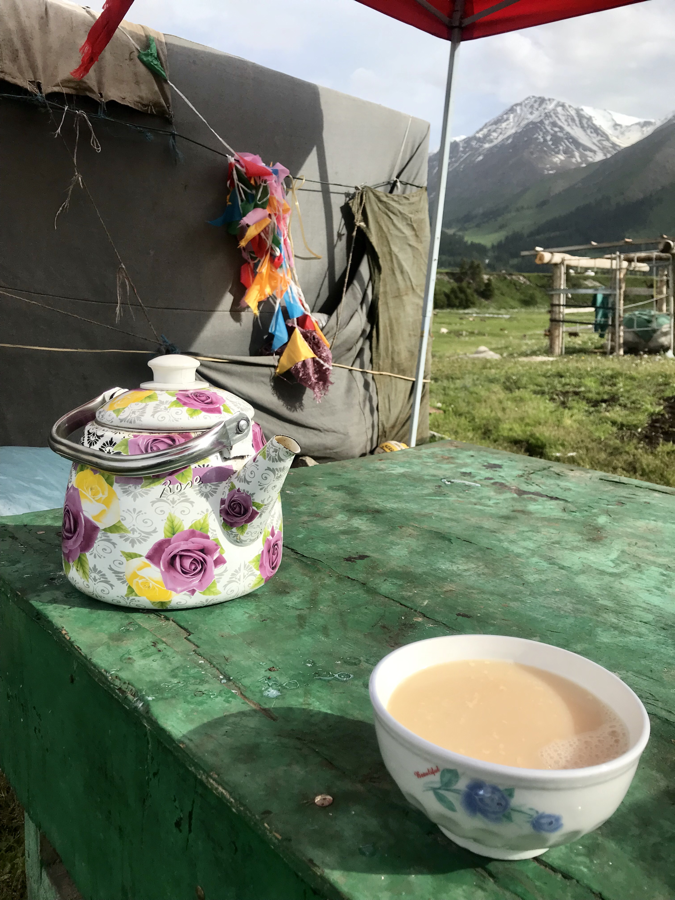
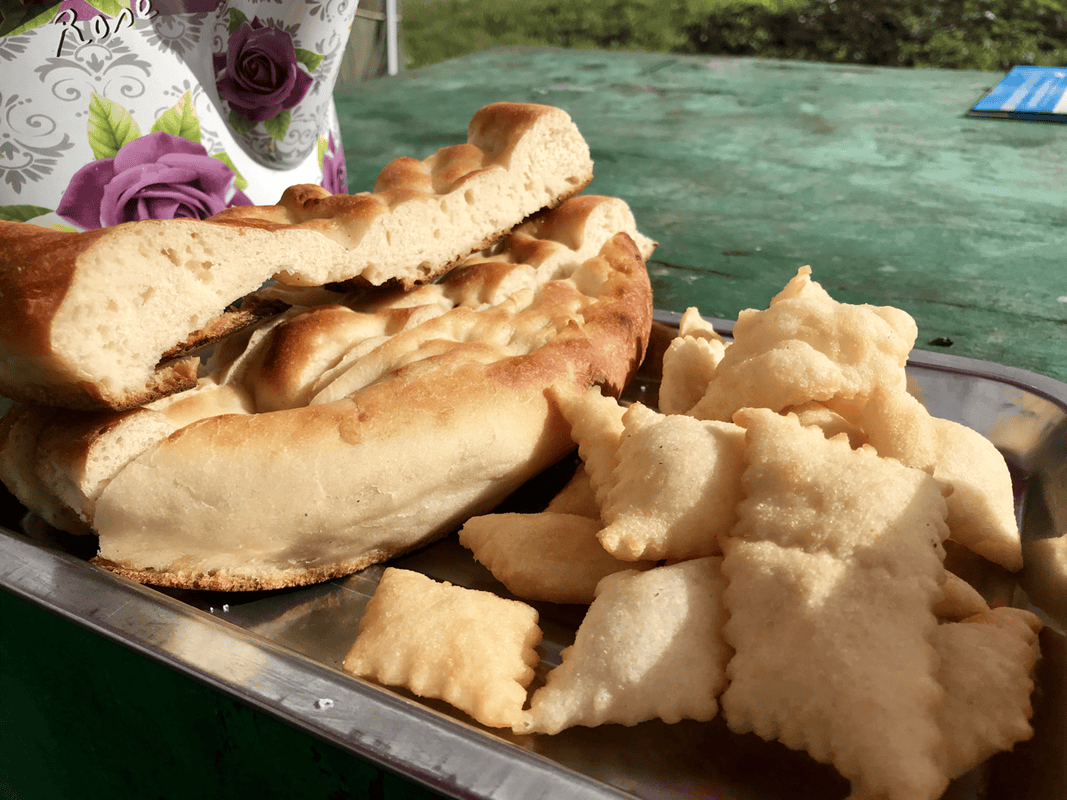
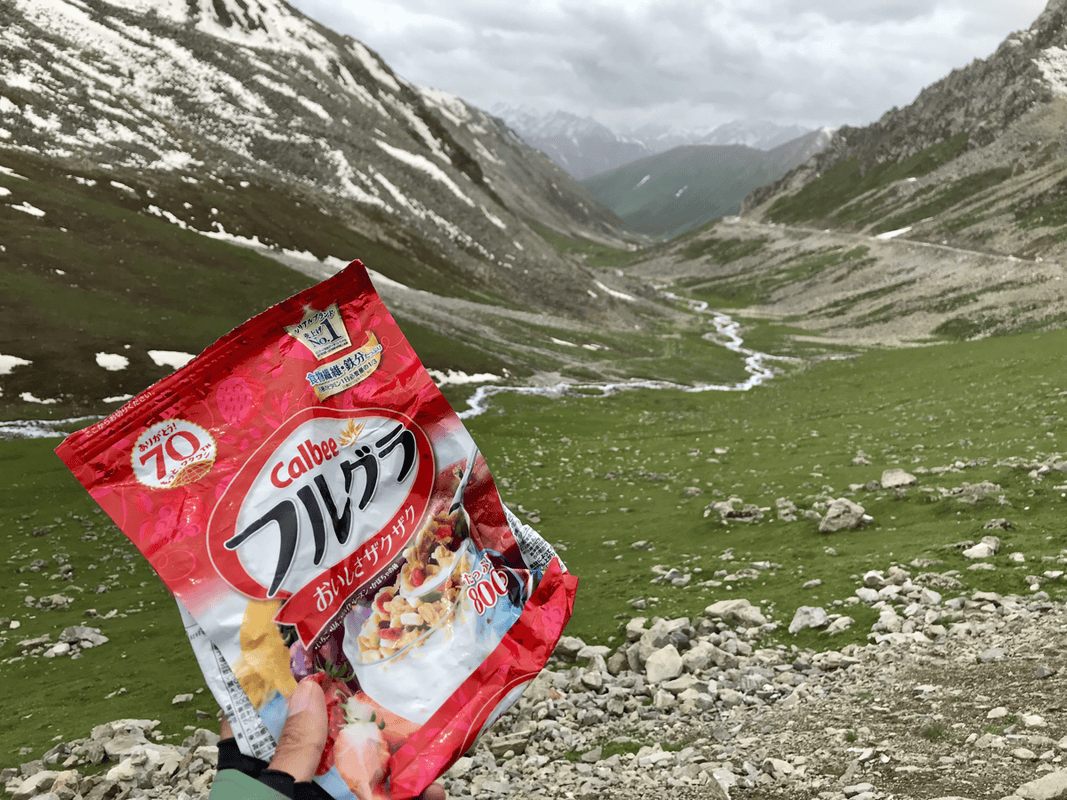
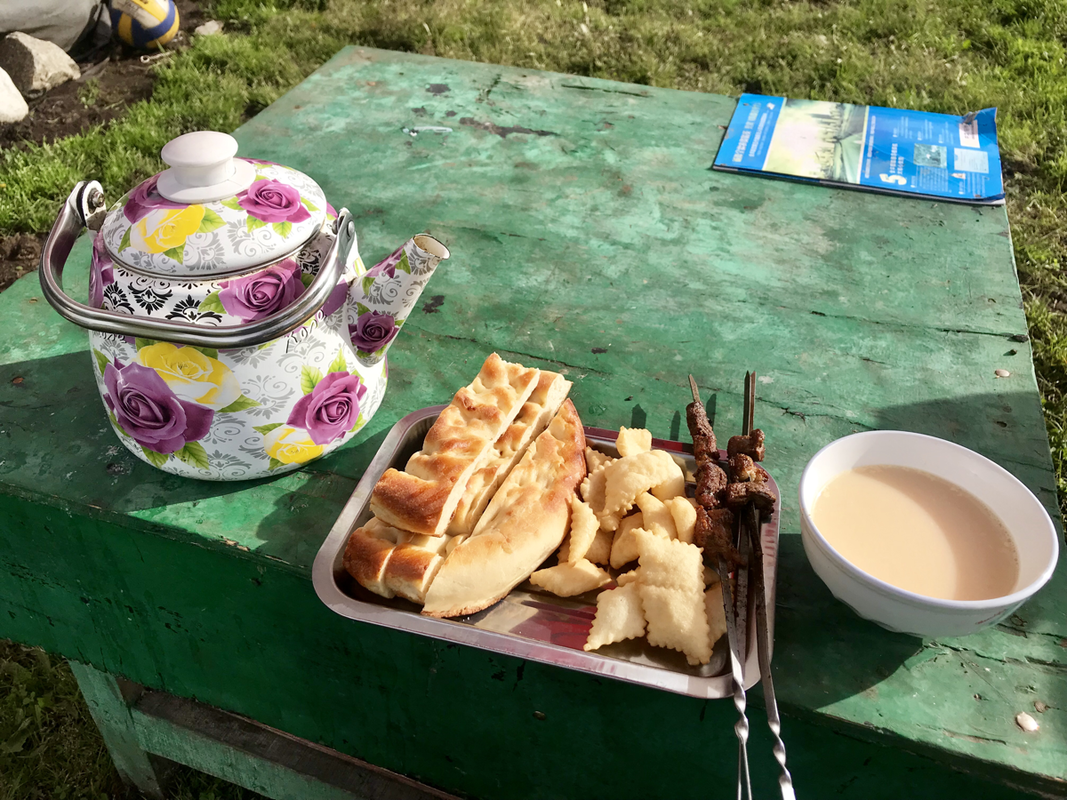
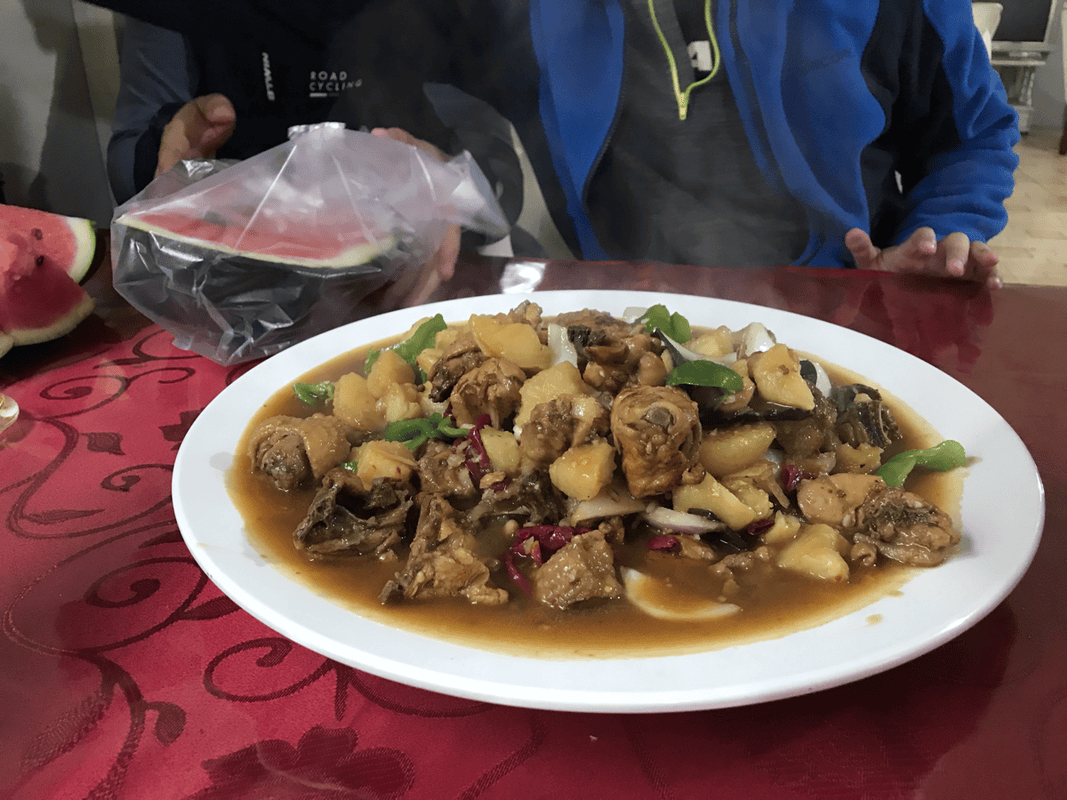
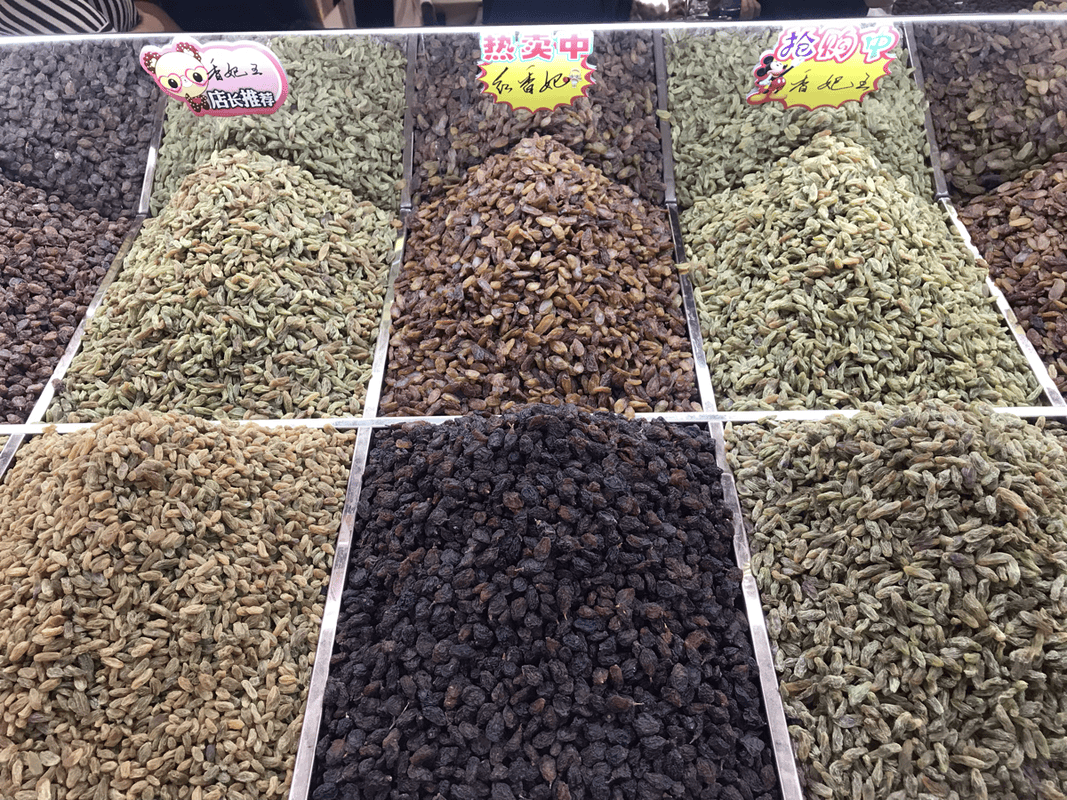
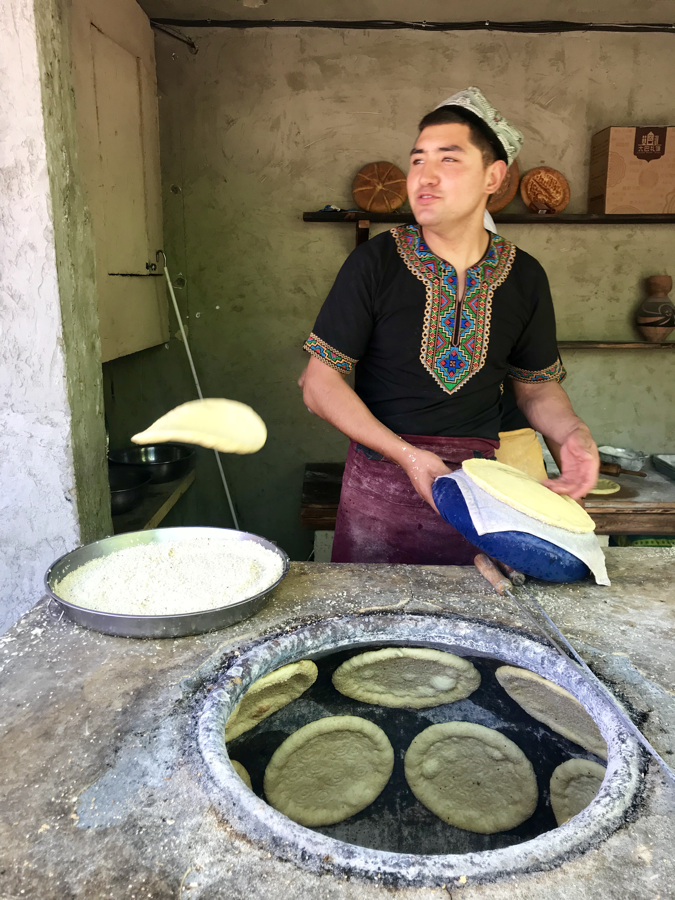
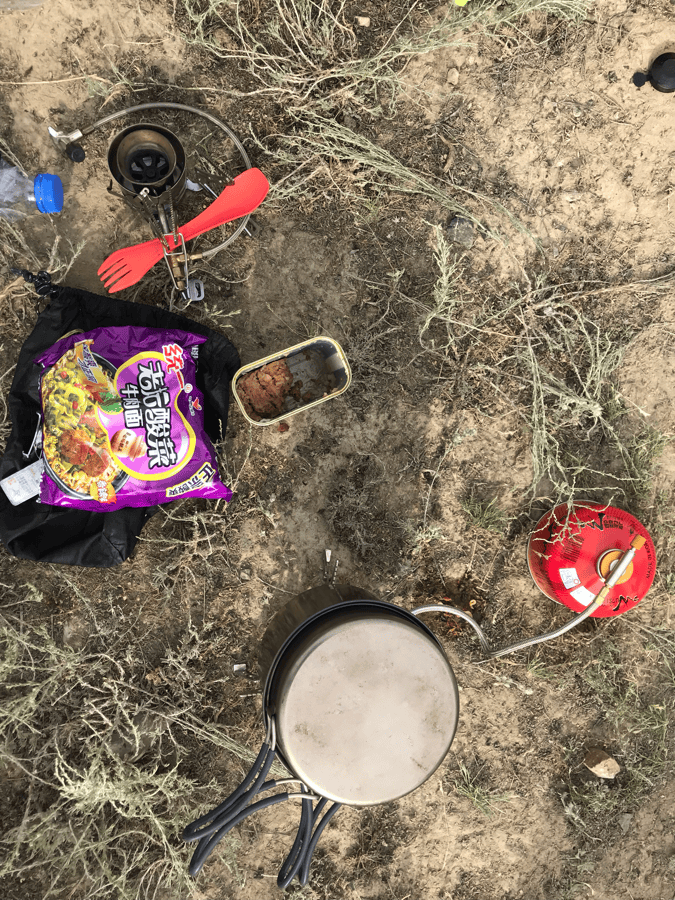
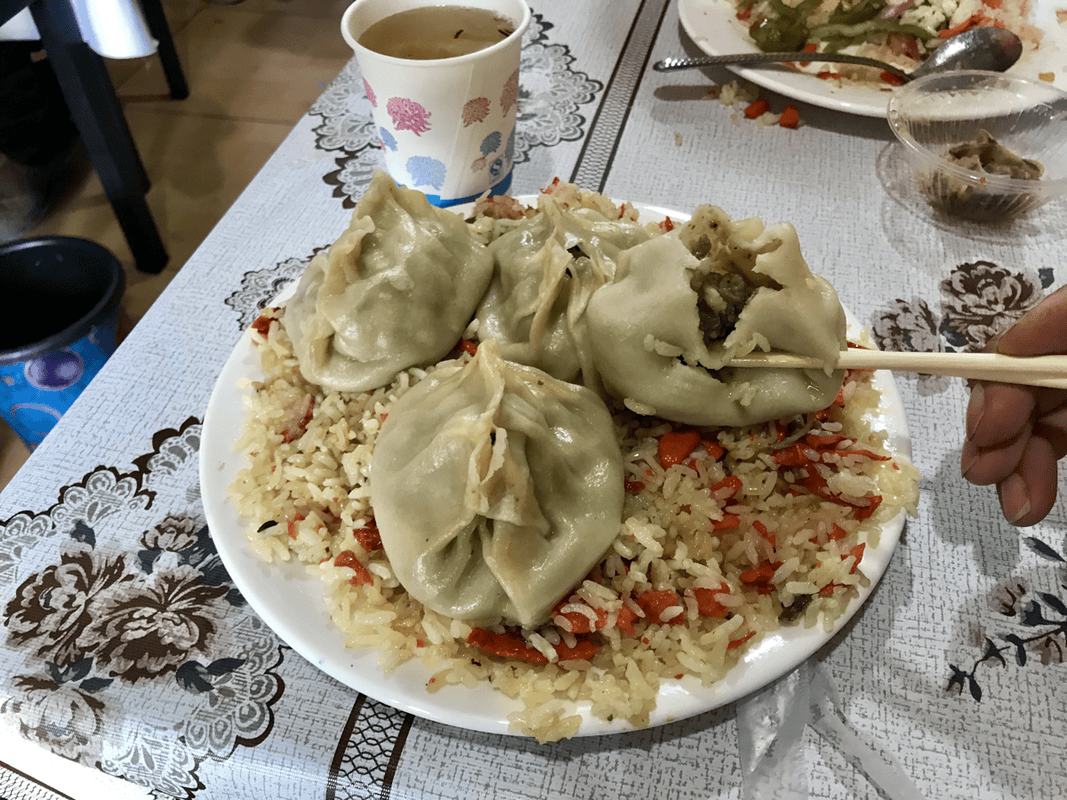
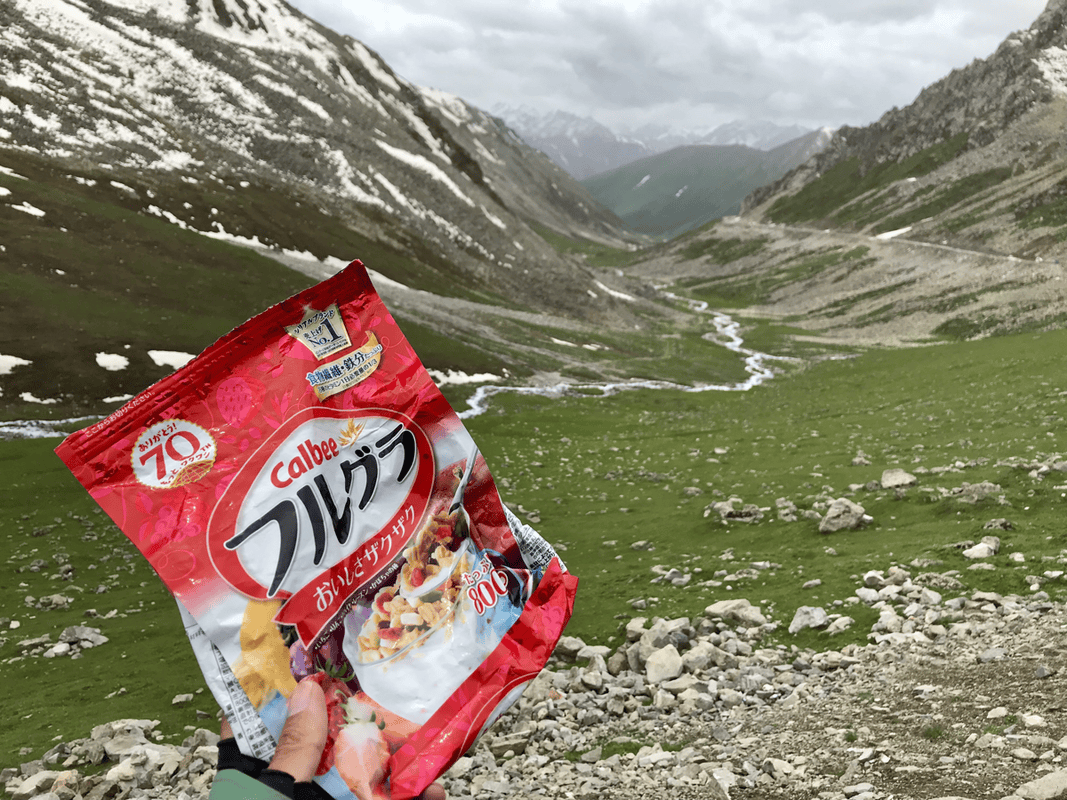
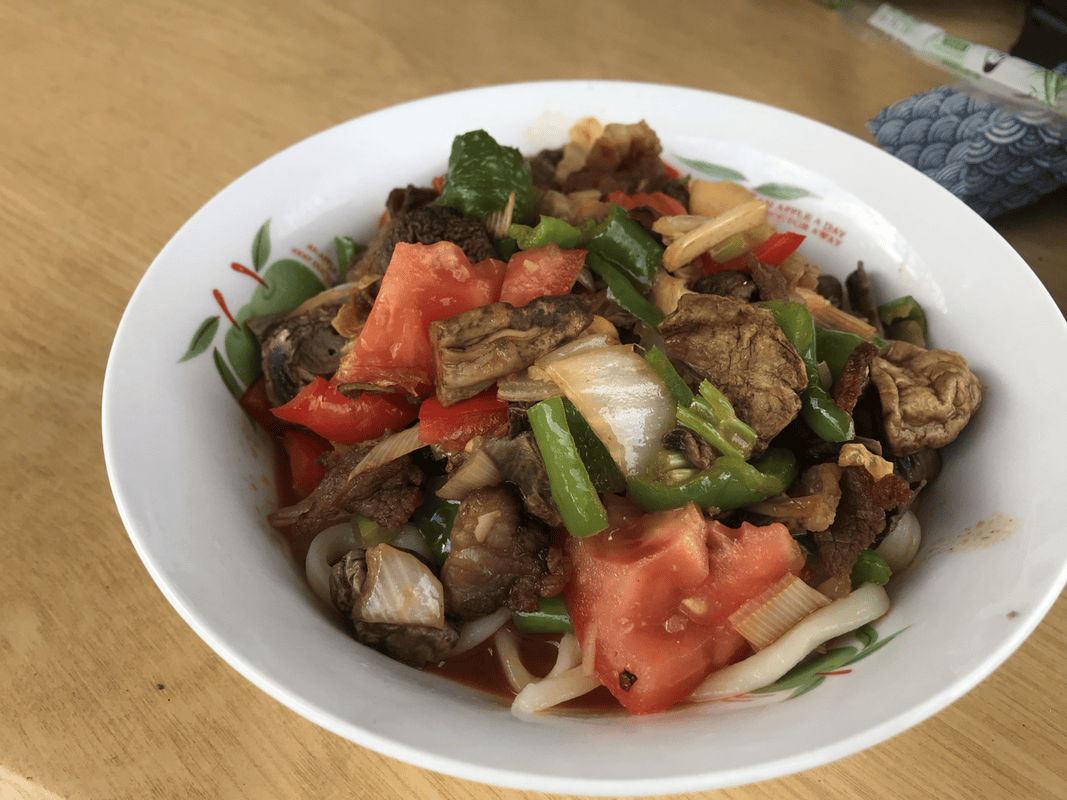
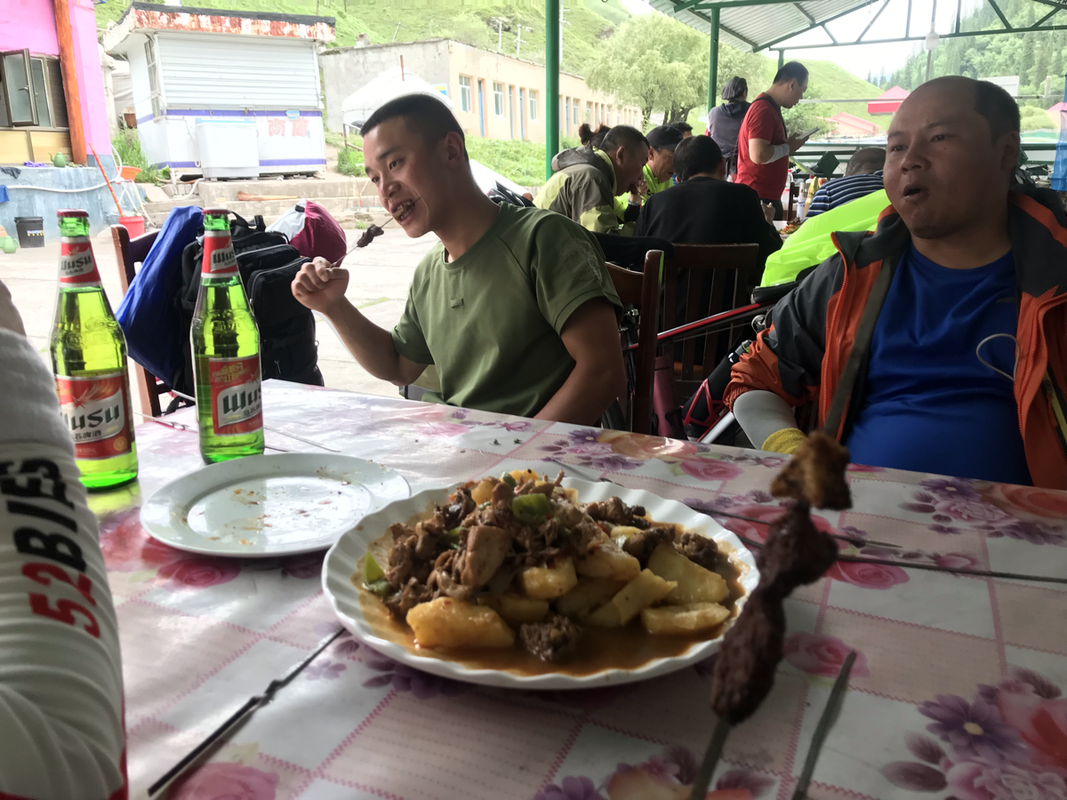
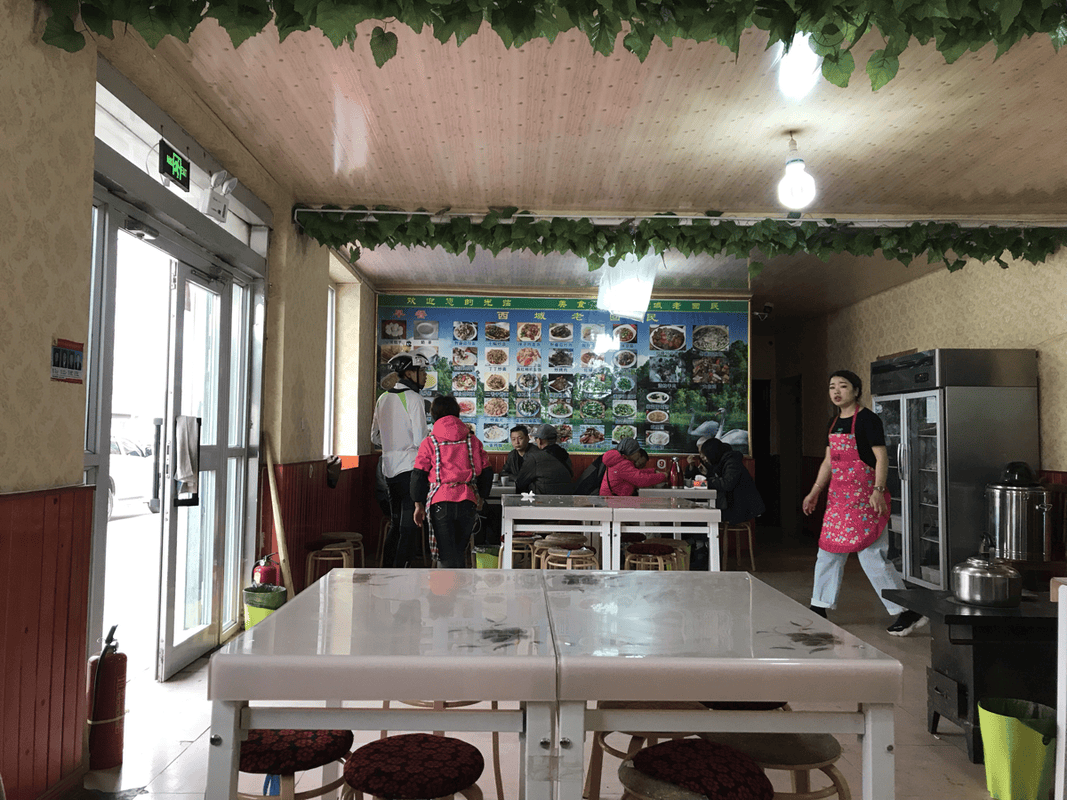
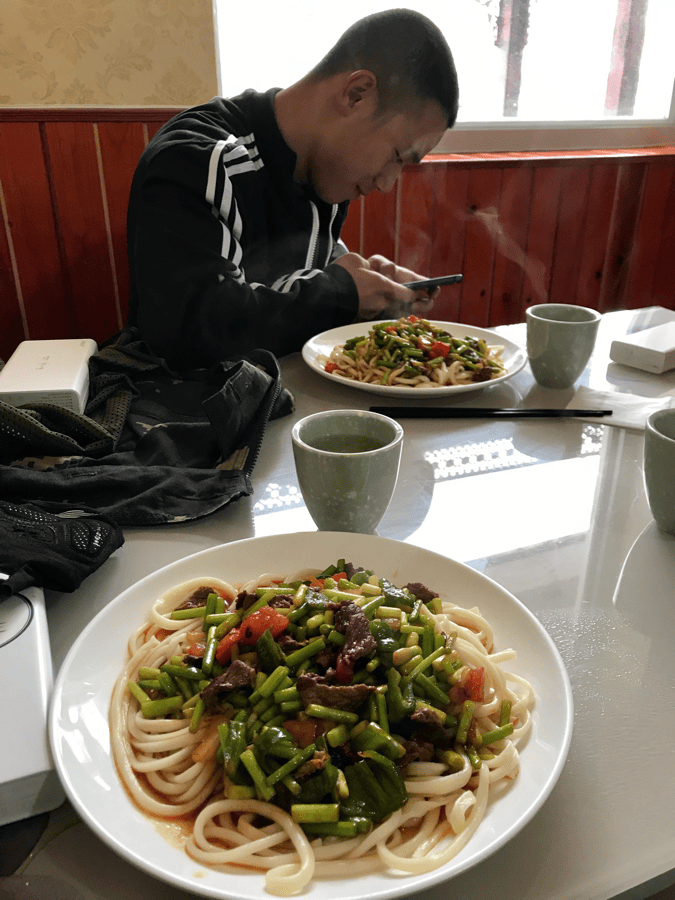
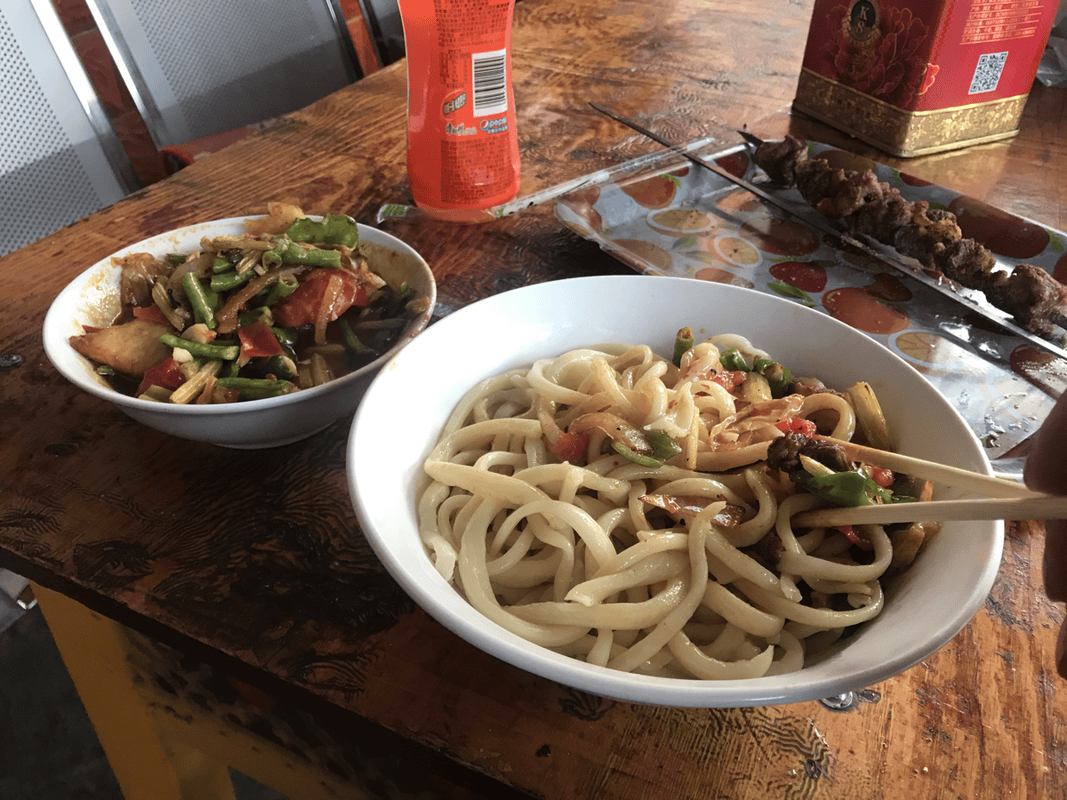
For dinner, I usually joined other travelers at restaurants. I cooked on only three or four days, mostly instant noodles. I found camping gas difficult to buy in Xinjiang, and petrol even harder, so restaurants seemed more practical. While riding, I ate naan, raisins and fruit muesli. I encountered resupply points each day on Duku, so food was not a major concern on my trip. As a bonus, the popcorn was inexpensive and delicious. I often carried a bag or two.
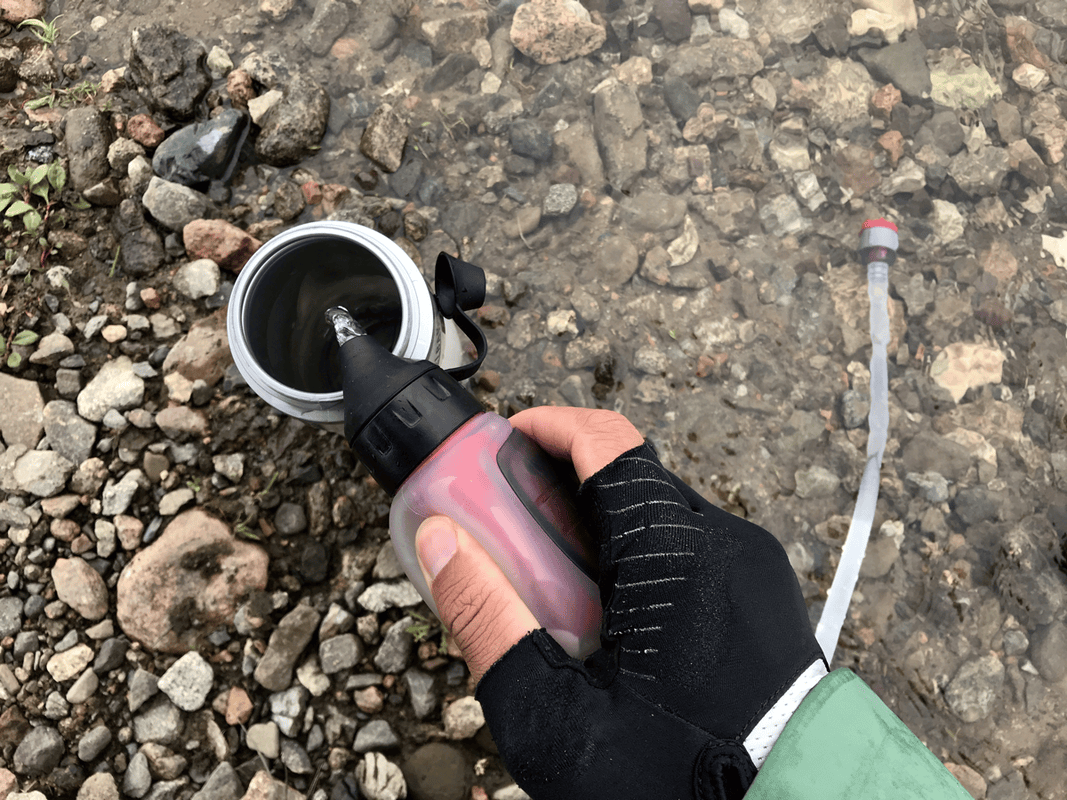
Water was trickier. Refill points were not always easy to find, and much of the available water was so hot it felt capable of melting a bottle. I understood why other travelers carried vacuum flasks. I had a small one, but the water could still be too hot to drink. My just-in-case MSR TrailShot filter proved useful, though more often with tap water than with streams, where I had originally expected to use it.
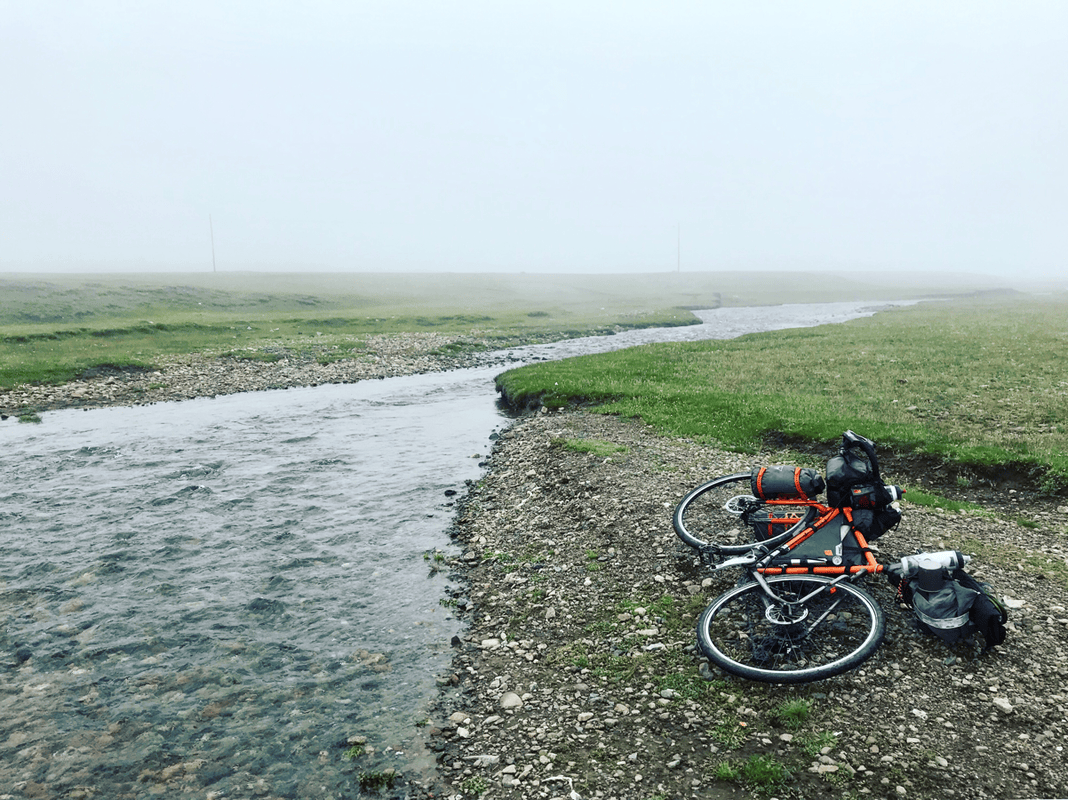
Other travelers told me tap water was officially safe to drink, but I did not see people drinking it directly, and it had a noticeable taste. I chose to filter mine. I usually carried two cycling bottles plus an empty two-liter bottle, filling the larger one near the place where I planned to spend the night. When my cycling bottles ran out, I filtered water from the larger bottle. I also filtered stream water on the grassland, which tasted much better to me. The TrailShot had gone unused in Japan but saw plenty of use on this trip. Original water-filter link.
Editor’s clarification: The paragraph above records the author’s experience, not a guarantee of drinking-water safety or of a particular filter’s suitability for every water source.

Route Notes
Before riding Duku, I struggled to find detailed route information online. A YouTube channel called Qichuang Zhi Lu had documented a six-day ride, explaining climbs and resupply points in detail. I took notes and used them as my starting guide. Watch the original route video.
On the road, I met other cyclists and exchanged information. Someone gave me a route sheet with landmarks, villages, kilometer markers and useful advice. Elevation figures were particularly confusing: the same pass might be listed as 3,700 meters in one account and 3,400 in another. In the end, I still had to pedal over it. The notes below combine that route sheet with my own experience, in the hope of helping future riders.
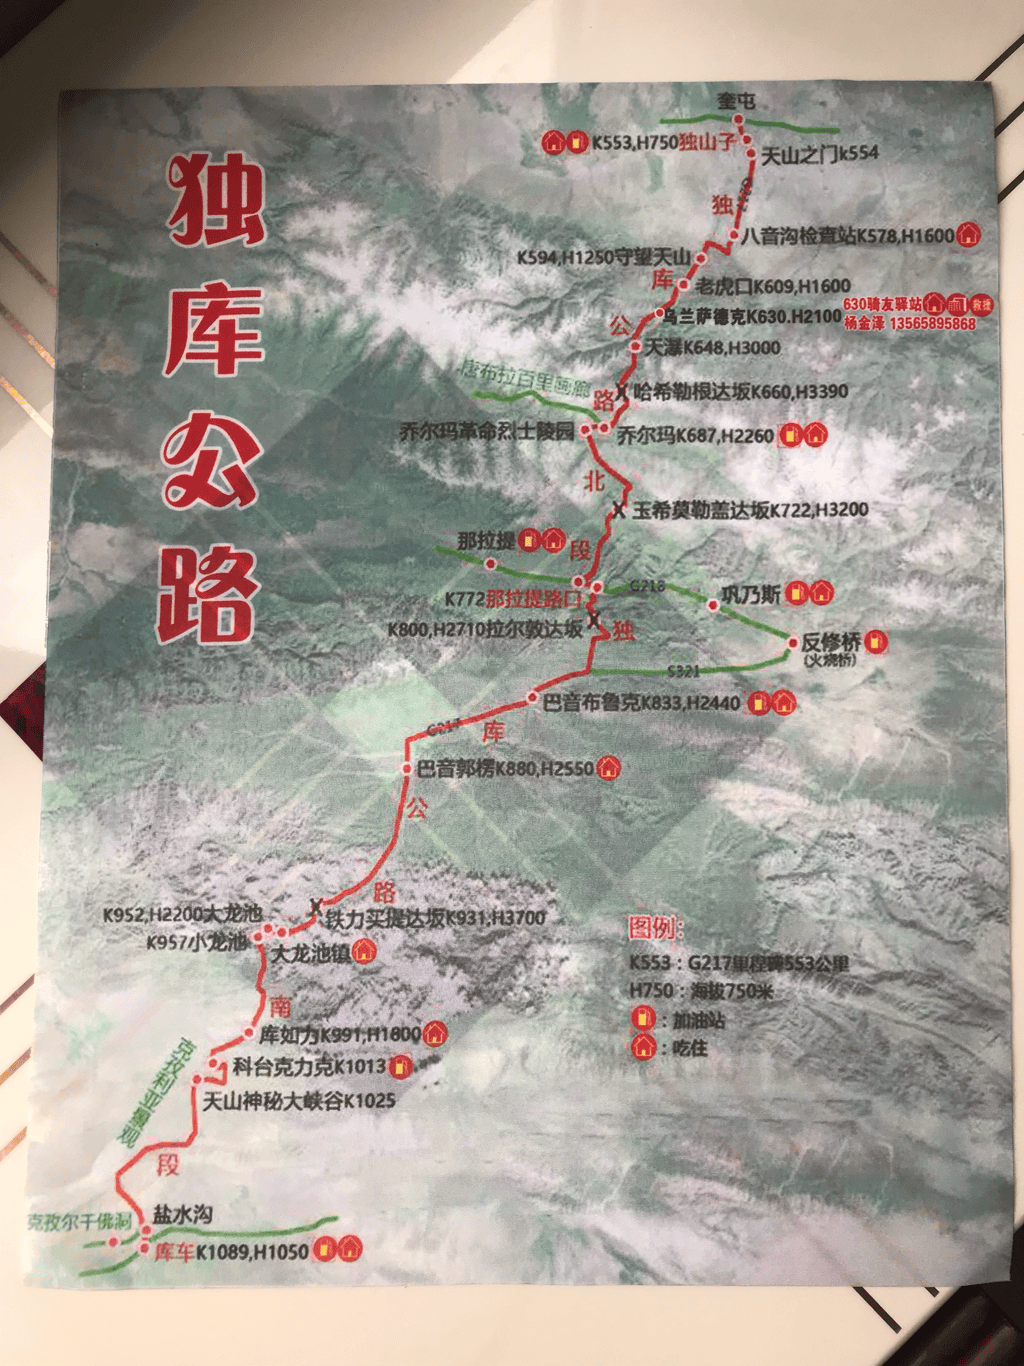
Route notation: K refers to the source’s road kilometer markers; H indicates elevation in meters. These are not necessarily distances ridden from the start of a day.
Days 0–1: Preparing in Urumqi
- When I arrived at Urumqi Airport at night, it was possible to stay overnight. It was noisy, but nobody moved me on.
- The city was only a little over ten kilometers from the airport, but road conditions and traffic made the ride slower than expected.
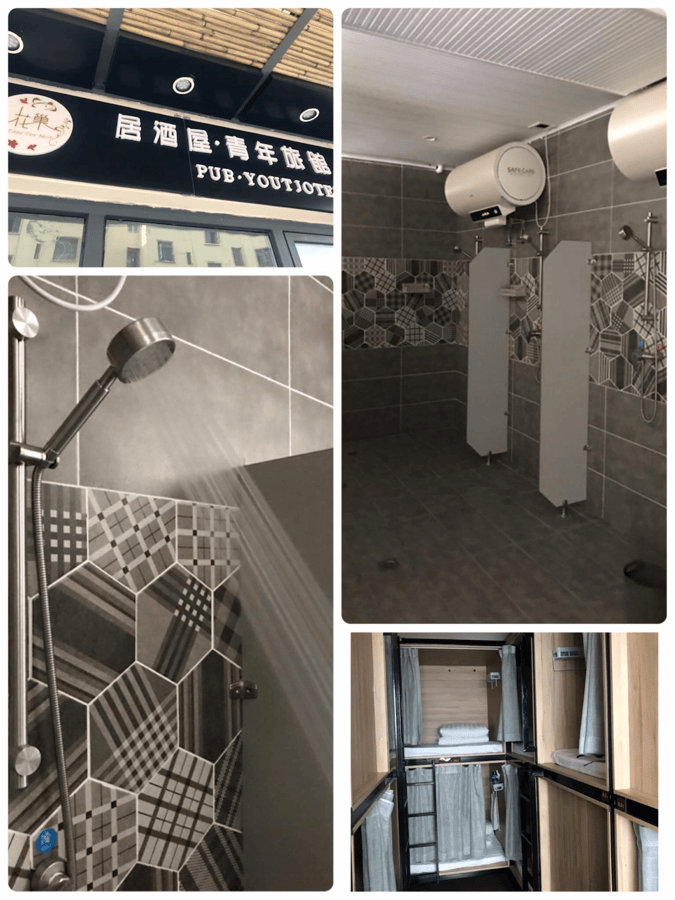
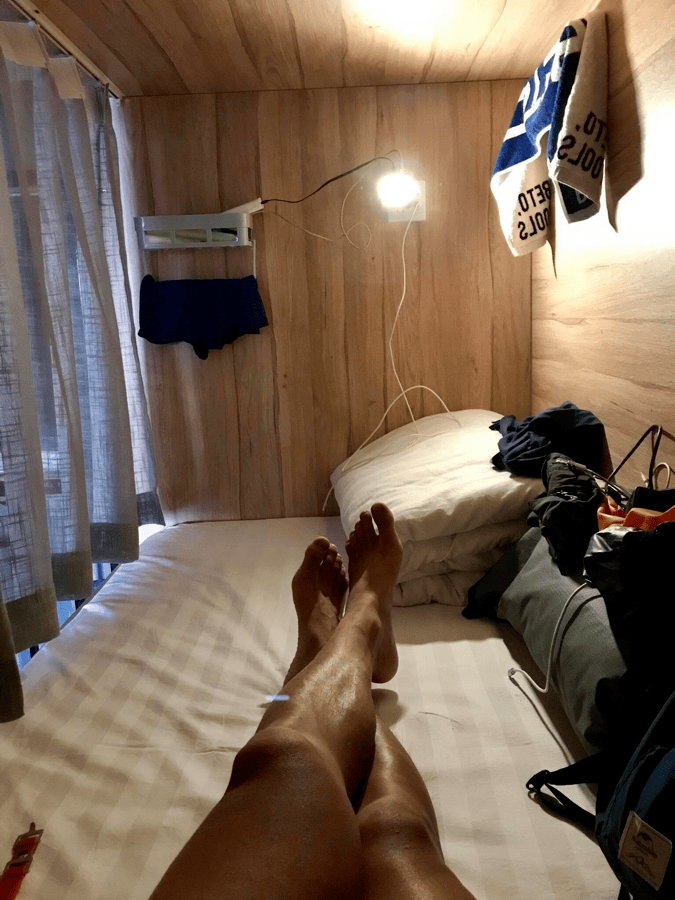
- I stayed at Ziyoulv Youth Hostel, with four- and six-person rooms at around RMB 50 per night. Online booking could be cheaper, and it was a good place to meet travelers and cyclists. Original accommodation link. The source later noted that another cyclist reported its closure and suggested Maitian Youth Hostel instead.
- Nearby were the well-known Abula naan bakery and a dried-fruit market. Both became important sources of food for my ride.
- Local bike shops were useful for finding a box for the return journey. Some gave boxes away; others charged around RMB 10.
From Urumqi, I followed the S115 toward Dushanzi, the northern gateway to Duku. The roughly 250-kilometer journey took me two days: about 150 kilometers to Shihezi, then a little over 100 more to Dushanzi. Three days would have been easier:
- Urumqi to Changji, about 40 km: If you can find accommodation, stopping here breaks up what would otherwise be a tiring 150-kilometer day to Shihezi.
- Changji to Shihezi, about 110 km: I noted Huachao Youth Hostel and Baijia Liangpi as options for sleeping and eating. The woman running the food shop was lovely.
- Shihezi to the roadside near Dushanzi, about 116 km: I could not find a suitable hotel accepting travelers in my category, so the original plan suggested camping near the Duku Highway. Choose locations carefully: the source mentioned an artillery training area nearby. Dushanzi was the last place to stock up on water, dinner supplies or instant noodles before continuing.
Between Shihezi and Dushanzi, several checkpoints asked me either to ride in their vehicle to the next checkpoint or to let a vehicle follow me for safety. The intercity roads did not interest me much, and the scenery was ordinary, so I accepted lifts totaling about 80 kilometers.
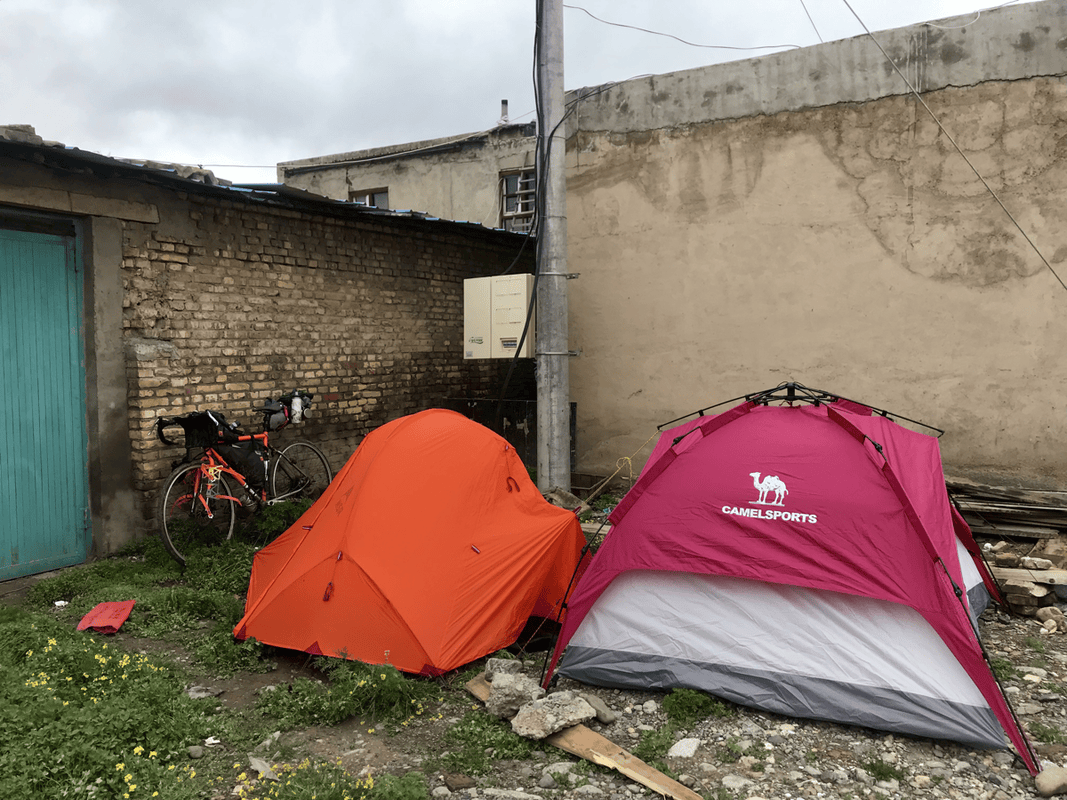
In Dushanzi, the hotels that could take me cost RMB 300–400 per night, more than I wanted to spend. I continued onto the Duku Highway and camped beside the road with other travelers already there.
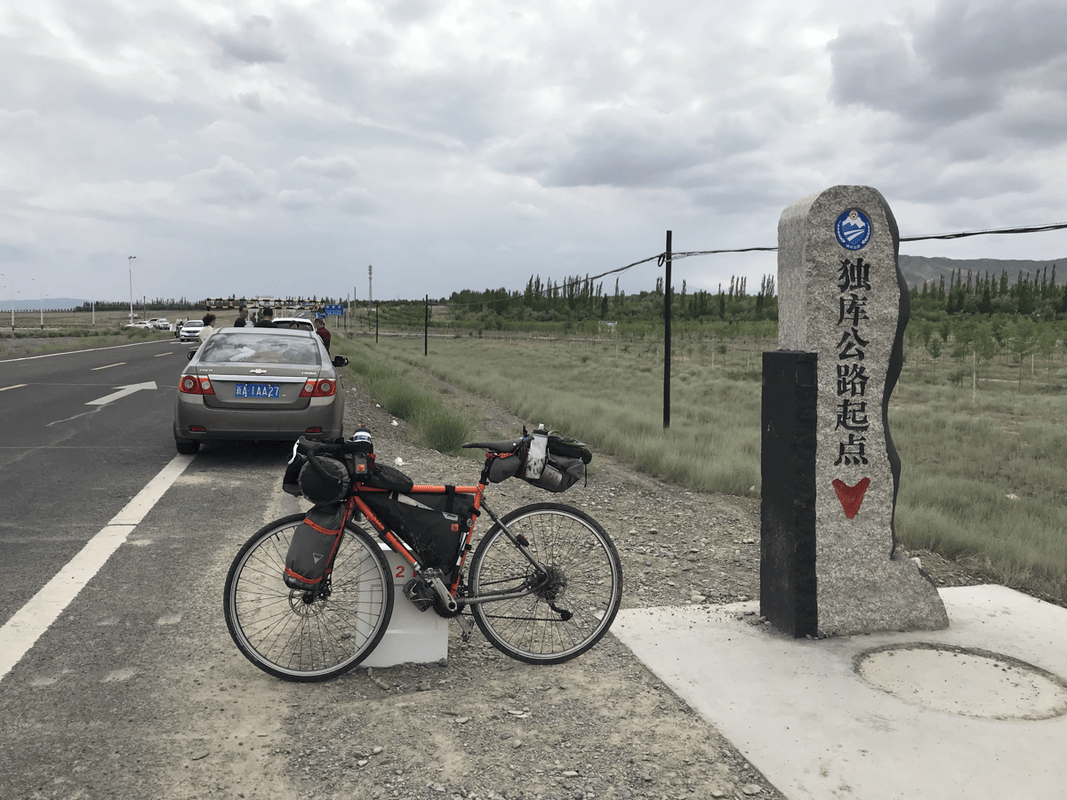
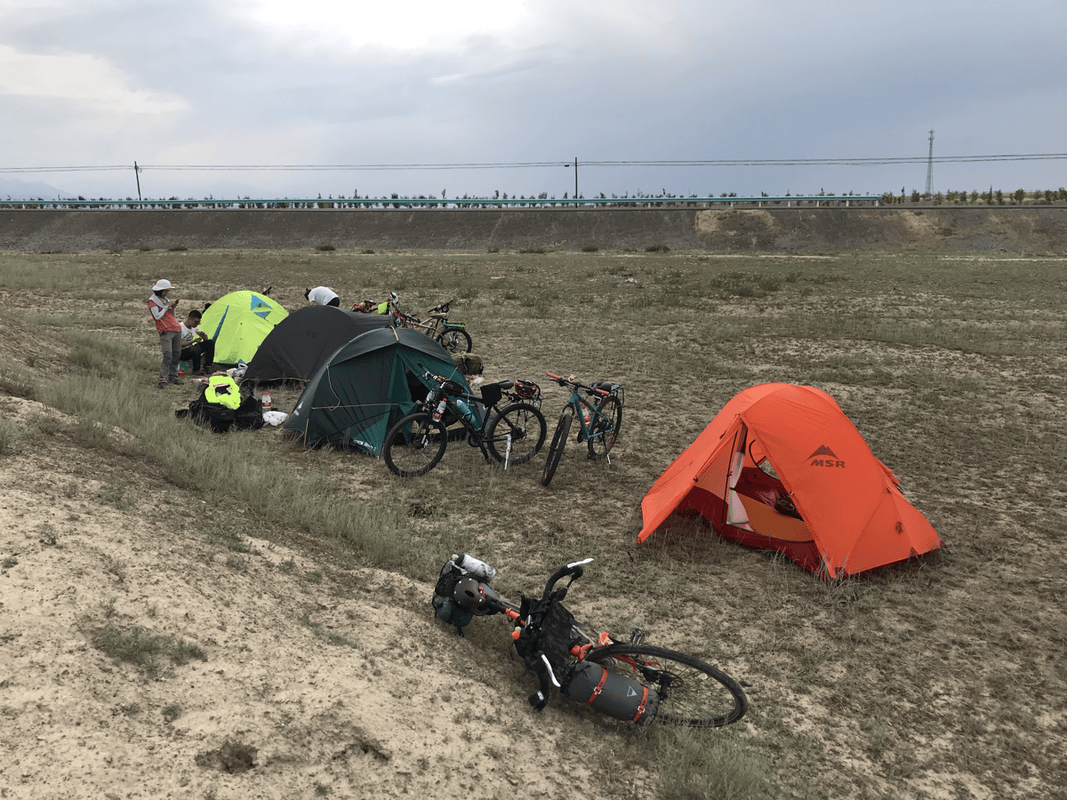
Onto the Duku Highway
Day 1
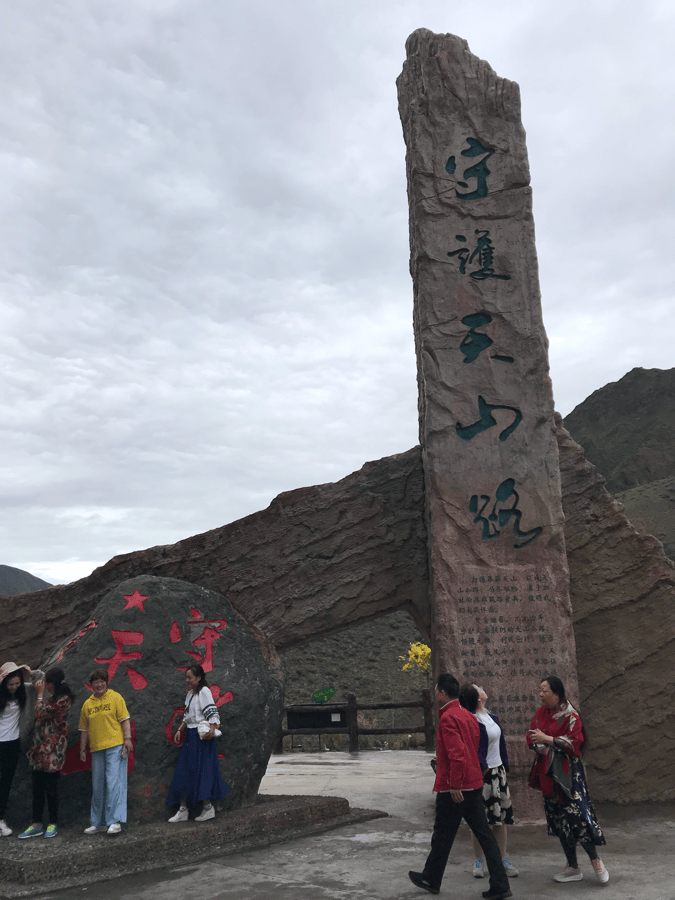
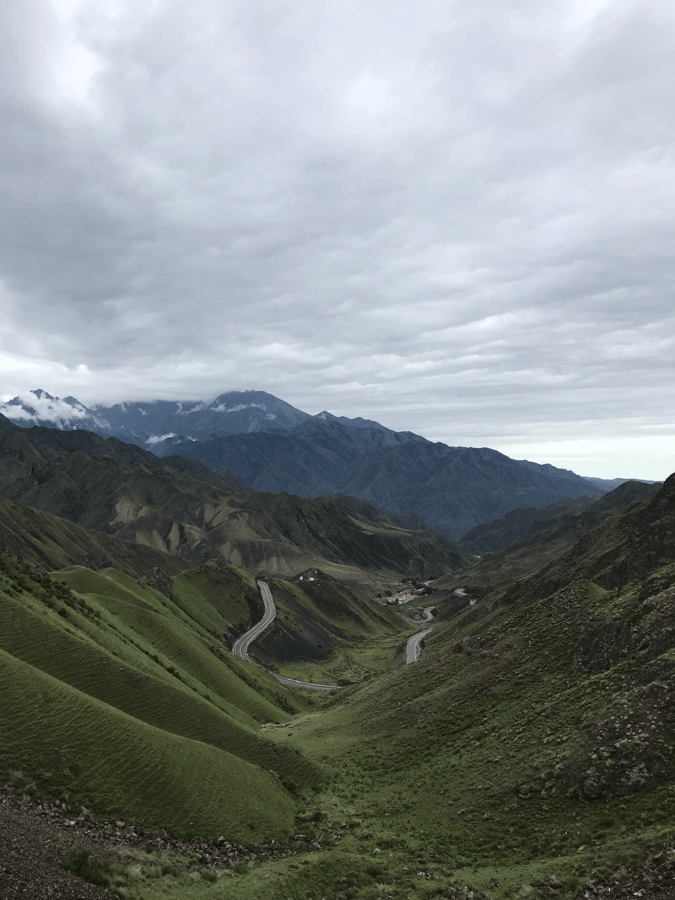
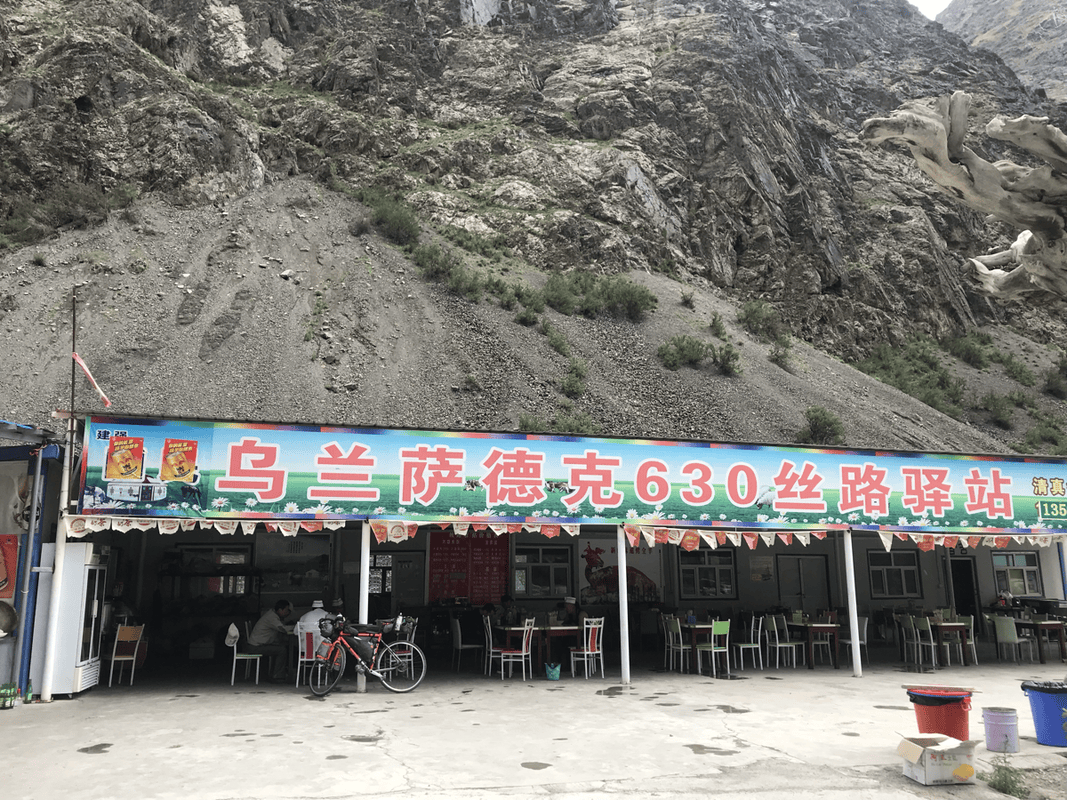
Route: Kuitun (H500) → 15 km → Dushanzi (K553, H750) → Bayingou checkpoint, locally called Kazi (K578, H1600) → high point (K584, H1900) → downhill to Maoliugou road-maintenance station (K591, H1400) → Shouwang Tianshan monument (K594, H1250) → Laohukou (K609, H1600) → Wulansade road-maintenance station (K631, H1750).
Distance: 89 km. Cumulative: 89 km.
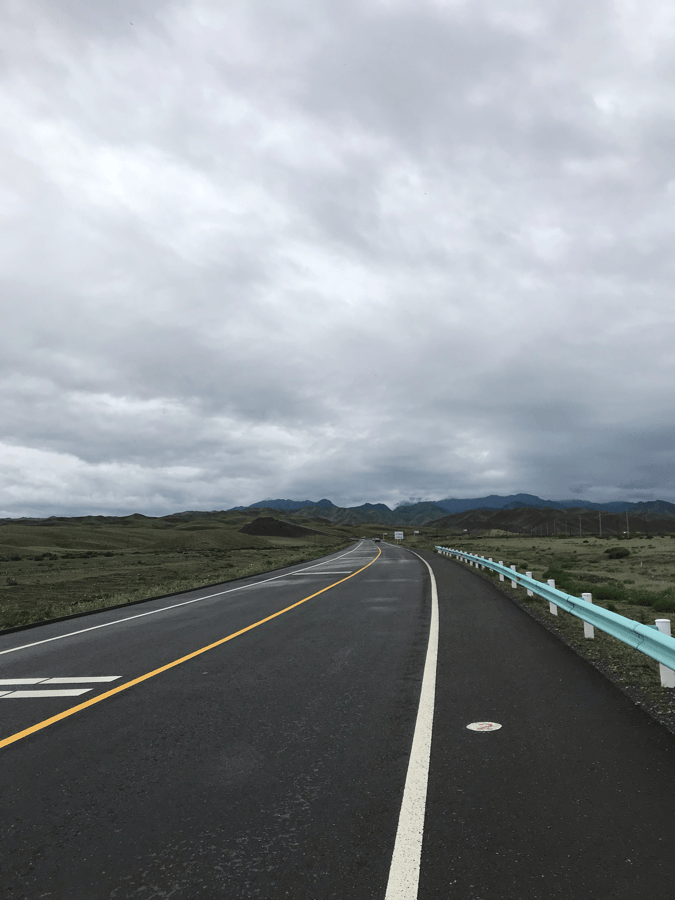
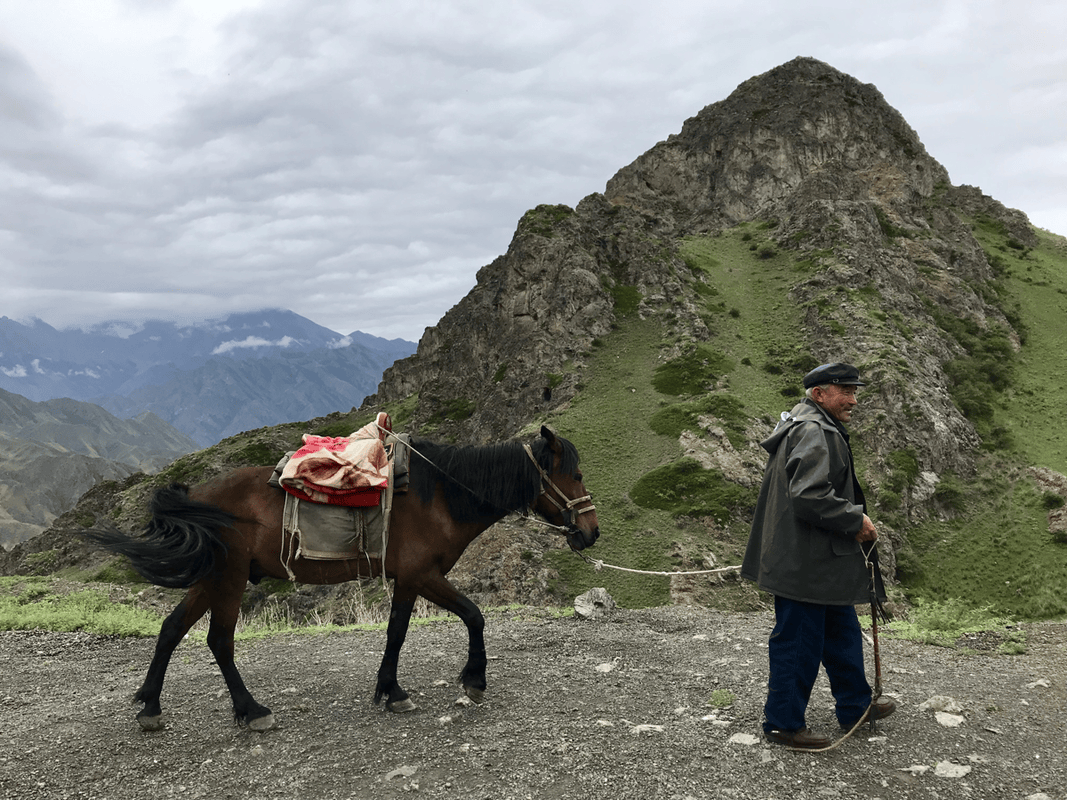
My actual ride differed slightly because I had already covered Kuitun to Dushanzi and started onto Duku the previous day. Even with a shorter distance, this was my hardest day on the highway. Elevation was not especially high, but the total climbing was greater than on any other day. At first, the straight road across the broad plain looks flat, yet it climbs steadily.
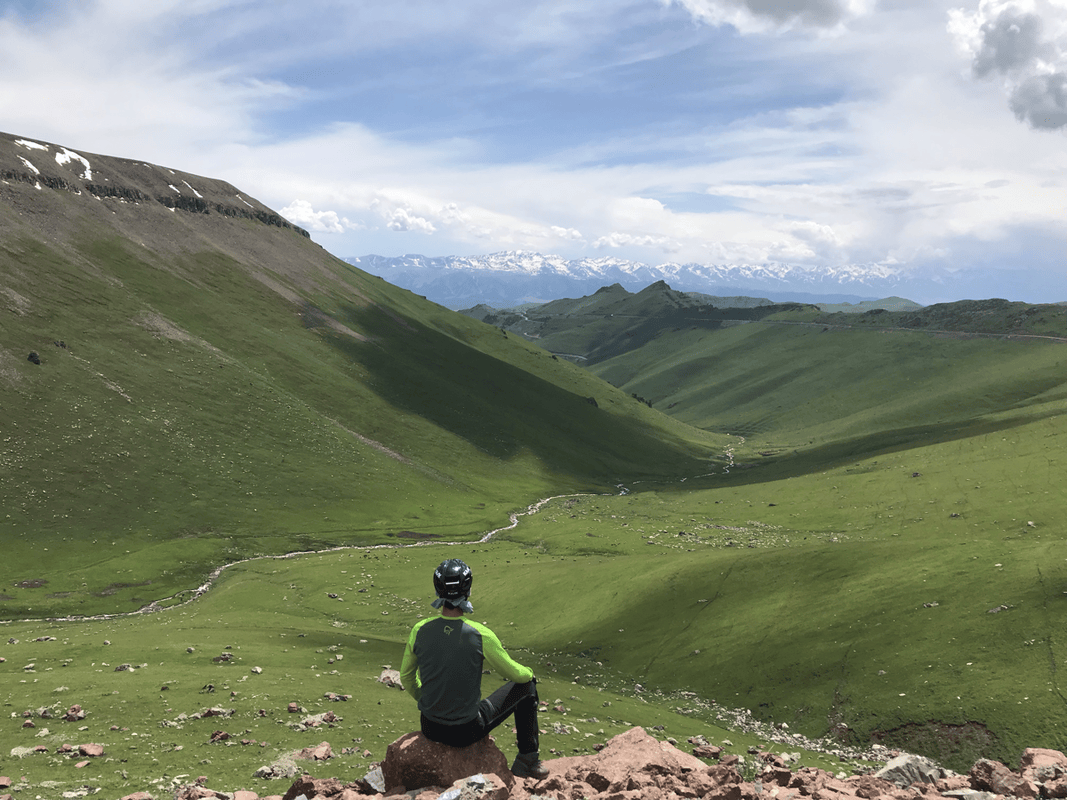
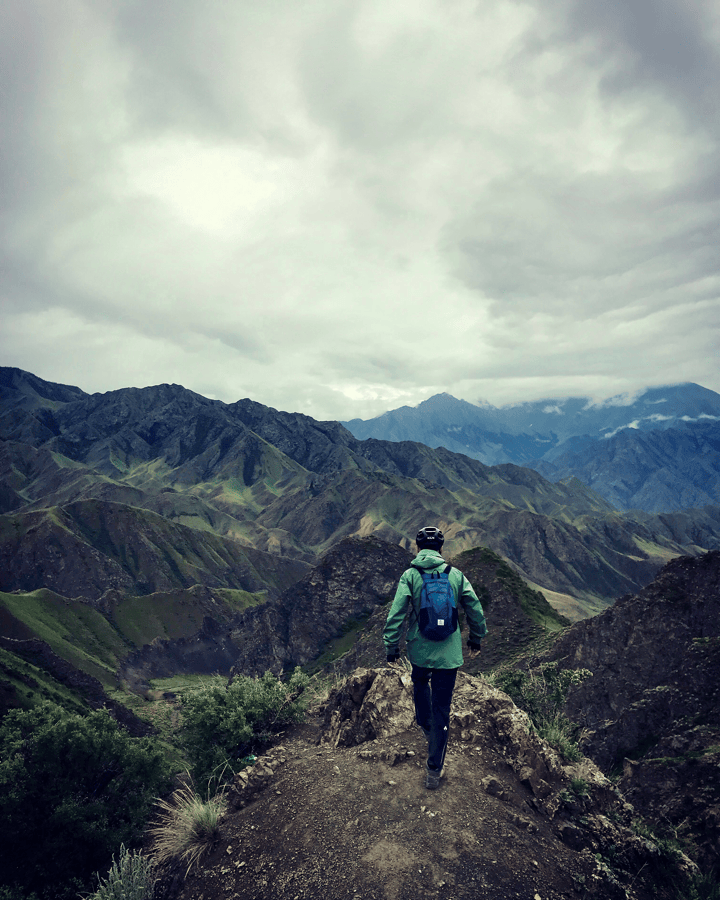
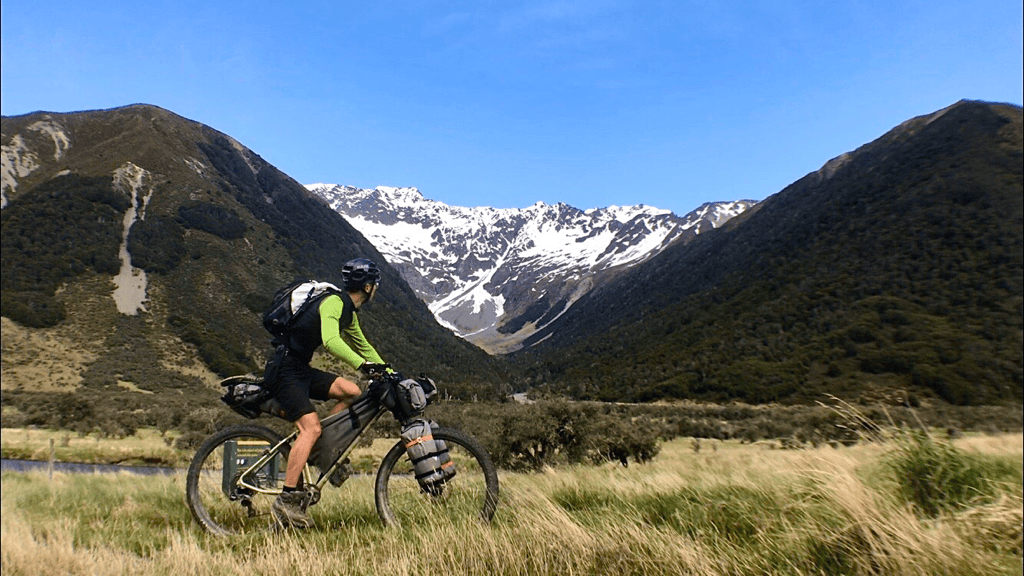
After Bayingou checkpoint at K578, where supplies were available, the real climbing began. The road wound up the hillside and became steeper. The gradient toward the first high point was fairly consistent, and finding a rhythm helped. At the top, I recommend stopping and walking onto the nearby slope to see overlapping mountain ridges stretching to the horizon. It was my first real sense of the scale of the Tian Shan, and I was deeply moved. Keep an eye on your bike: passersby may move it to take photos.
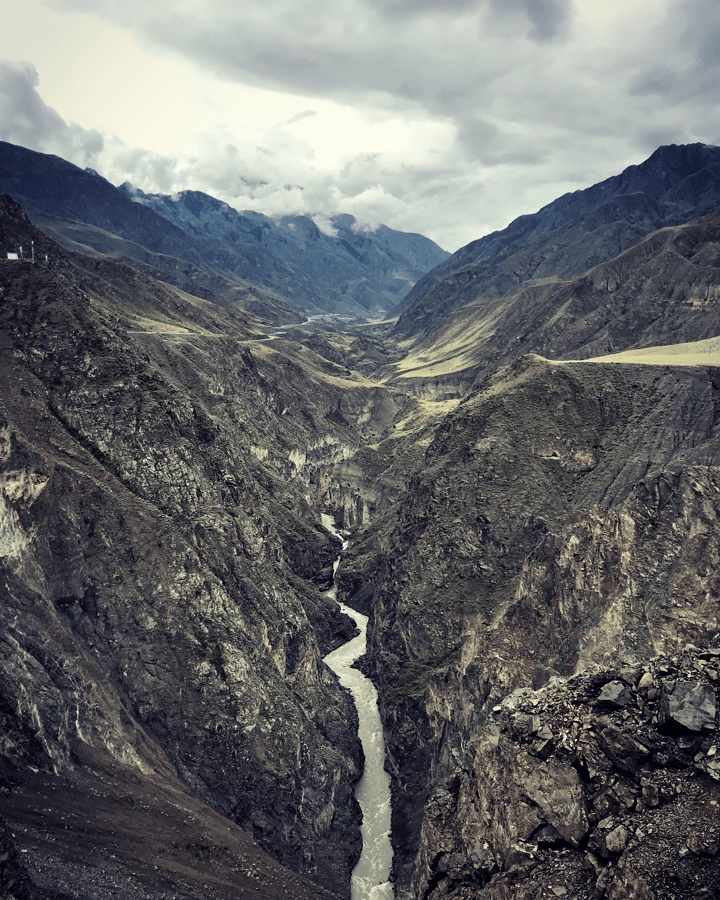
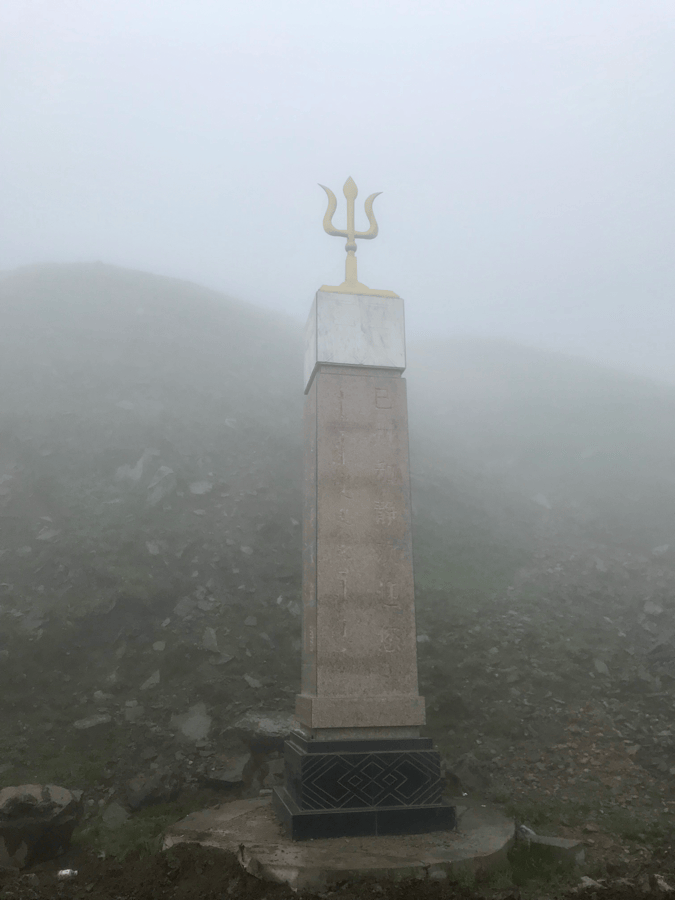
The original narrative labels this first high point K854, while its route list places it at K584; that inconsistency is retained here for transparency. Beyond it came a series of descents, resupply at Maoliugou (K591), and the busy Shouwang Tianshan monument (K594), which did not particularly appeal to me. Rolling terrain followed. I loved stopping to look into the deep river valley and at the small pastoral trails on the opposite side.
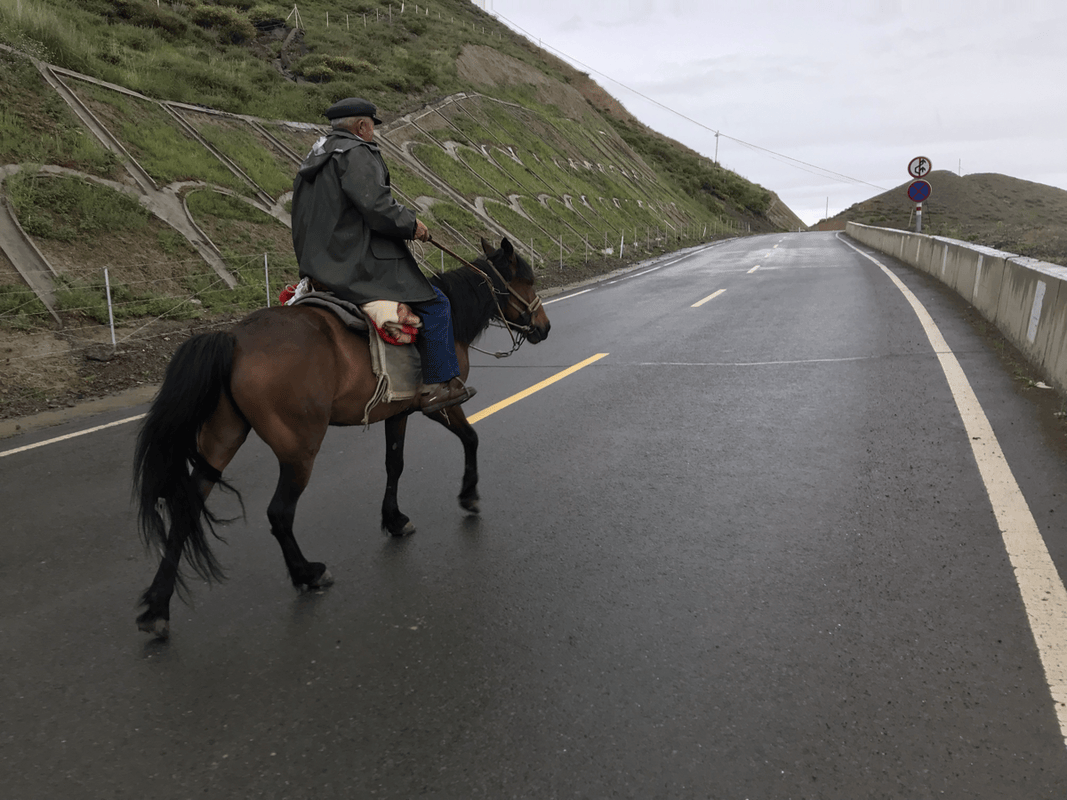
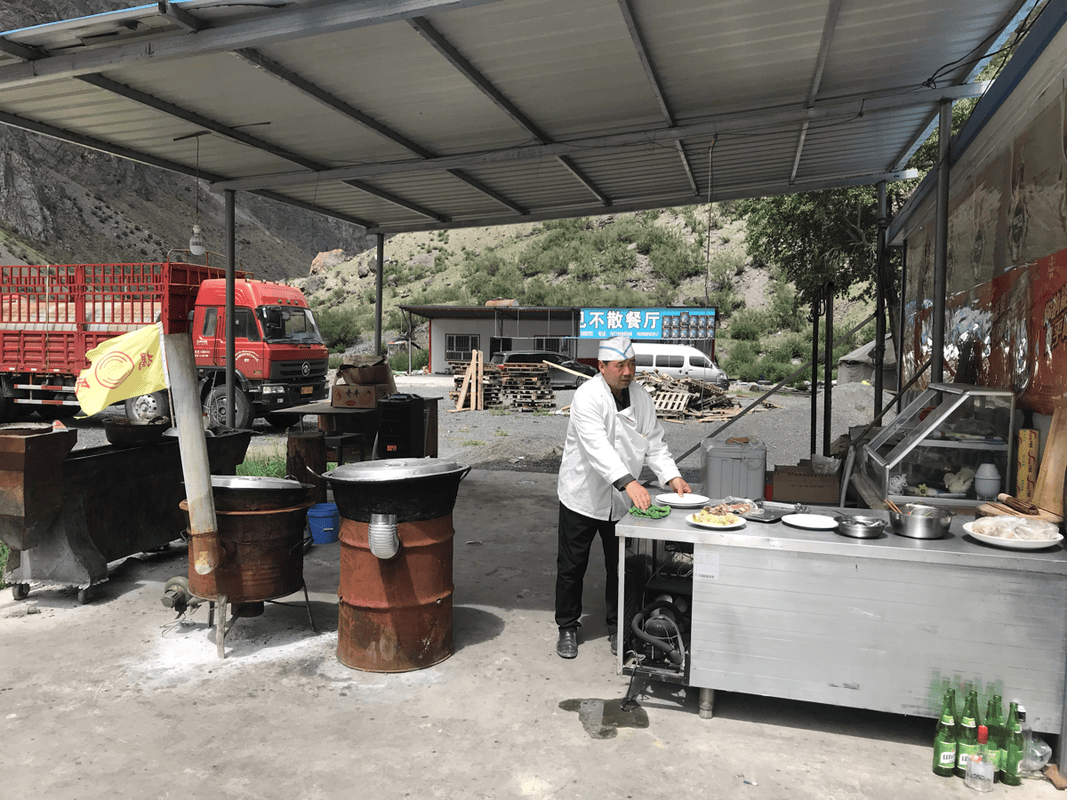
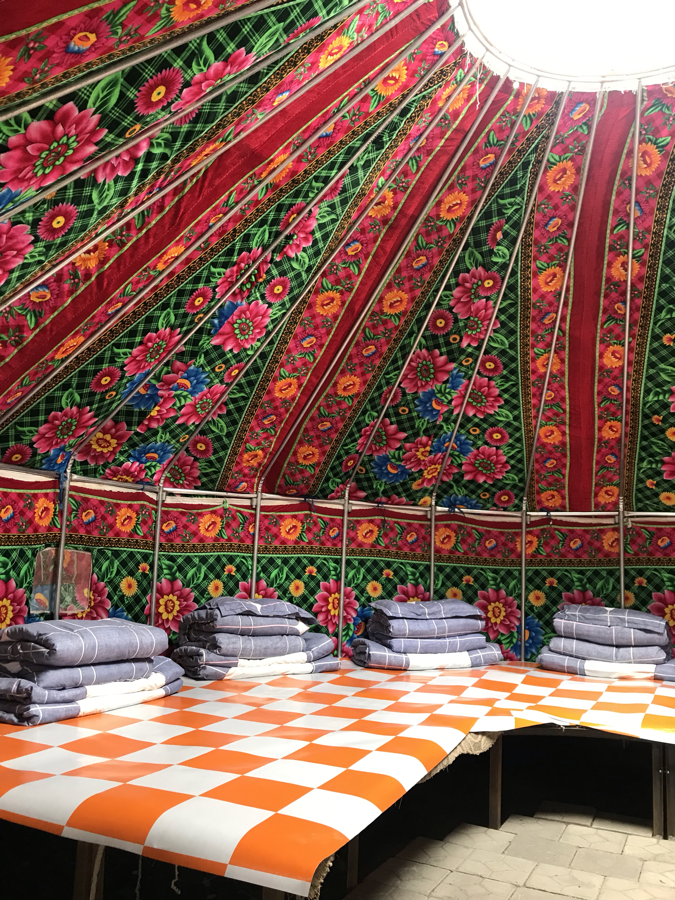
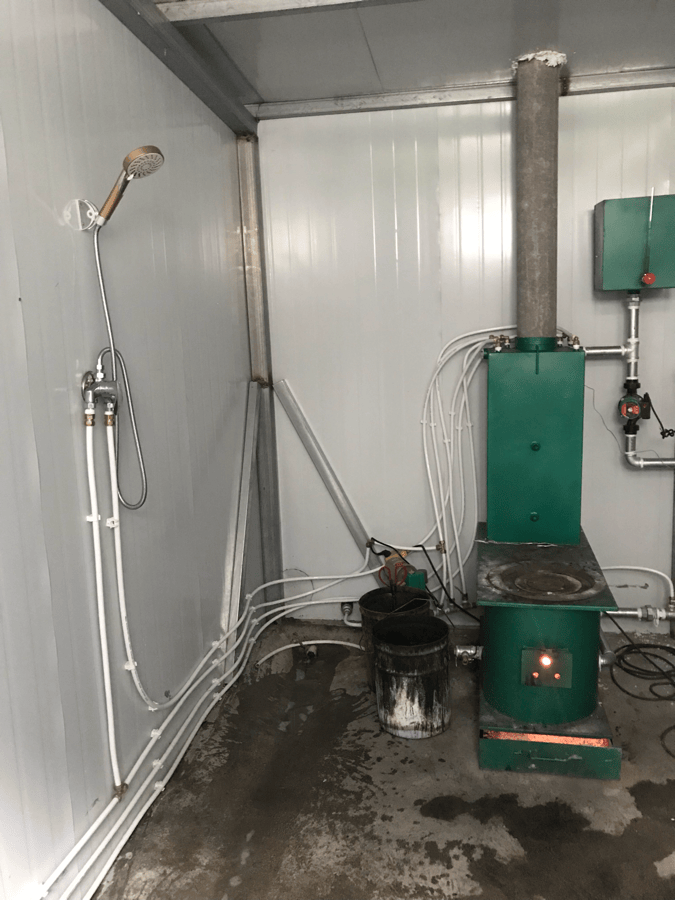
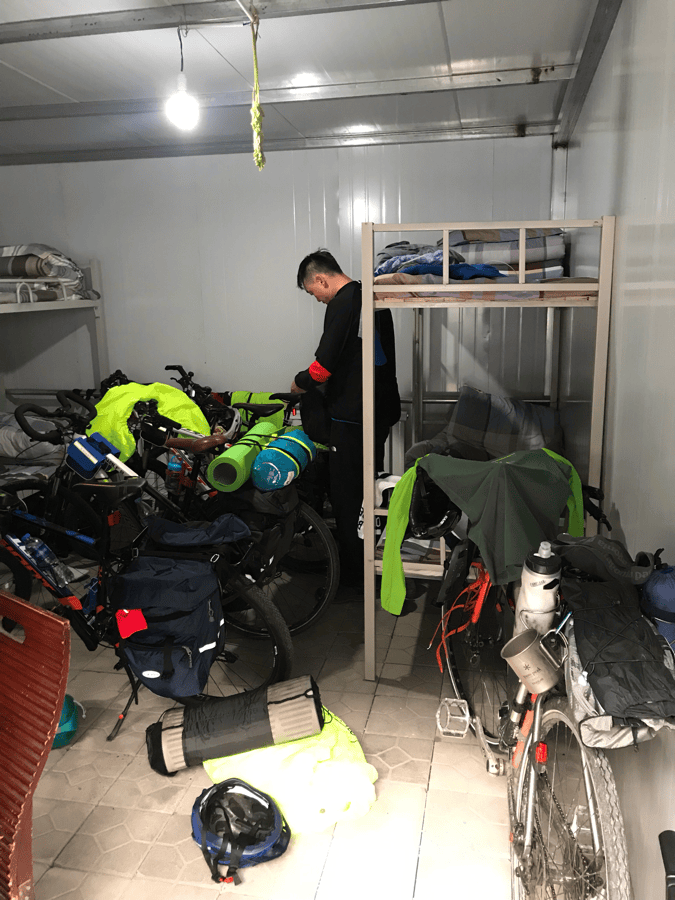
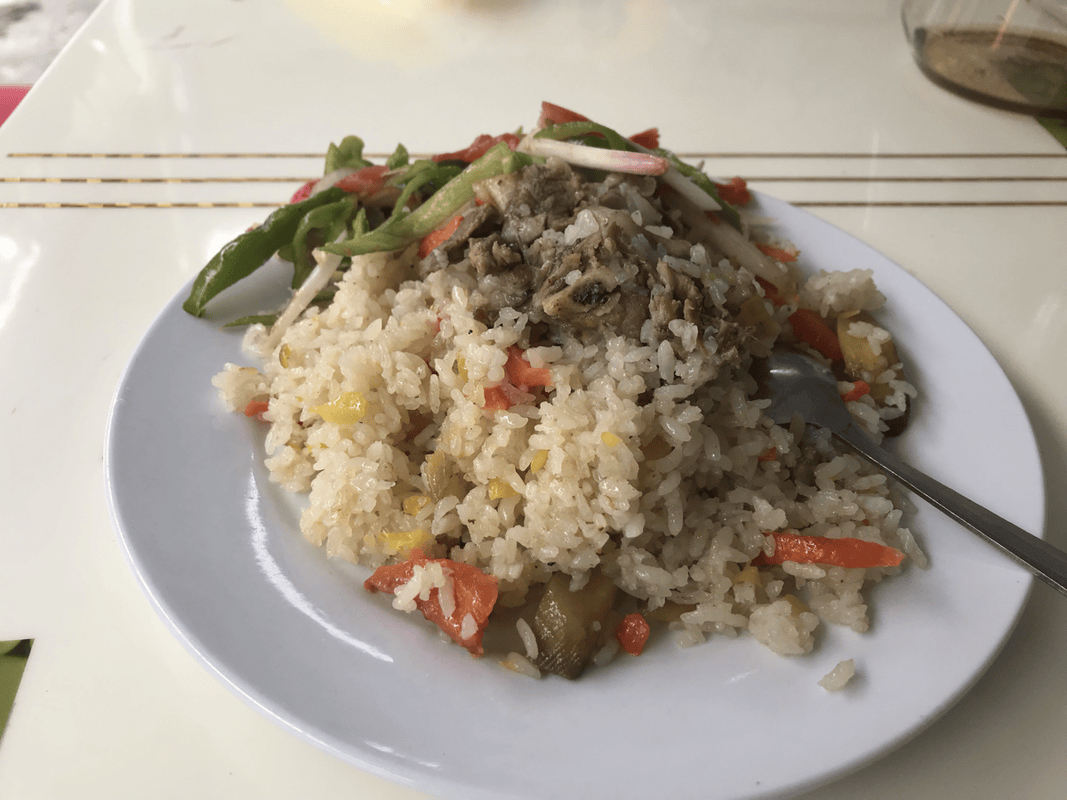
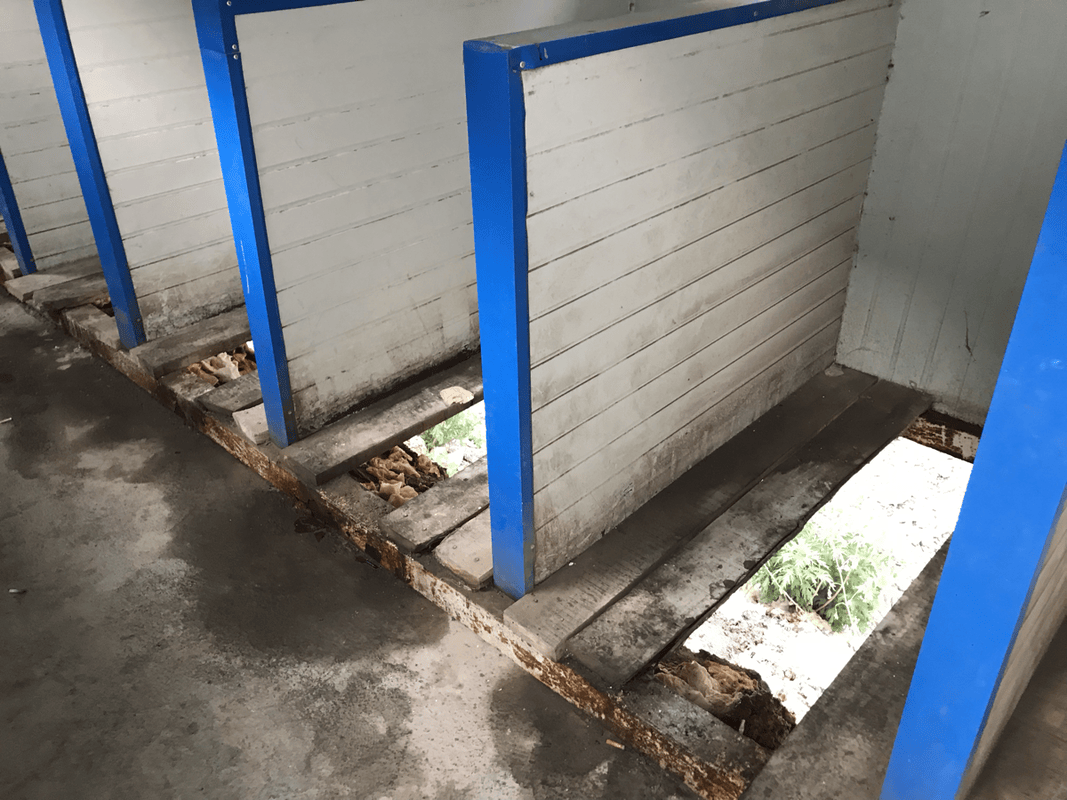
Laohukou (K609) was apparently one of the difficult sections during construction, though its scenery did not strike me as exceptional. By then, the repeated climbs and descents had worn me out. I stopped at the Wulansadeke roadside lodge at K630 rather than the maintenance station a kilometer farther on. A bed in a four-person room cost RMB 50, with hot showers, a restaurant and supplies. It was a good overnight stop for me.
Day 2
Route: Wulansade station (K631, H1750) → Tianpu waterfall (K648) → Hashilegen Tunnel (K660, H3390) → Qia’ erma station (K687, H2260).
Distance: 56 km. Cumulative: 145 km.
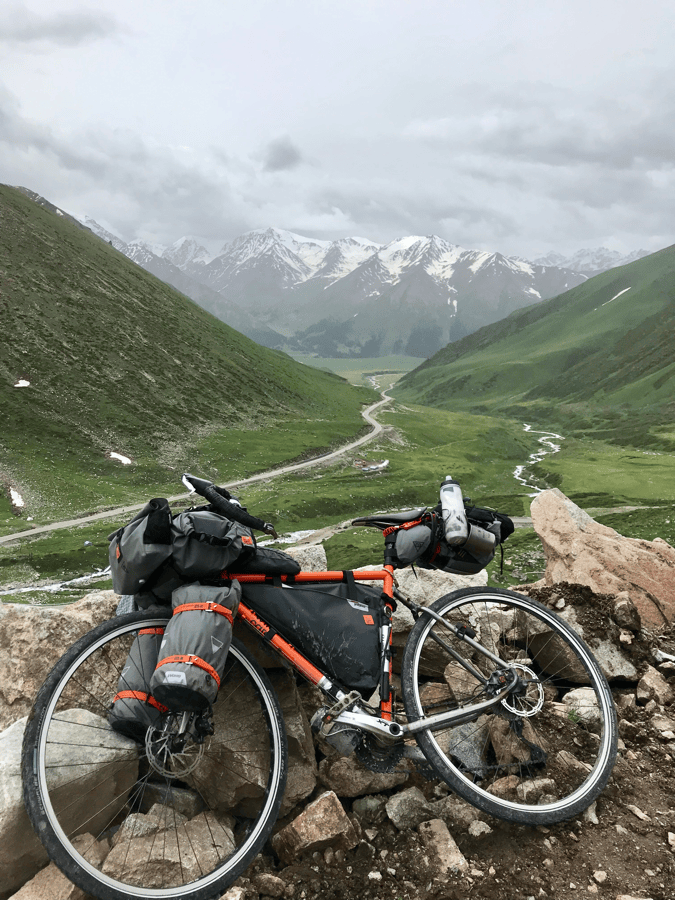
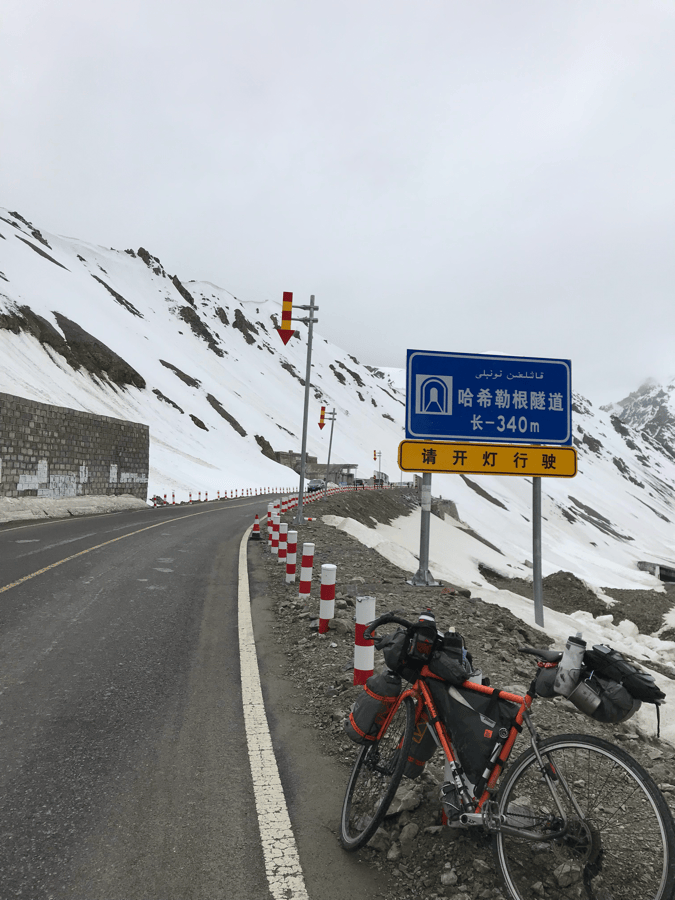
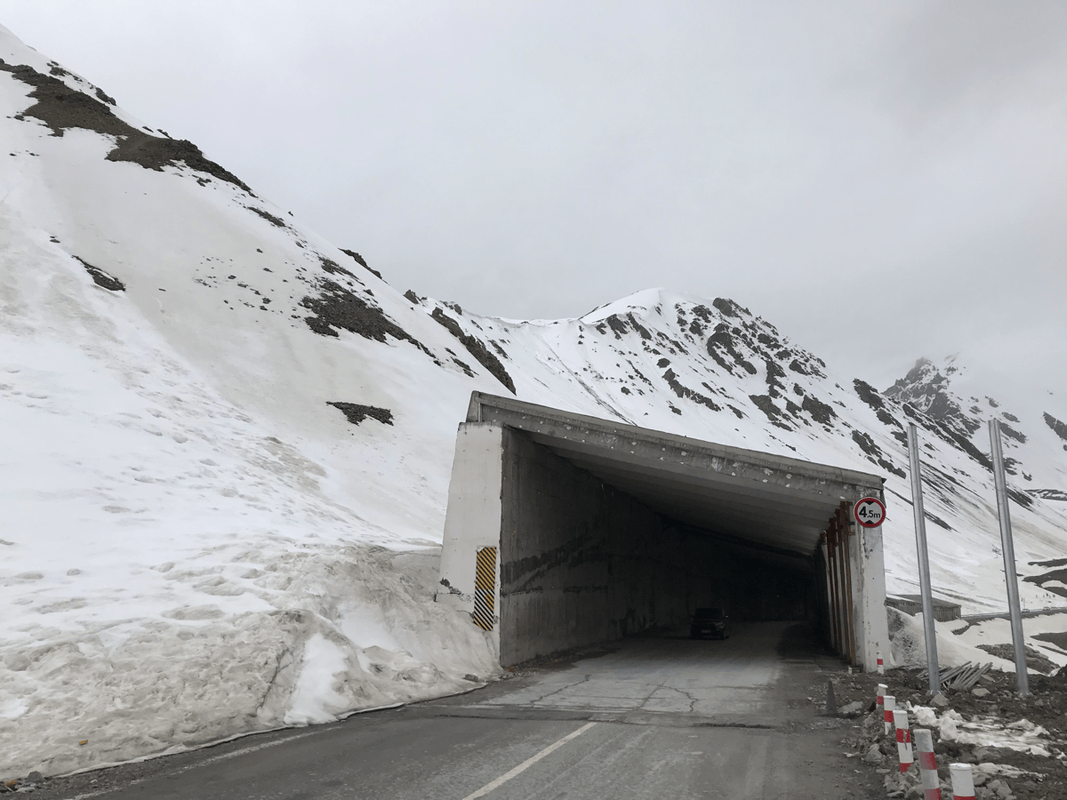
Today brought the first and highest pass, Hashilegen. The route sheet listed it at 3,390 meters, meaning roughly 1,640 meters of climbing. Spread over about 35 kilometers, the climb was not excessively steep, and I found it manageable at a steady pace. There was no resupply along the climb, so I carried enough food. Mountain weather changes quickly. Long daylight hours are no reason to delay; I recommend planning to cross the pass before noon.
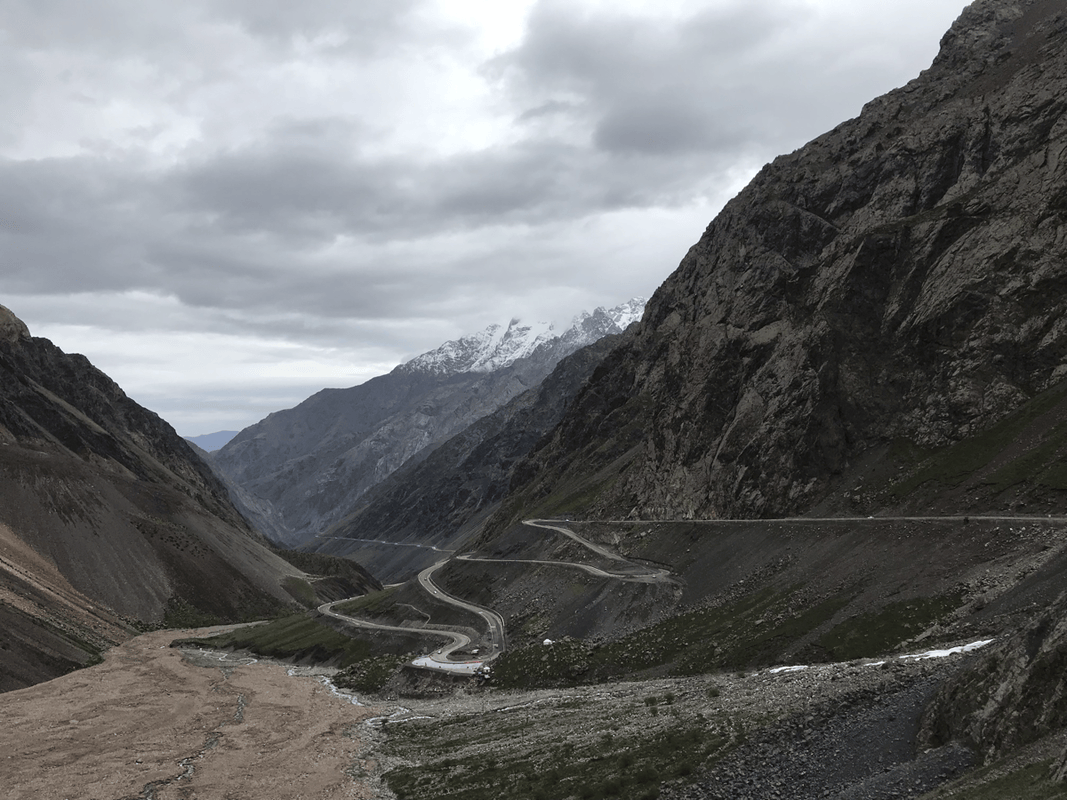
Tianpu waterfall at K648 was a photo stop, though I preferred the winding road nearby. There were some gravel sections beyond it, whose locations may change from year to year. I saw road bikes handling the conditions. Snow accumulated beside the road as I climbed, until snow-covered mountains surrounded me. I remember temperatures around 4–5°C, with rain and occasional snow. Friends who left later encountered hail instead.
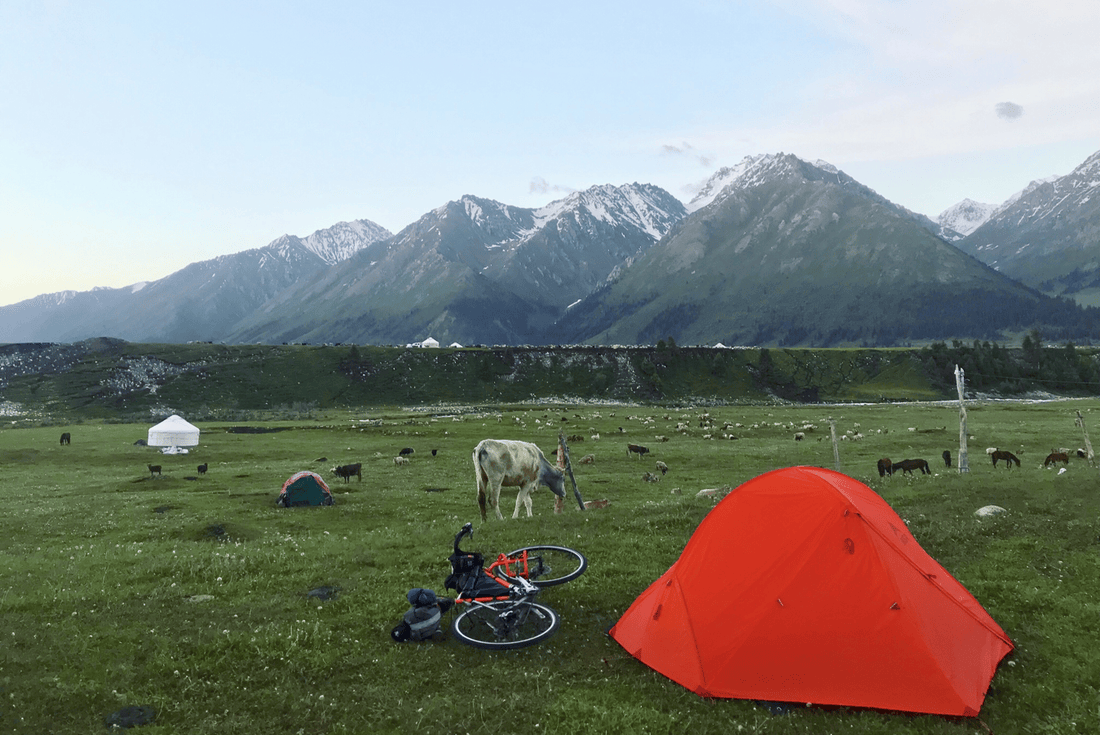
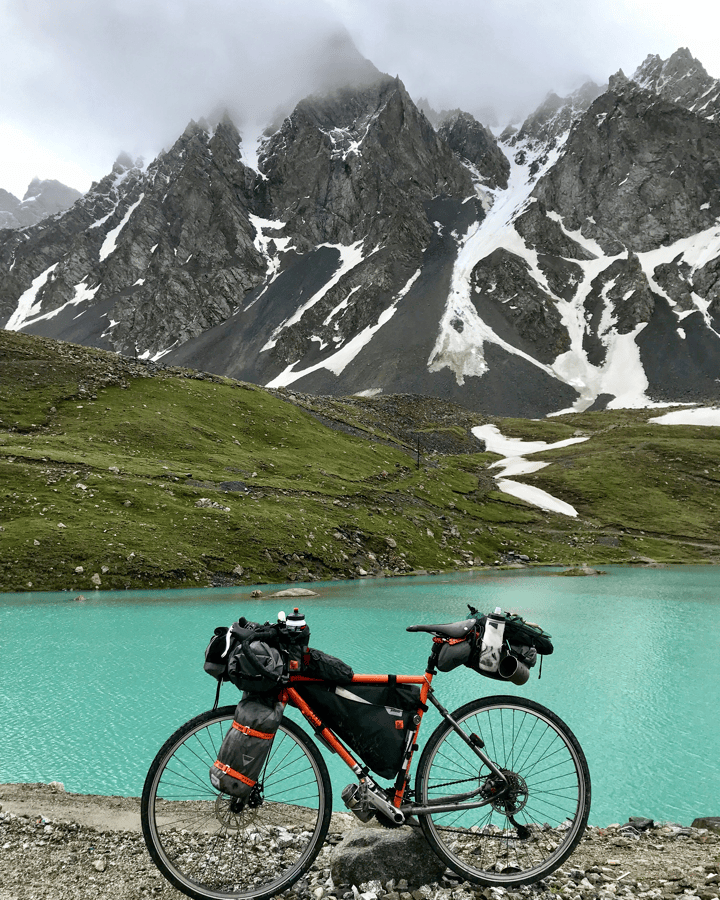
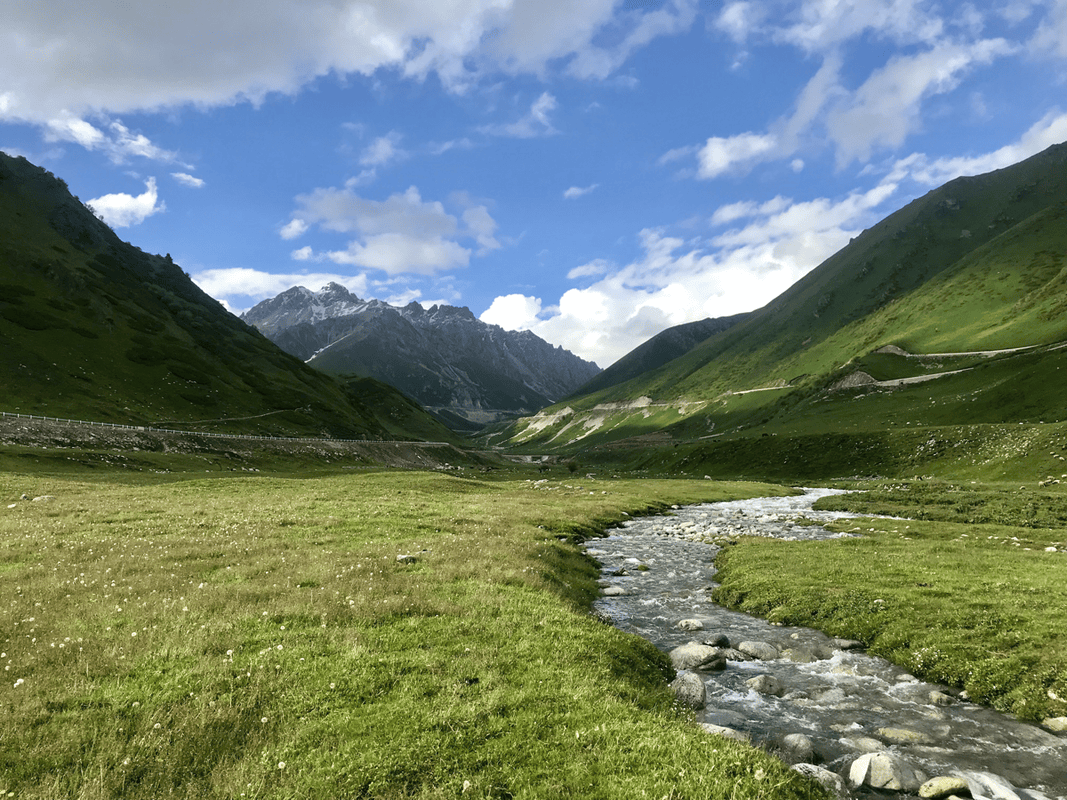
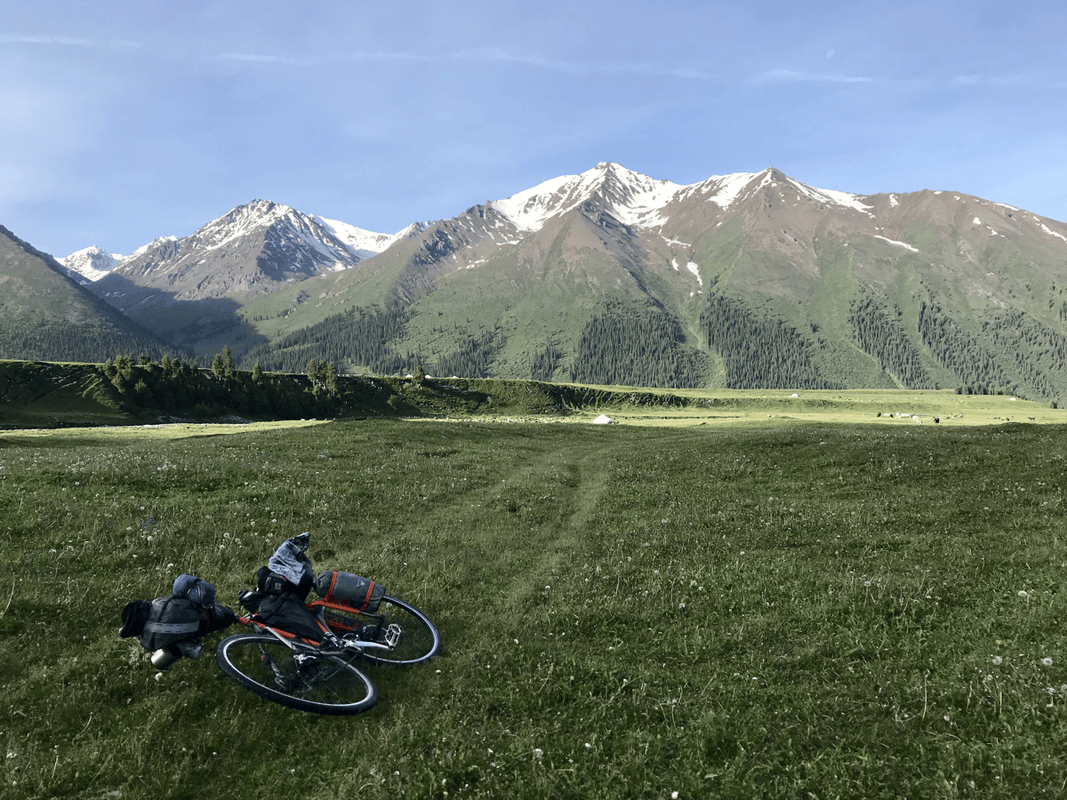
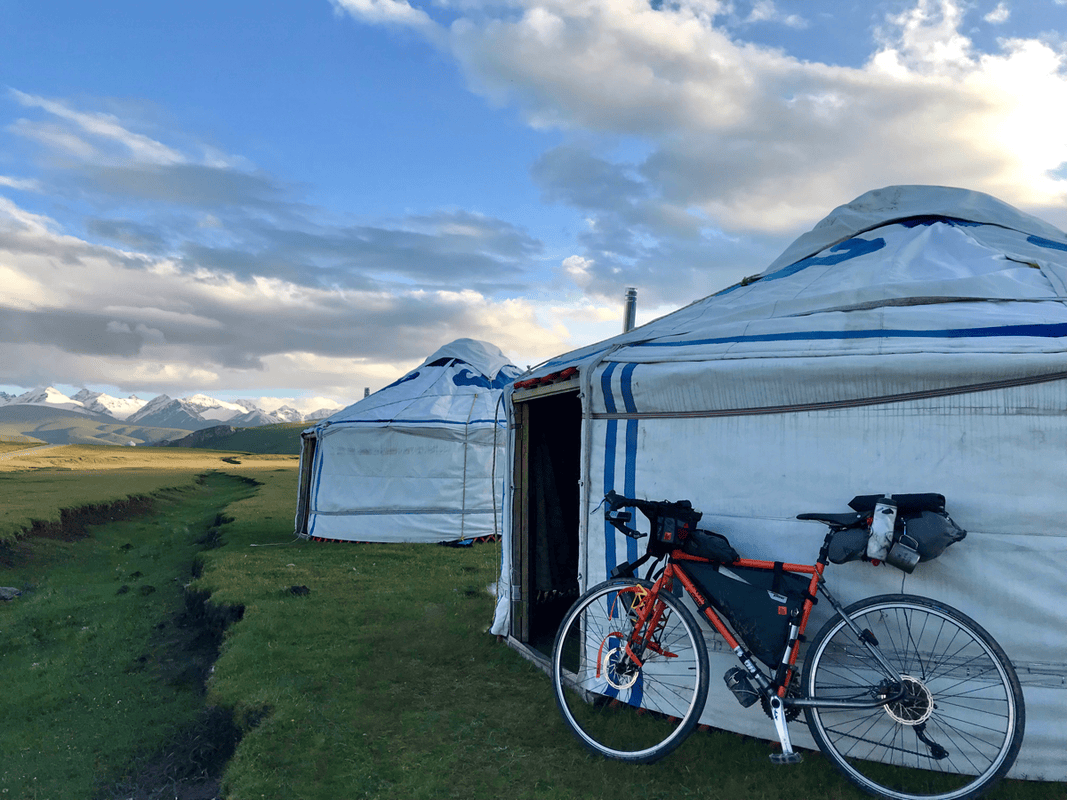
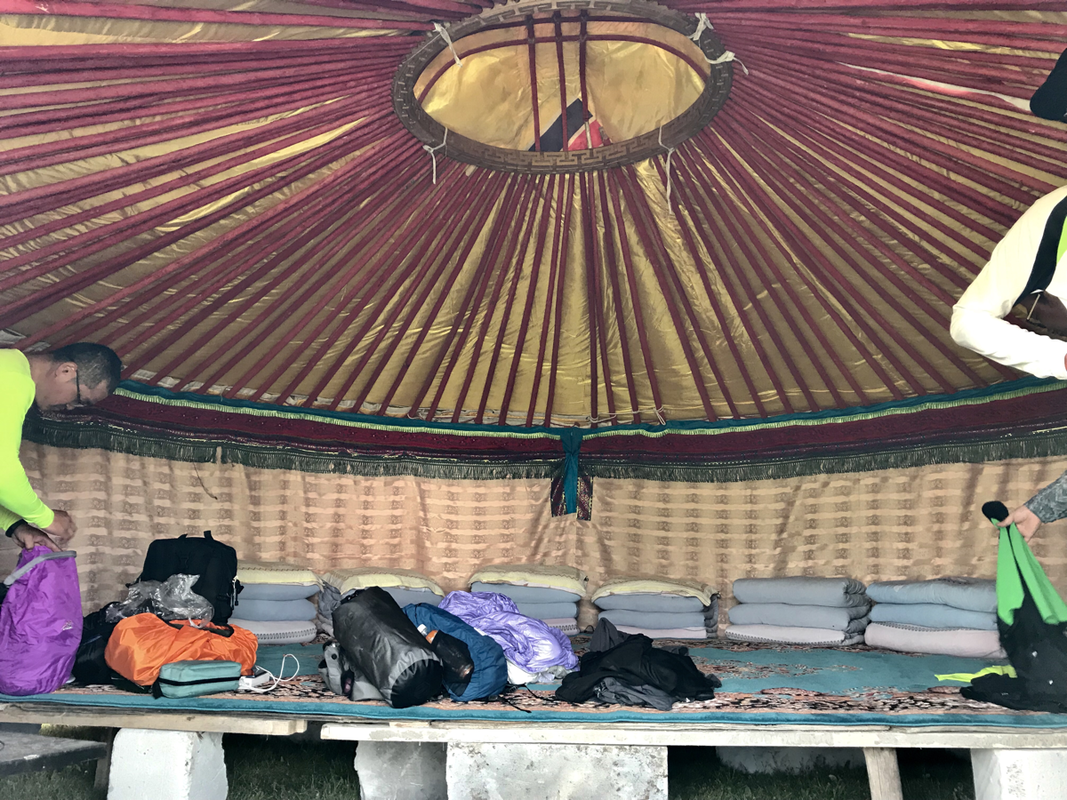
The descent was beautiful, and the next settlement was not far away, so there was no need to rush. Find somewhere lovely and simply sit for a while. For cheaper accommodation, other travelers suggested joining a group and staying in the cluster of shops and lodgings beyond Qia’erma checkpoint. I stopped earlier because the pasture was too beautiful to pass. A herder quoted RMB 200 for a yurt, too much for me alone, so I negotiated RMB 50 to pitch my tent on the pasture.
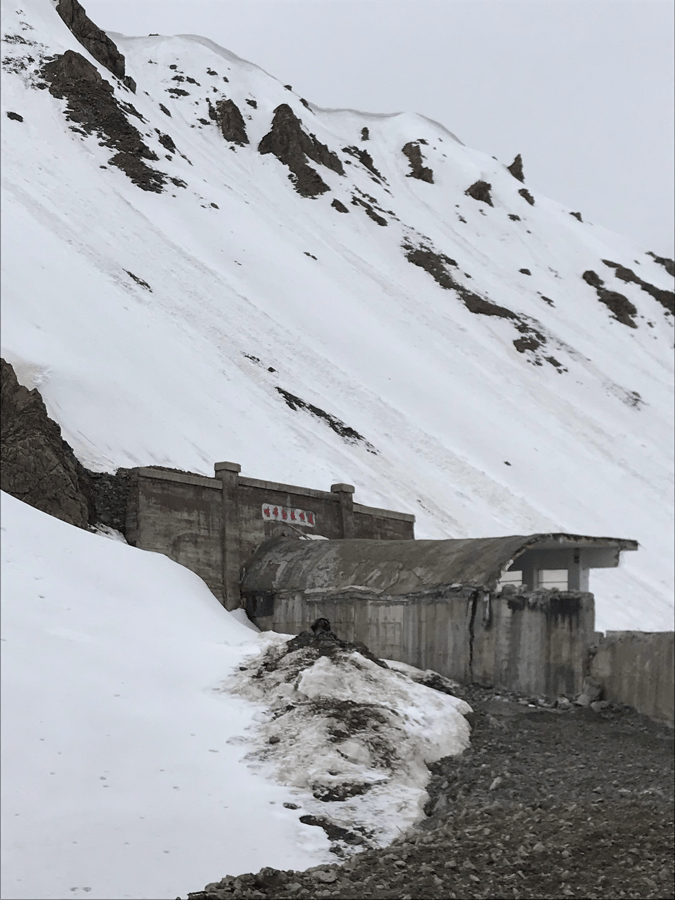
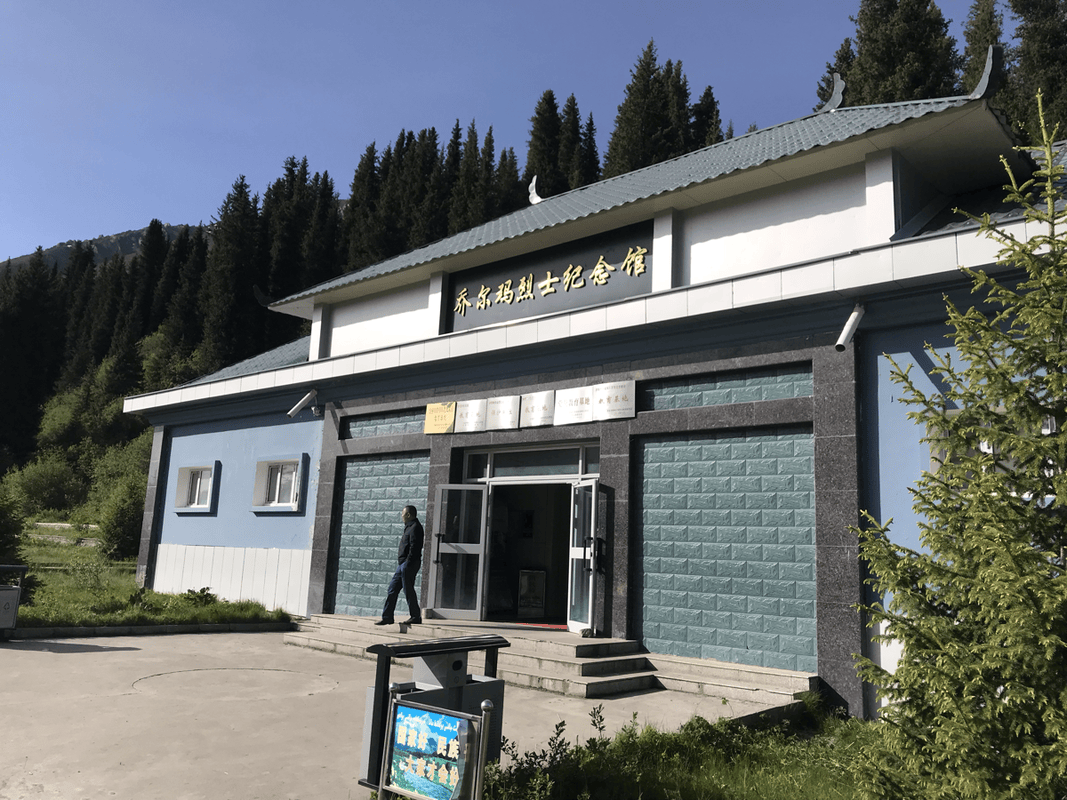
Qia’erma also has a Duku Highway memorial where you can see photographs of the road’s construction.
Day 3
Route: Qia’erma station (K685, H2260) → gradual climbing and rolling road → steeper climbing (K714, H2800) → Yuximolegai Tunnel (K722, H3200) → long descent → junction of Highways 217 and 218 (K775, H1400).
Distance: 88 km. Cumulative: 233 km.
If you have time before continuing, you could investigate a detour from Qia’erma toward Ili on Provincial Road 315. I heard the scenery was good but did not ride it and cannot say how many days it needs. One traveler I met turned that way and ended up riding all the way to Khorgos.
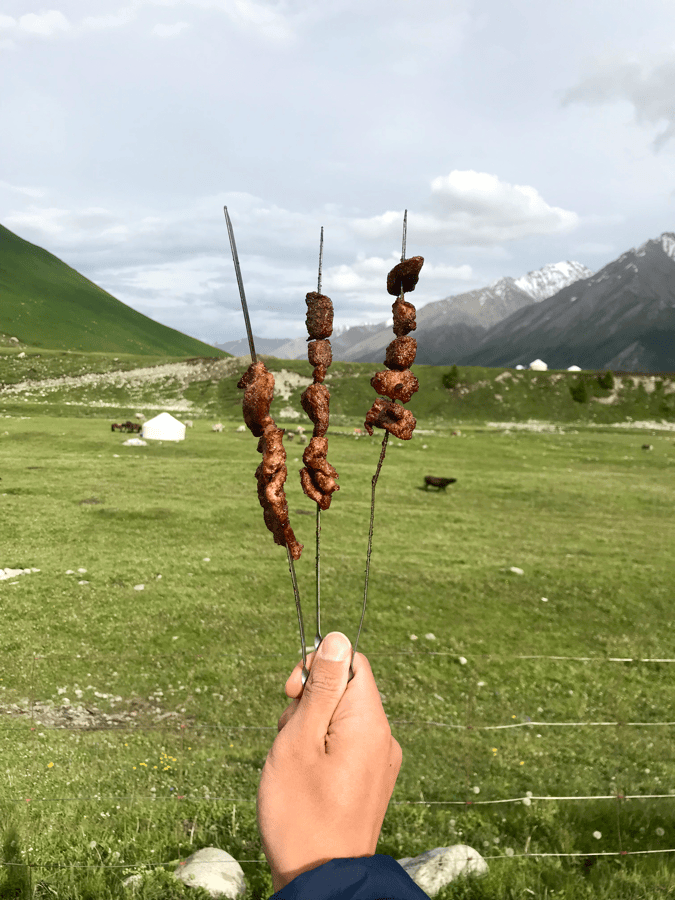
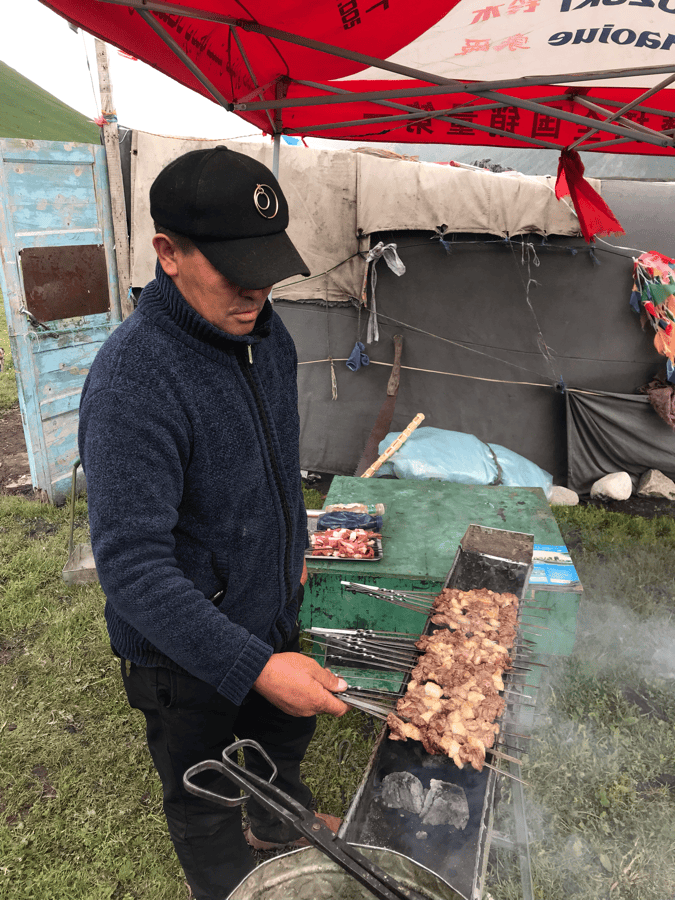
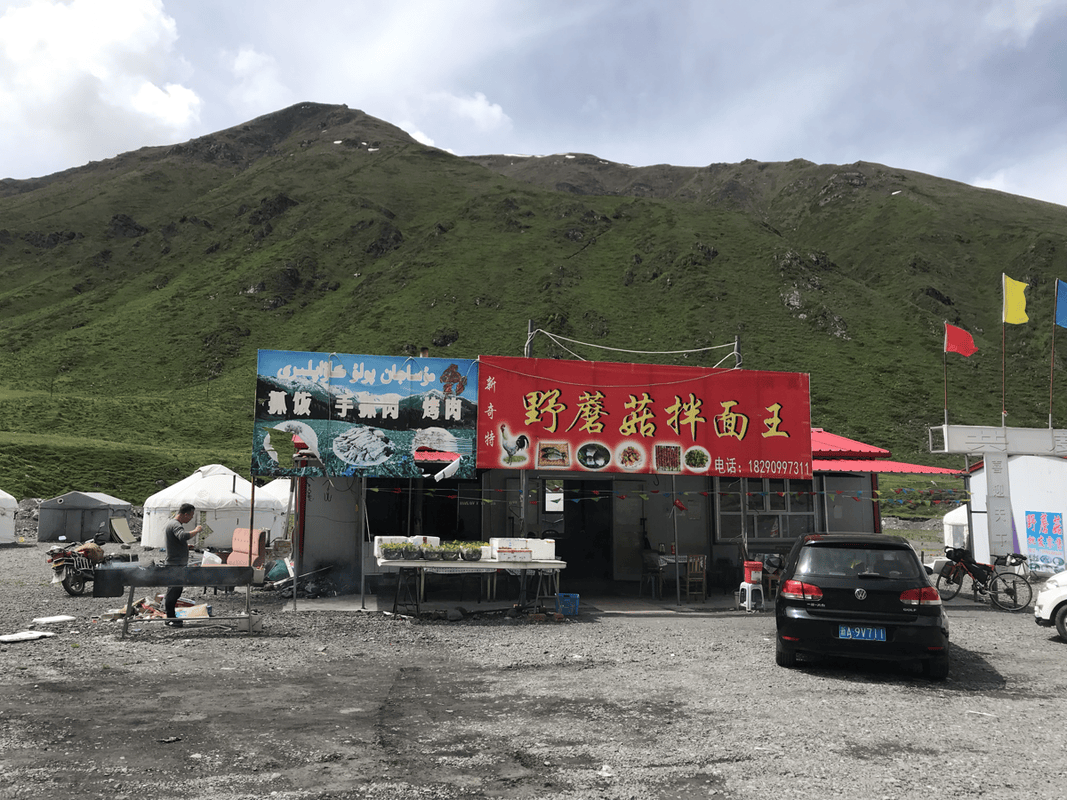
Roadside grilled-lamb stalls offered some food along the way. The only proper restaurant I noted before the climb was Yegu Banmian Wang, where a bowl cost RMB 40 and felt expensive. I suggest buying supplies in Qia’erma first.
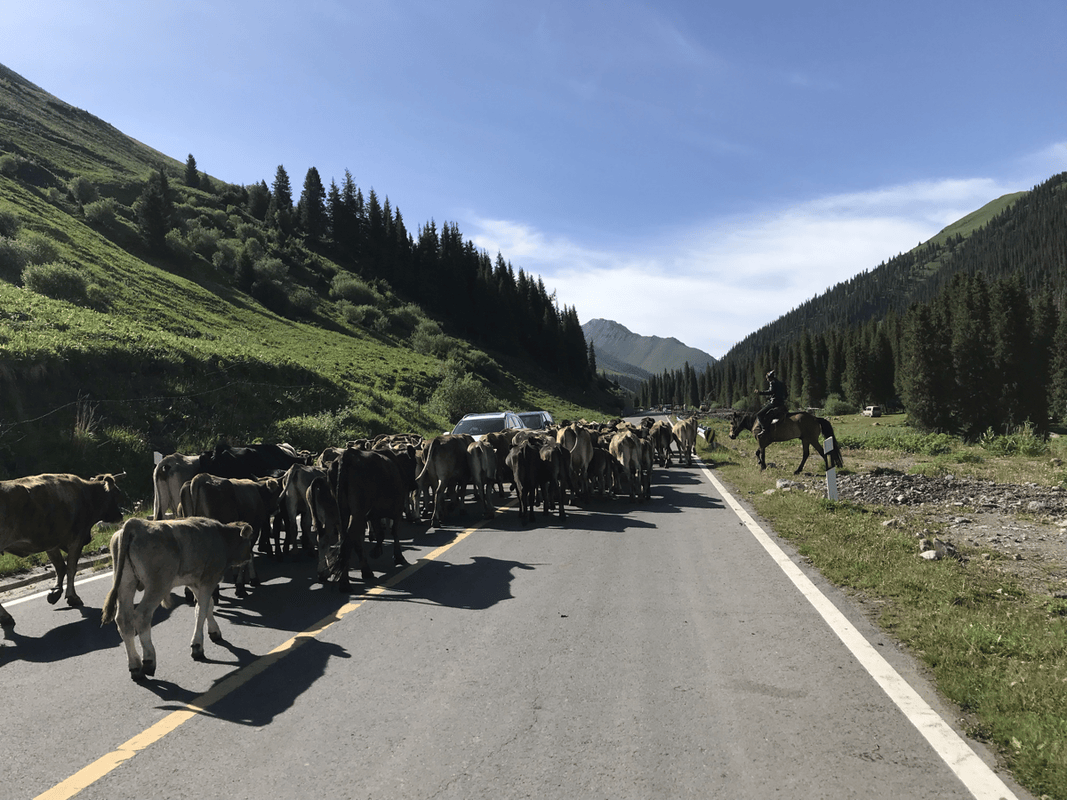
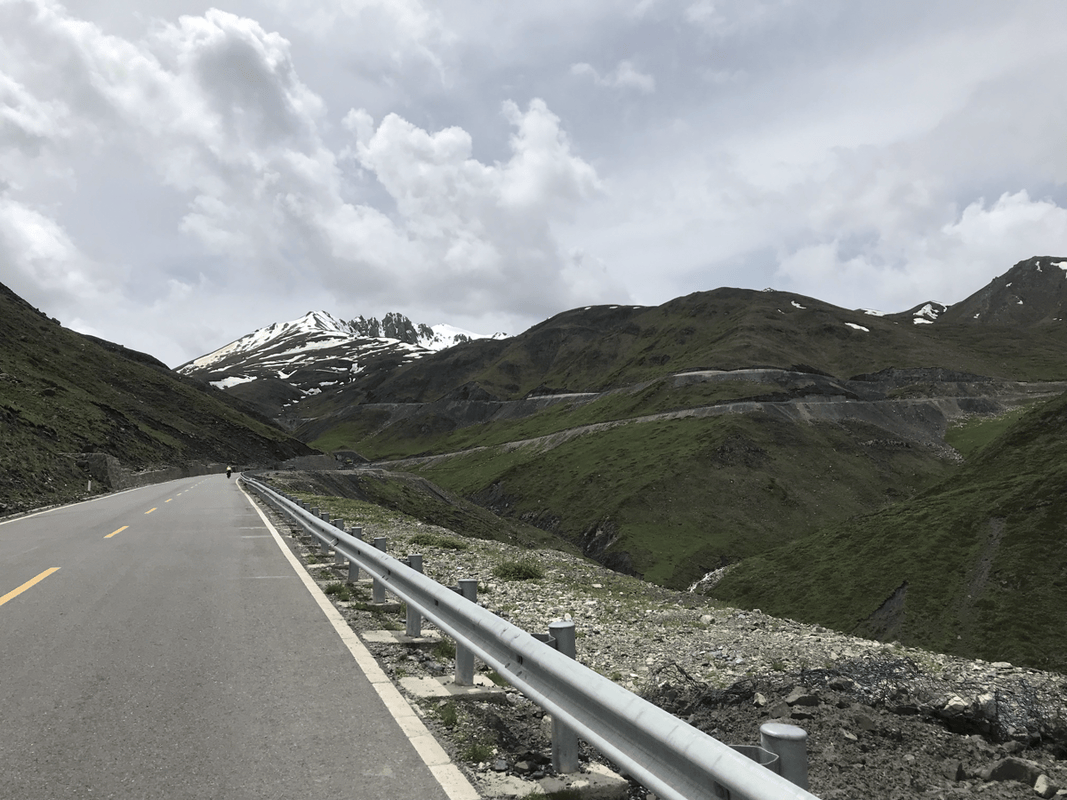
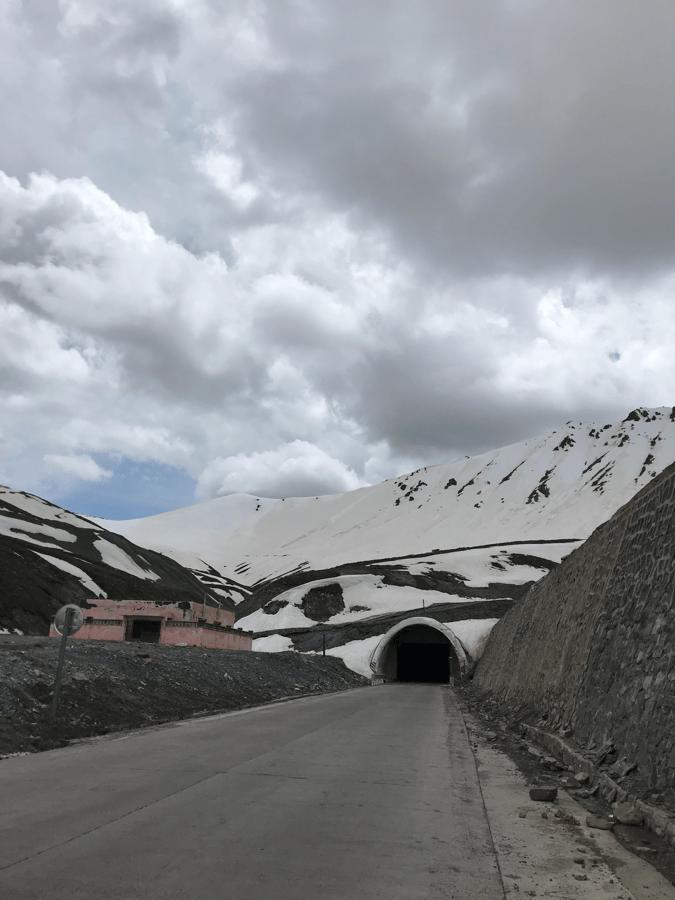
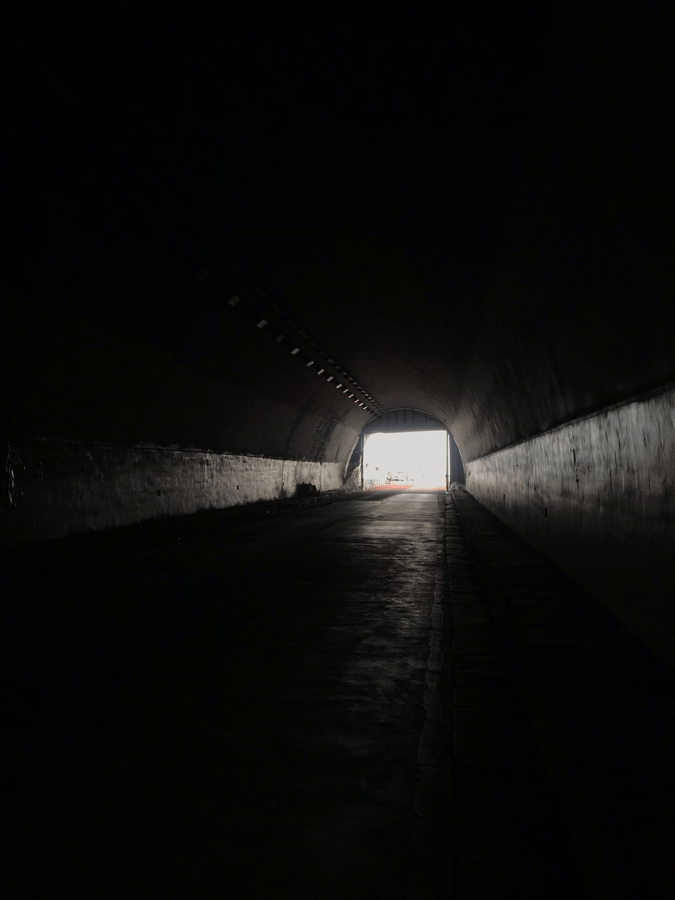
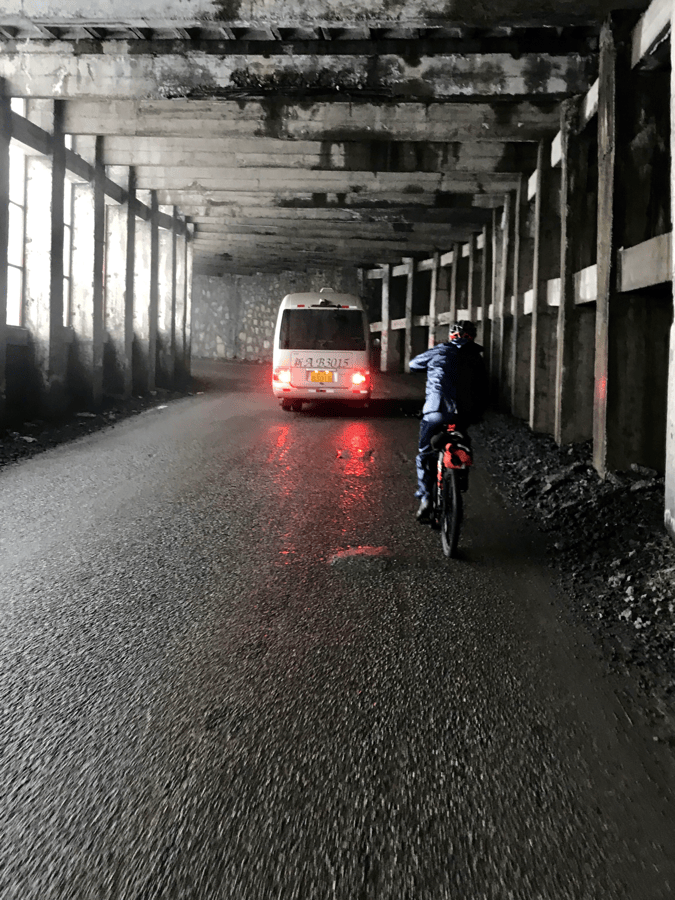
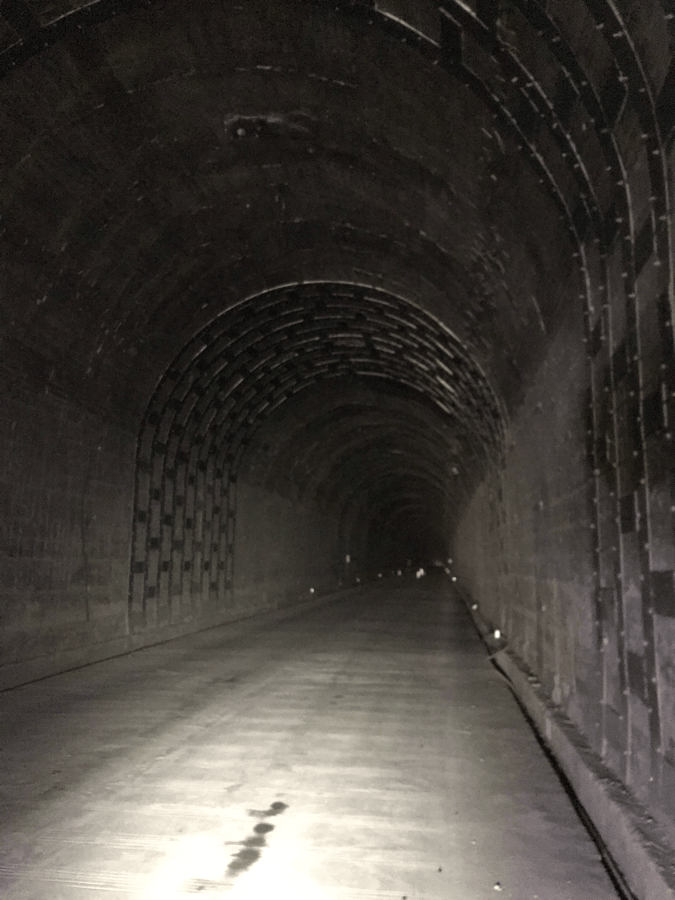
A straight, pleasant descent out of Qia’erma led to gentle river-side hills, easy enough to enjoy the views while riding. Cattle occasionally blocked the road, and getting past them was up to me; the herders did not help. The day’s pass, Yuximolegai, was listed at 3,200 meters. The climb stretched about 36 kilometers, with the steeper part in the final 10, for around 1,000 meters of ascent. The tunnel at the top was long. Remember your lights.
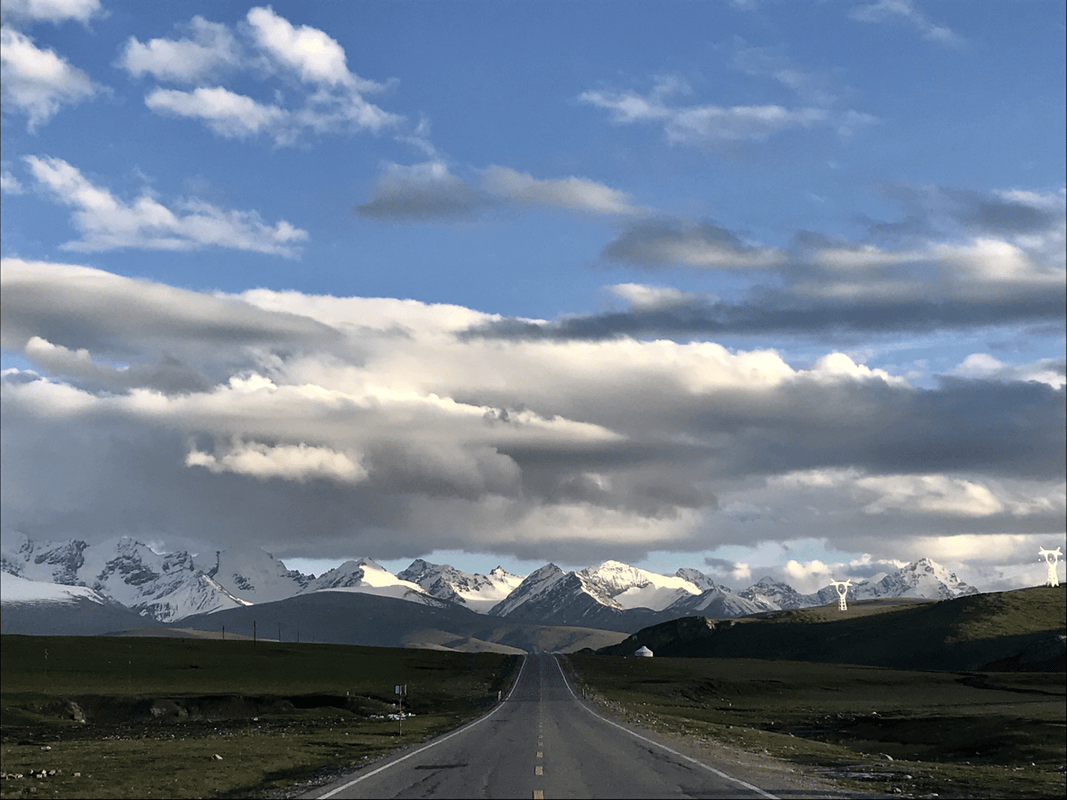
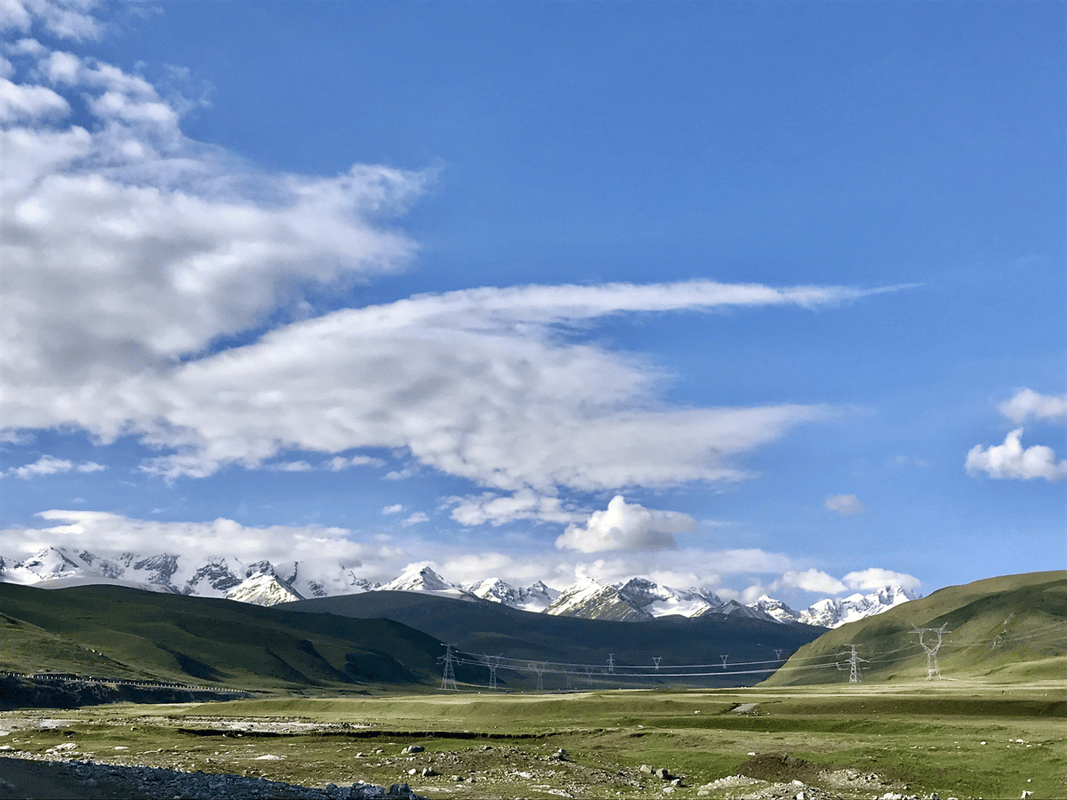
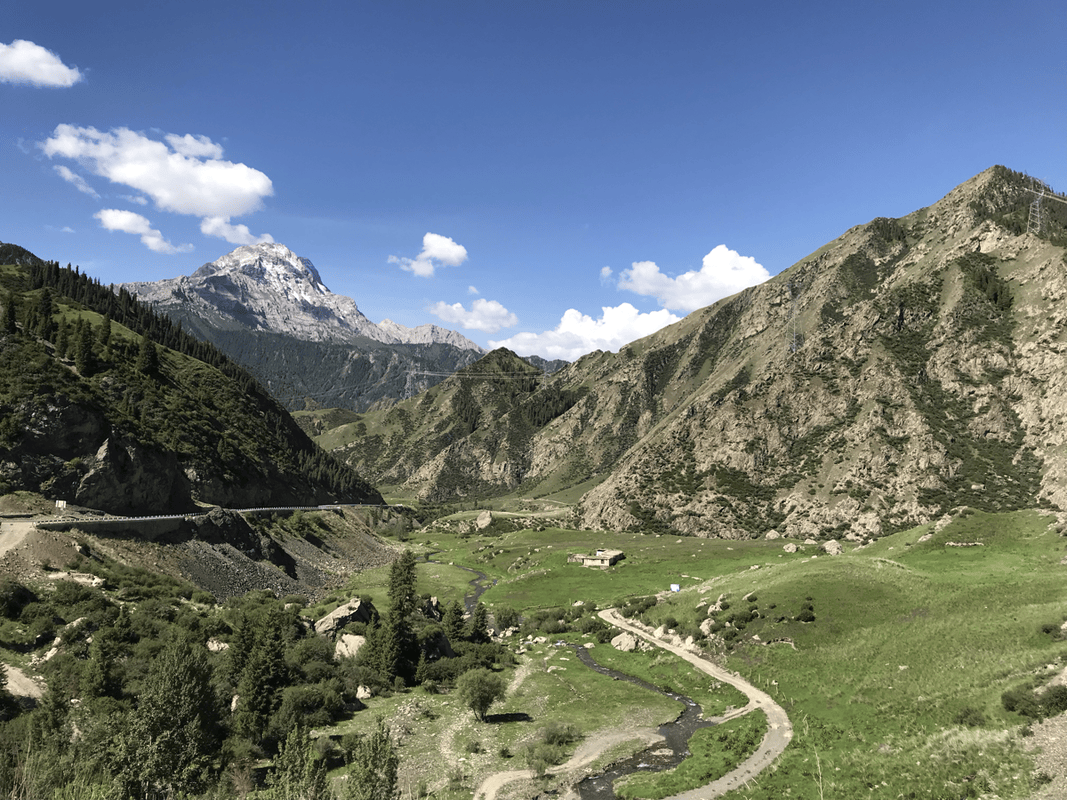
For me, the descent beyond the tunnel was the most beautiful on Duku. A whole line of snowy mountains filled the distance above green grasslands, and I felt myself opening up with the landscape. The road dropped to the junction of Highways 217 and 218. Turning right led toward Nalati grassland, which charged admission. Knowing Bayinbuluke lay ahead, I skipped it.
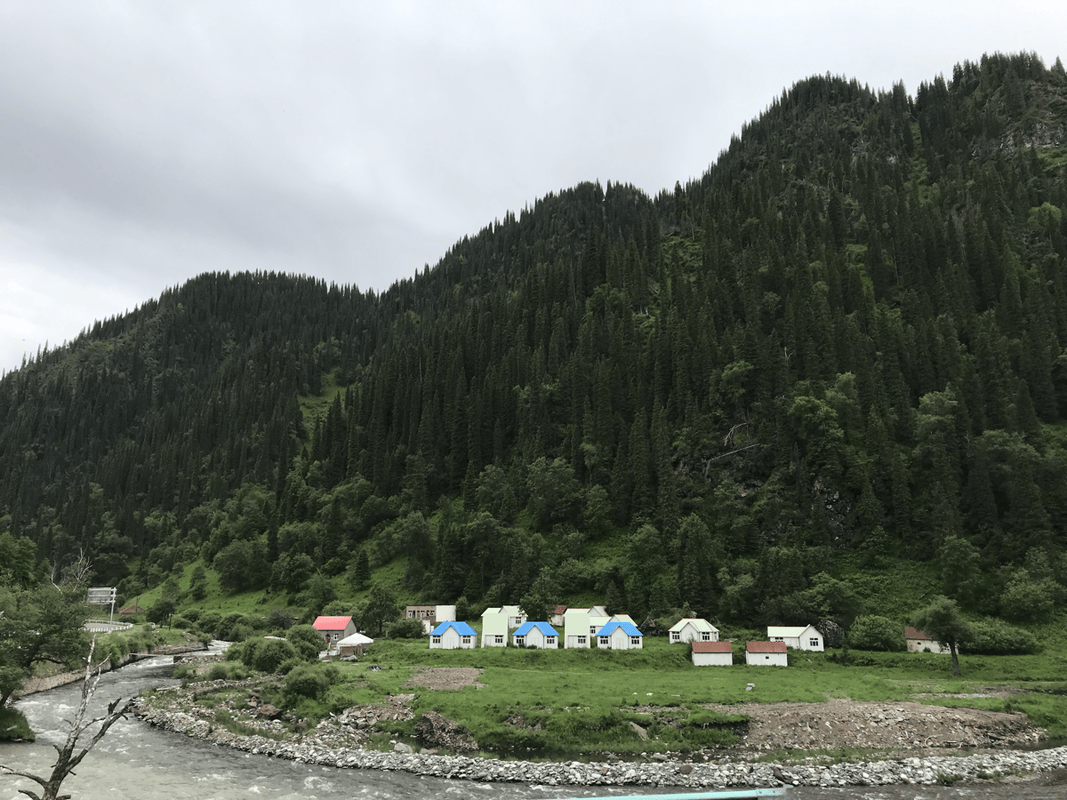
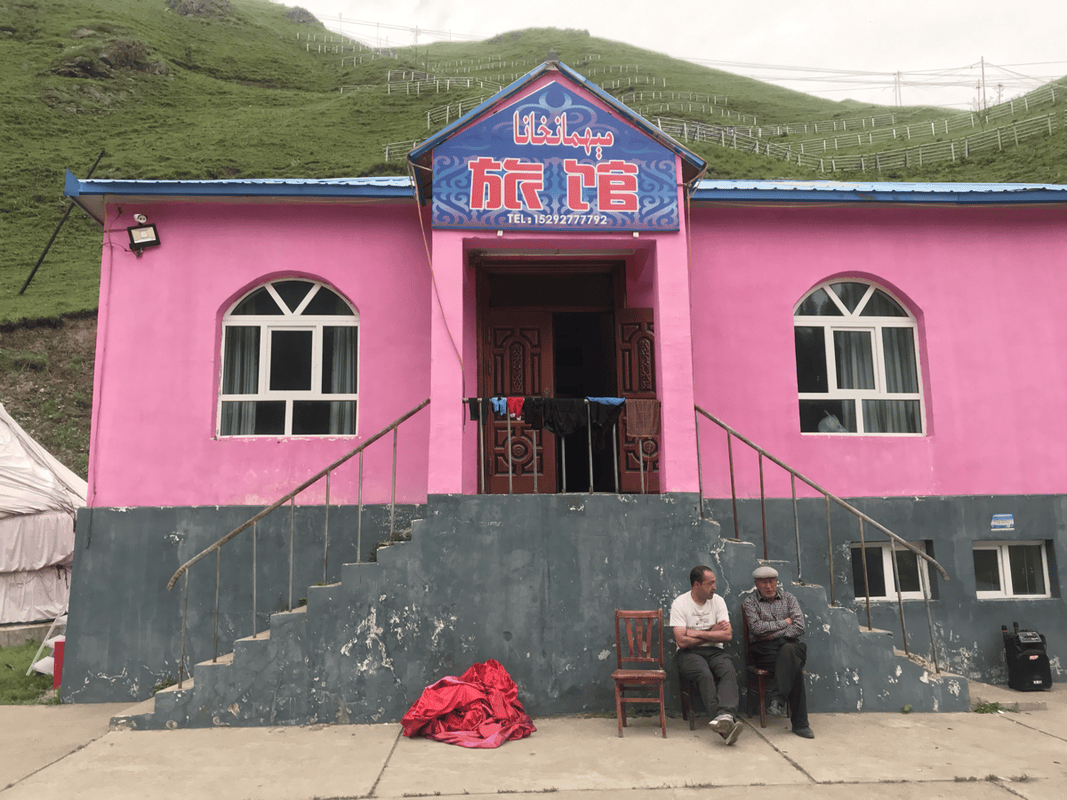
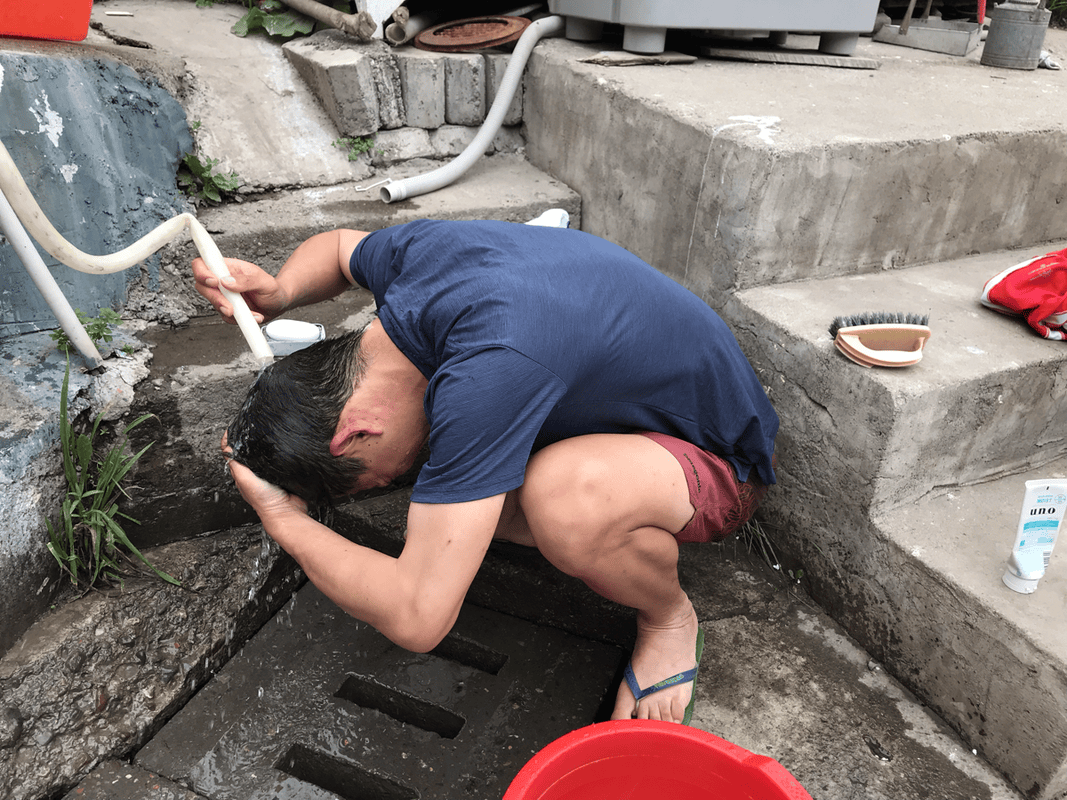
A left turn toward Kuqa brought an immediate checkpoint, then accommodation. Online accounts made it sound as if there were many choices, but I remember only one or two. I shared a six-person room with other travelers for around RMB 50. For camping, I noticed possible streamside spots on the left in the five kilometers before the junction. Food and other supplies would need to be bought in Qia’erma.
Day 4
Route: Highways 217/218 junction (K775, H1400) → La’erdun Pass (K800, H2710) → Bayinbuluke town (K833, H2440).
Distance: 58 km. Cumulative: 291 km.
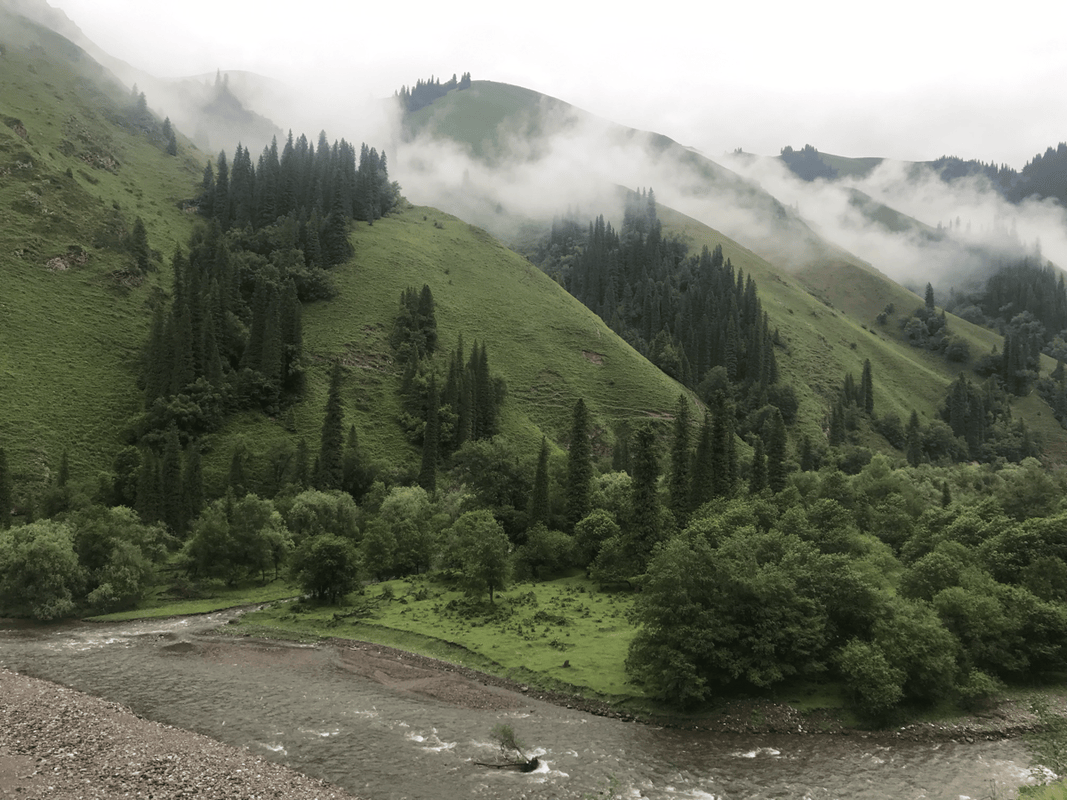
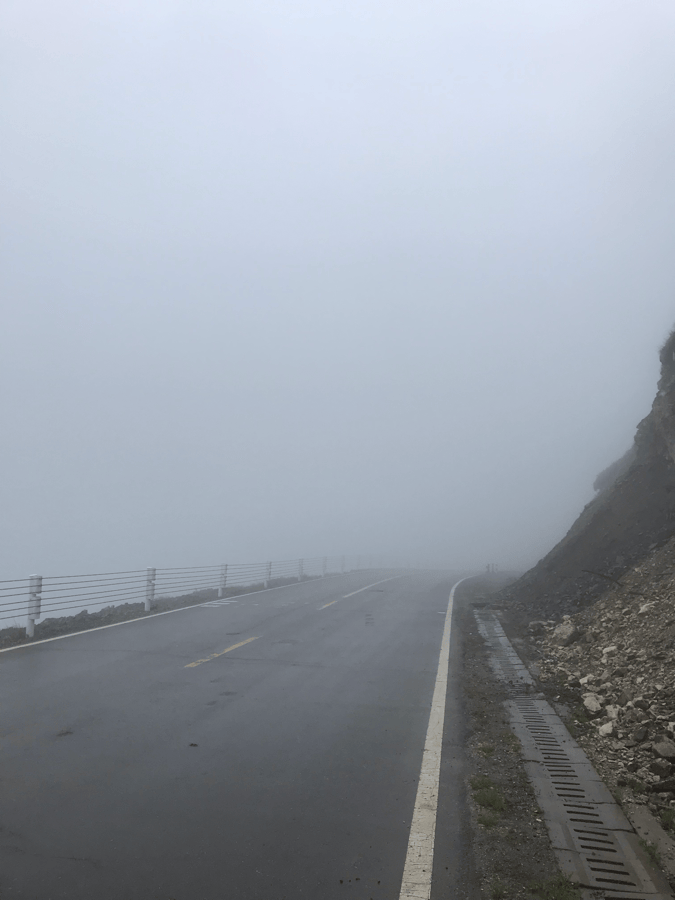
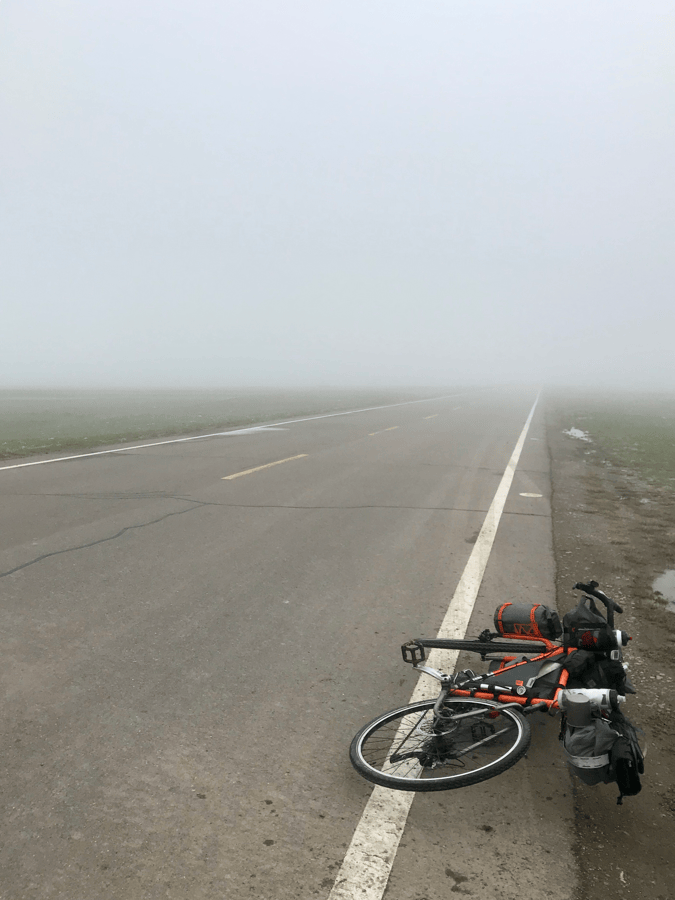
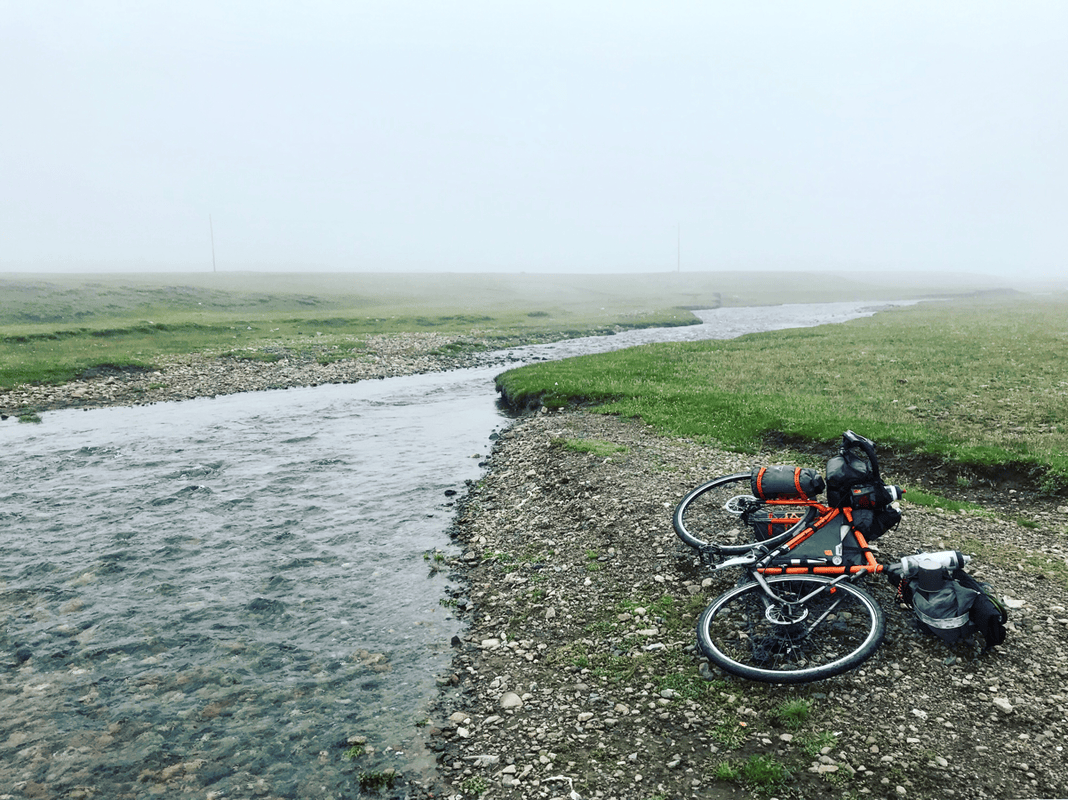
I rode through cloud, fog and rain, so I remember little of the scenery. The climb was demanding: 1,300 meters over 25 kilometers. I was tired enough that a can of Red Bull from a passerby felt like a rescue. Fog was common on this section. Charge your lights the night before and make yourself visible. Several households sold honey beside the road, but I did not know whether other supplies were available, so carrying food was the safer plan.
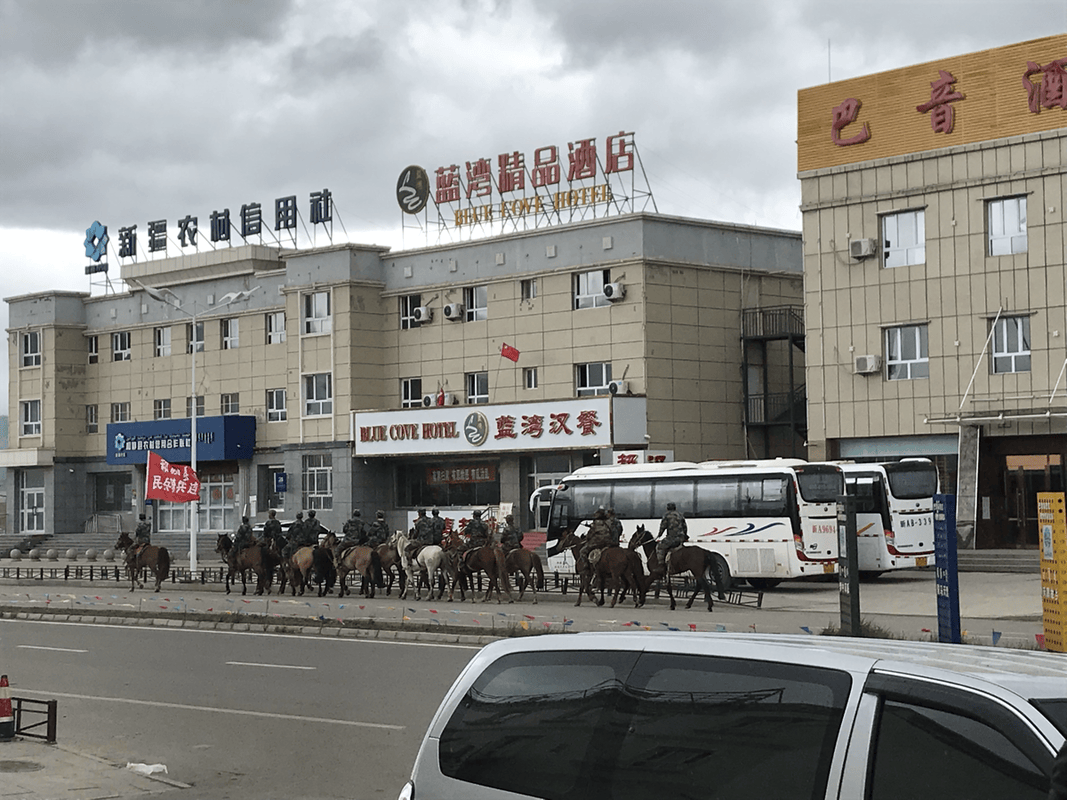
After the pass, a descent of only about 300 vertical meters brought me to Bayinbuluke. I had expected a small settlement, but found hotels, supermarkets, convenience stores and restaurants. My companion paid around RMB 50 for a place in a twin room with a shower; I camped on open ground outside the hotel. My preference would be to buy two or three days of food here and continue onto the grasslands to camp.
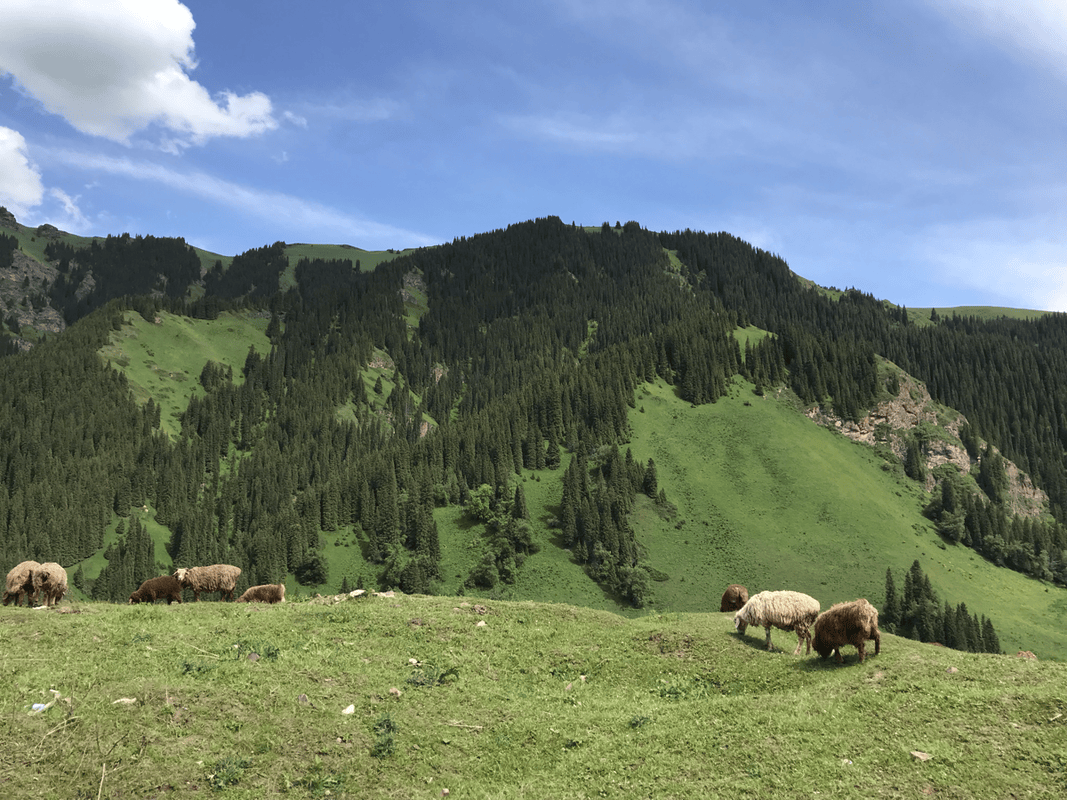
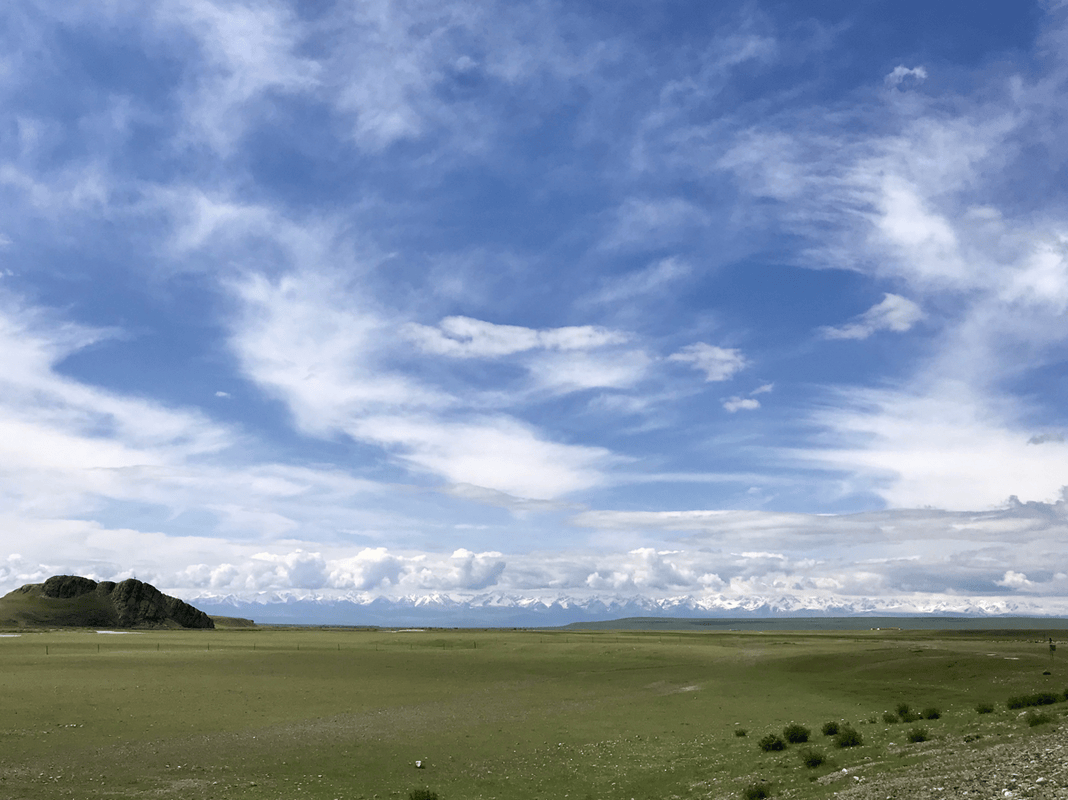
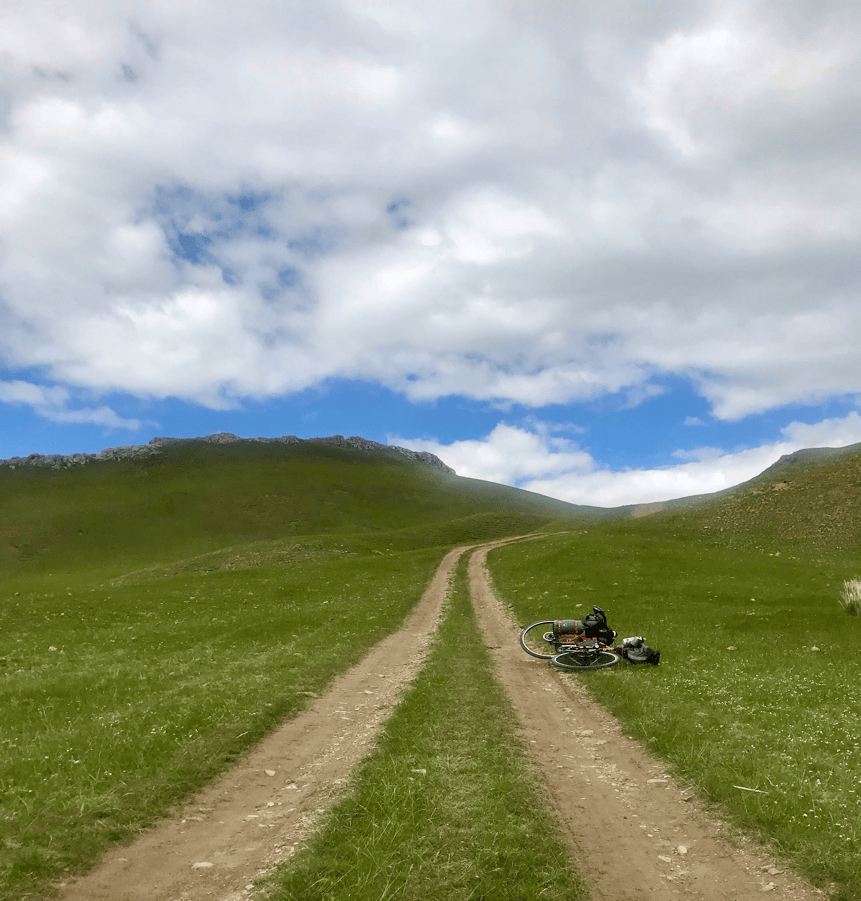
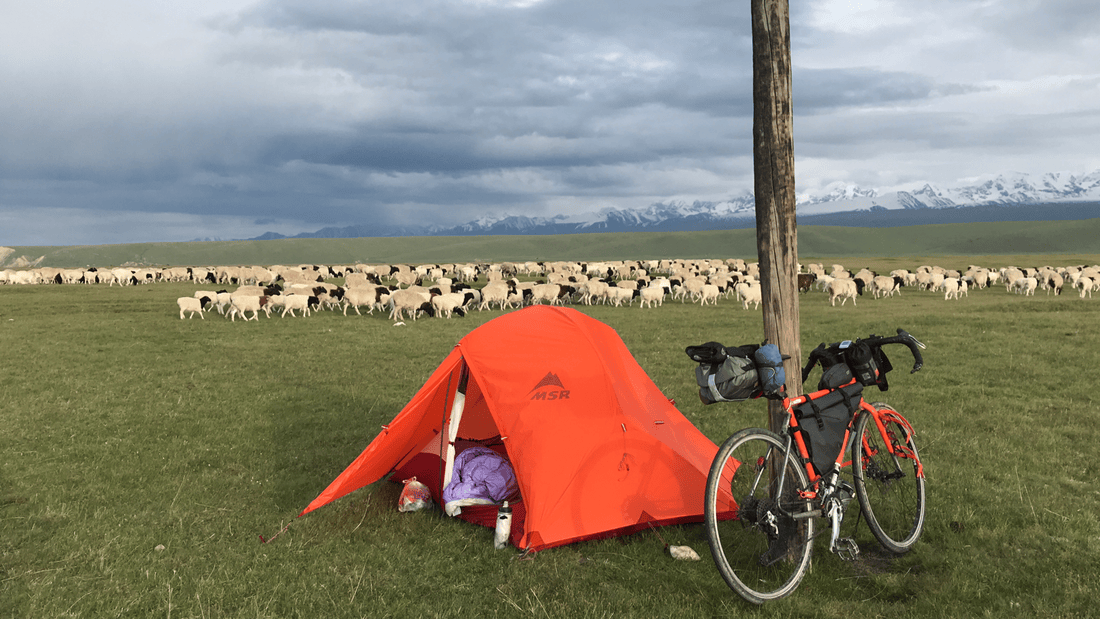
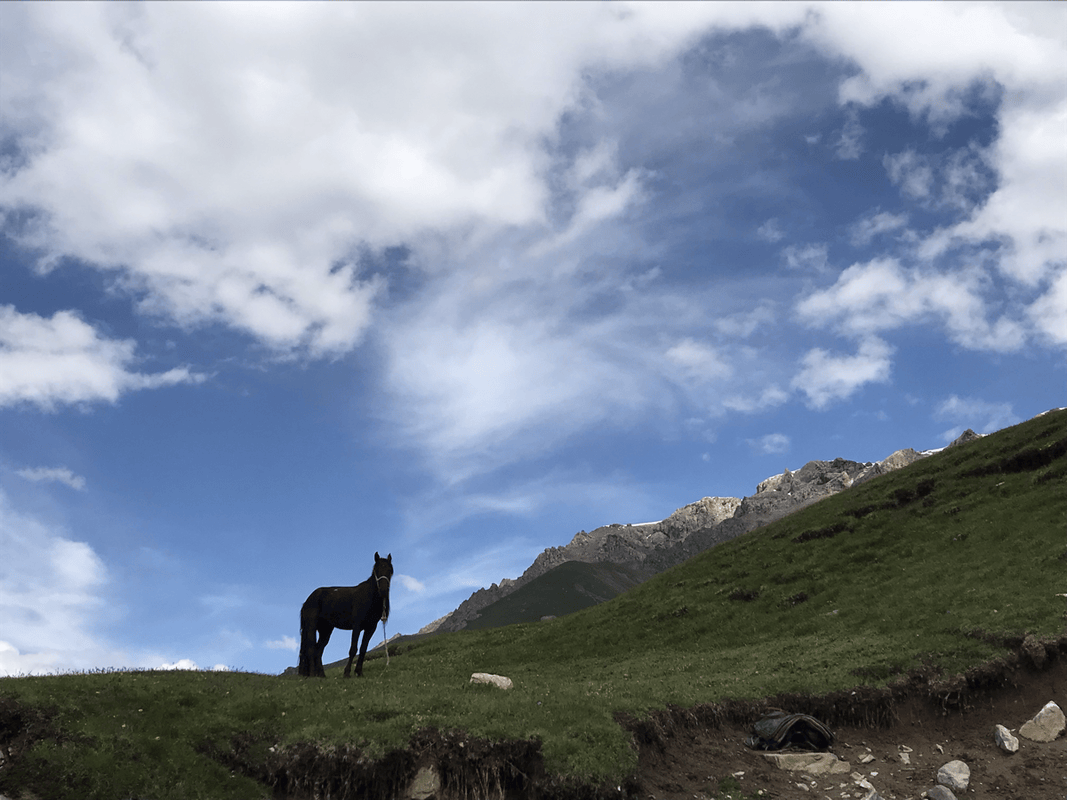
The grassland began just beyond town. Streams were not common, so finding water helped determine where I stopped. Large herds of cattle, sheep and horses passed every day, perhaps four waves daily in my experience. I initially worried about being trampled, but the animals went around me. Before Bayinguoleng township, there were also ruined walls that looked as though they might offer some shelter.
Day 5
Route: Bayinbuluke town (K833, H2440) → Bayinguole township (K880–881, H2550) → Shankou Bridge (K896, H2600).
Distance: 63 km. Cumulative: 354 km.
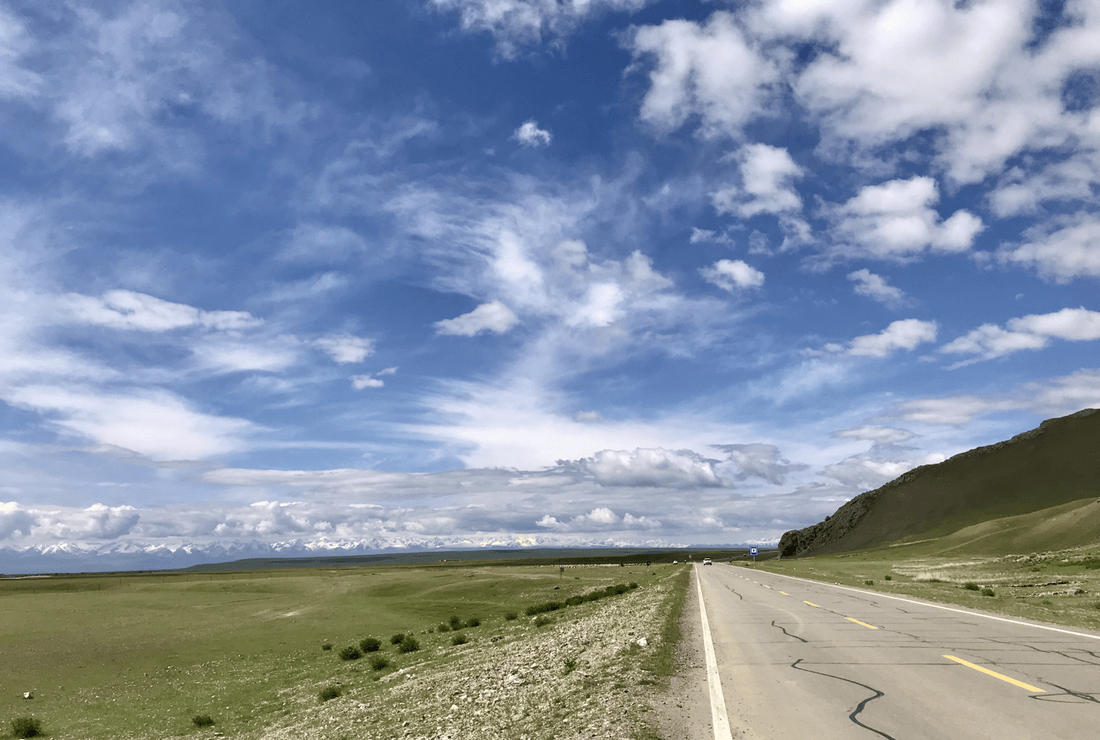
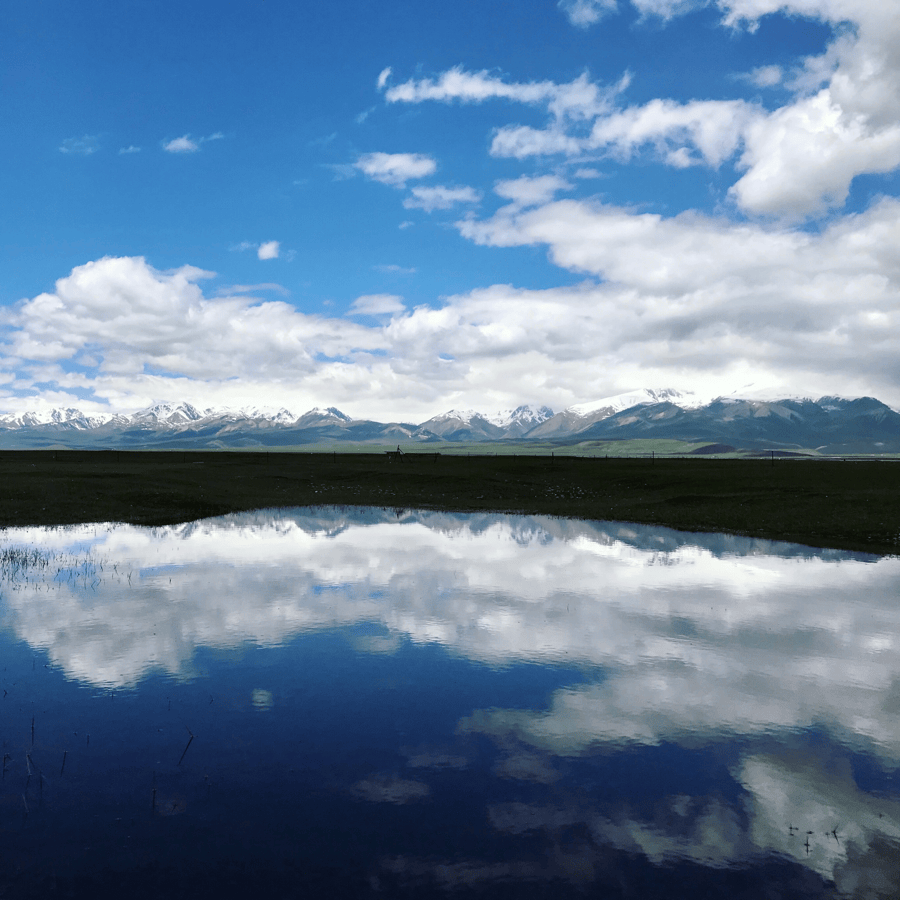
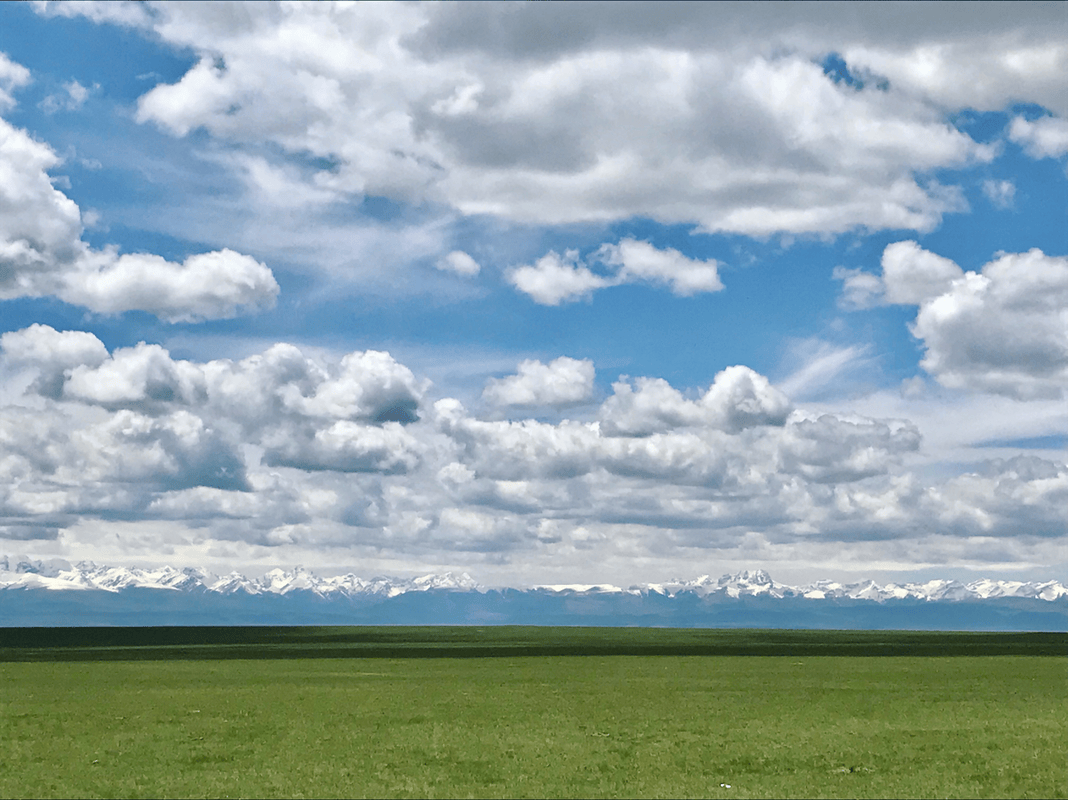
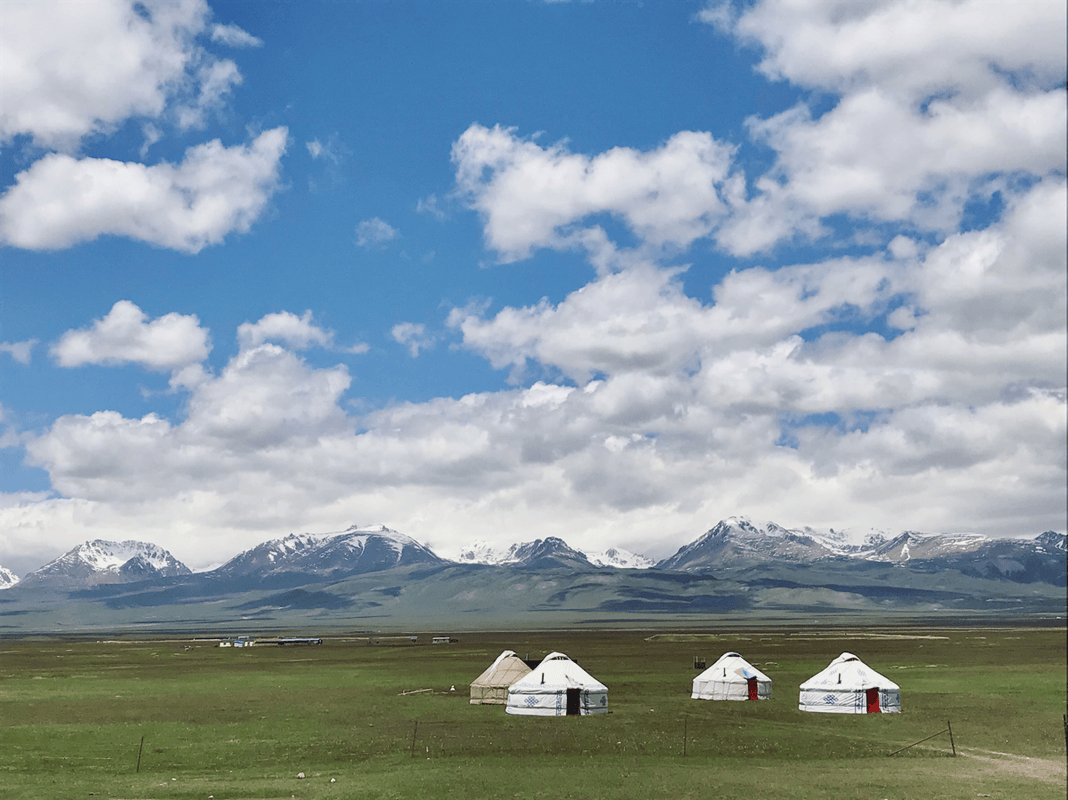
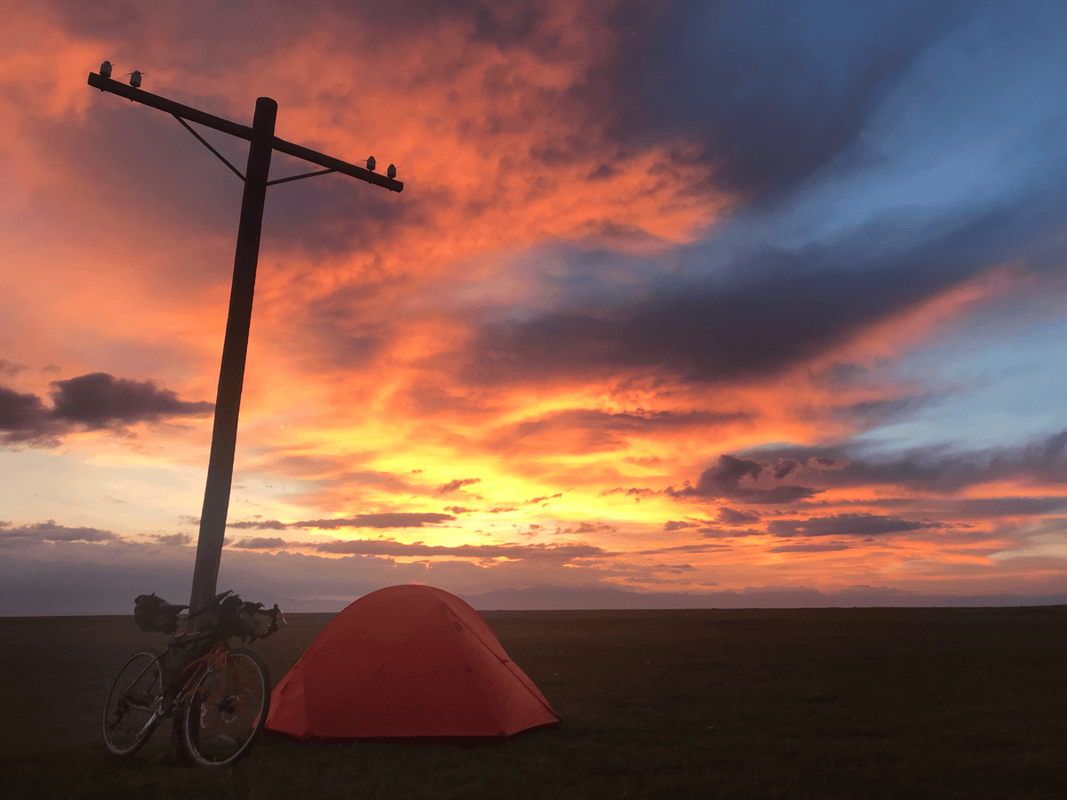
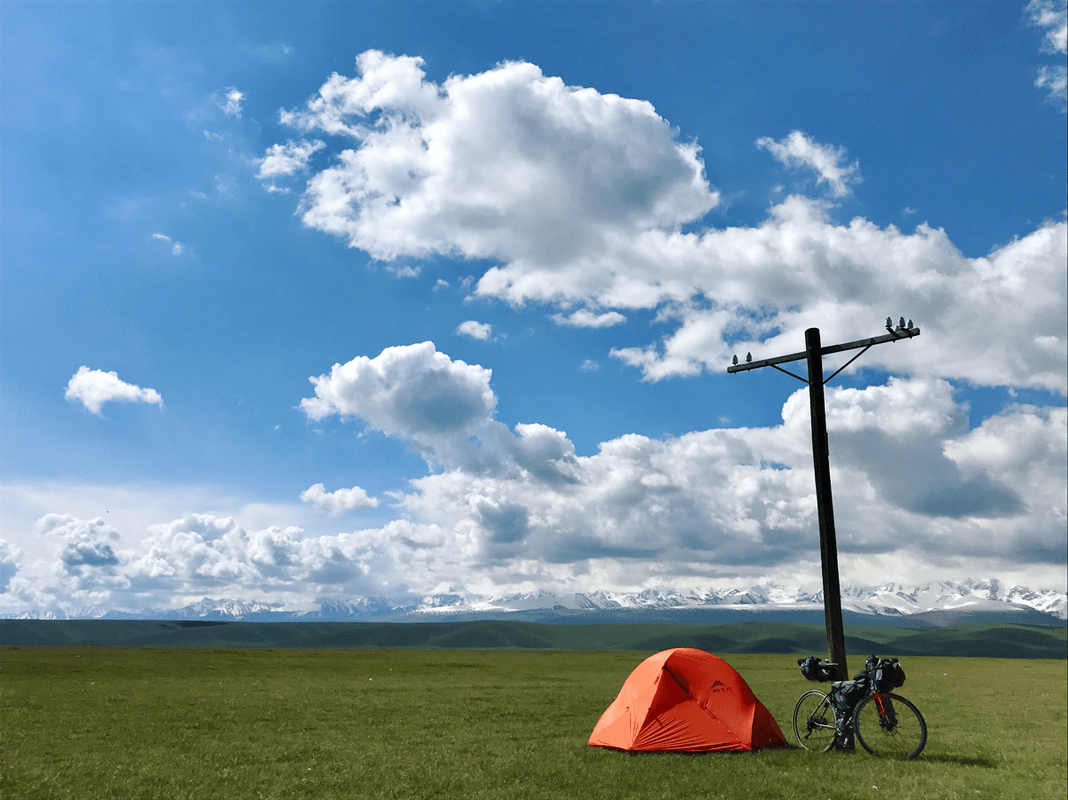
This was mostly flat and an easy recovery day, provided there was no headwind. The immense grasslands, edged by snowy mountains, were unlike anything I had seen in Taiwan. Small shops in the township and at Shankou Bridge offered supplies. Having come all this way to China’s second-largest grassland, I recommend staying longer. I spent four nights here.
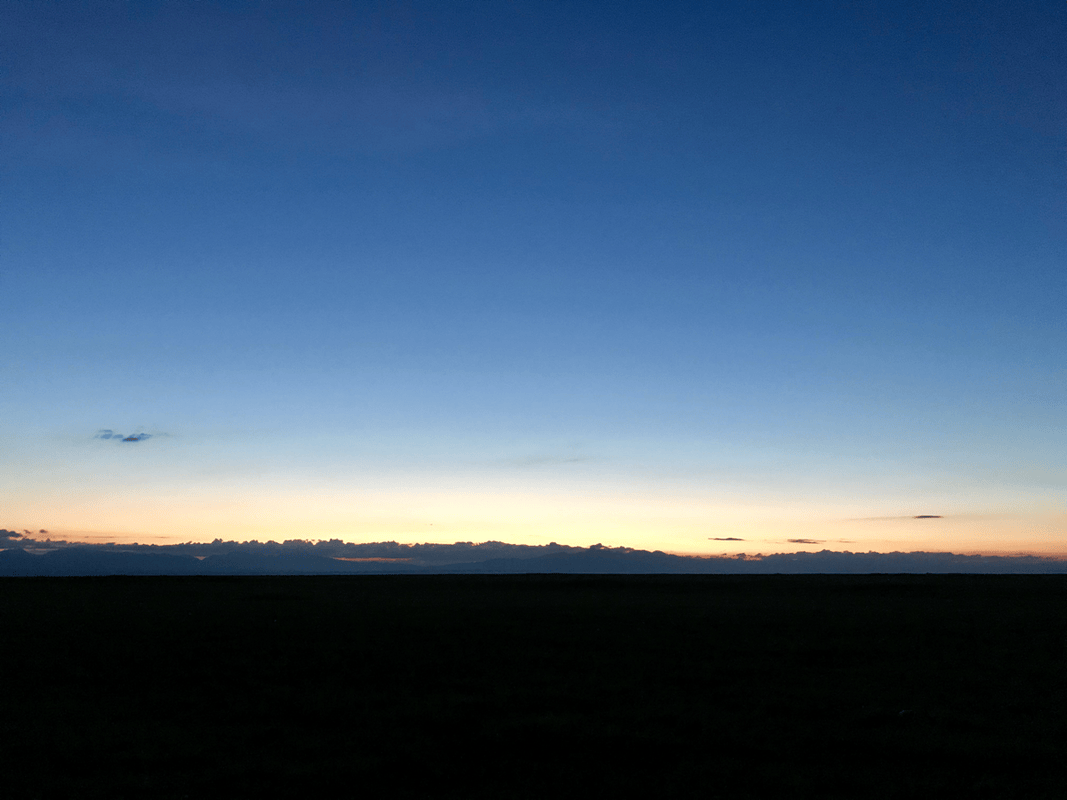
I favored places within a kilometer or two of the township or bridge, so help would be closer if needed. Beyond the bridge, herders also offered overnight stays in felt yurts. The prices I heard were around RMB 300 per yurt. A solo rider could ask about pitching a tent instead; I thought it might be possible to negotiate below RMB 50. Otherwise, the original account suggested finding another camping spot. Be careful around the sheepdogs here: I found them aggressive.
Day 6
Route: Shankou Bridge (K896, H2600) → Tielimaiti Tunnel (K931, H3200) → Dalongchi (K952, H2200).
Distance: 56 km. Cumulative: 410 km.
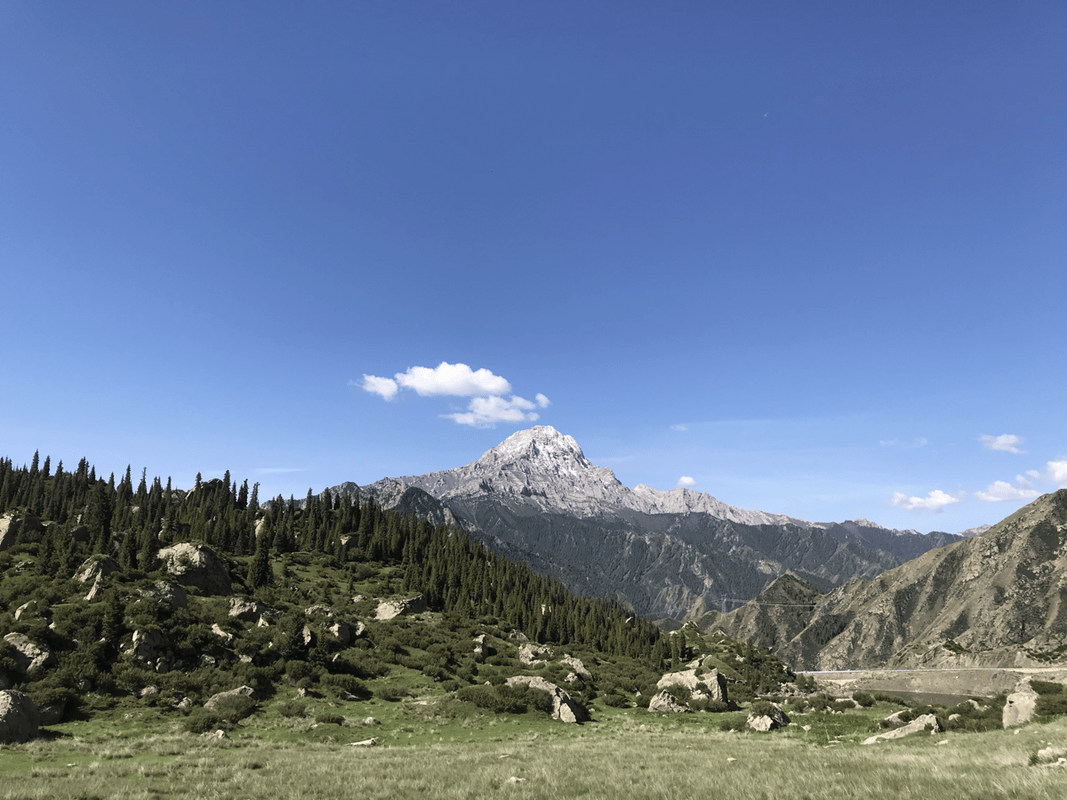
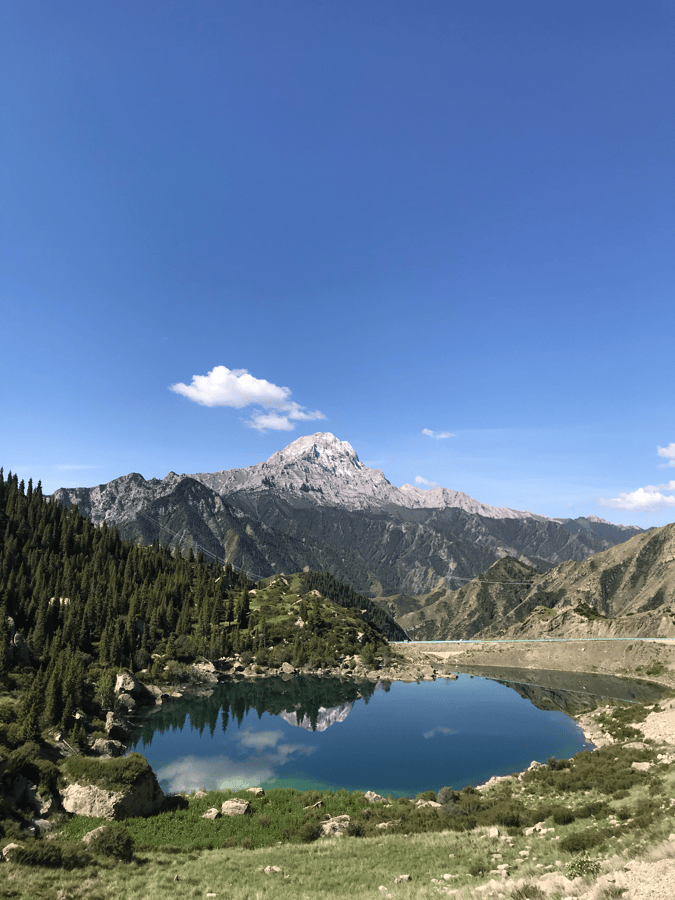
After several days on the grassland, it was time for the final pass. Around 600 meters of climbing over 35 kilometers did not feel too difficult. Beyond Shankou Bridge, grasslands gave way to a river valley and the mountains turned yellow-brown. Crossing the pass through the tunnel marked the transition into southern Xinjiang.
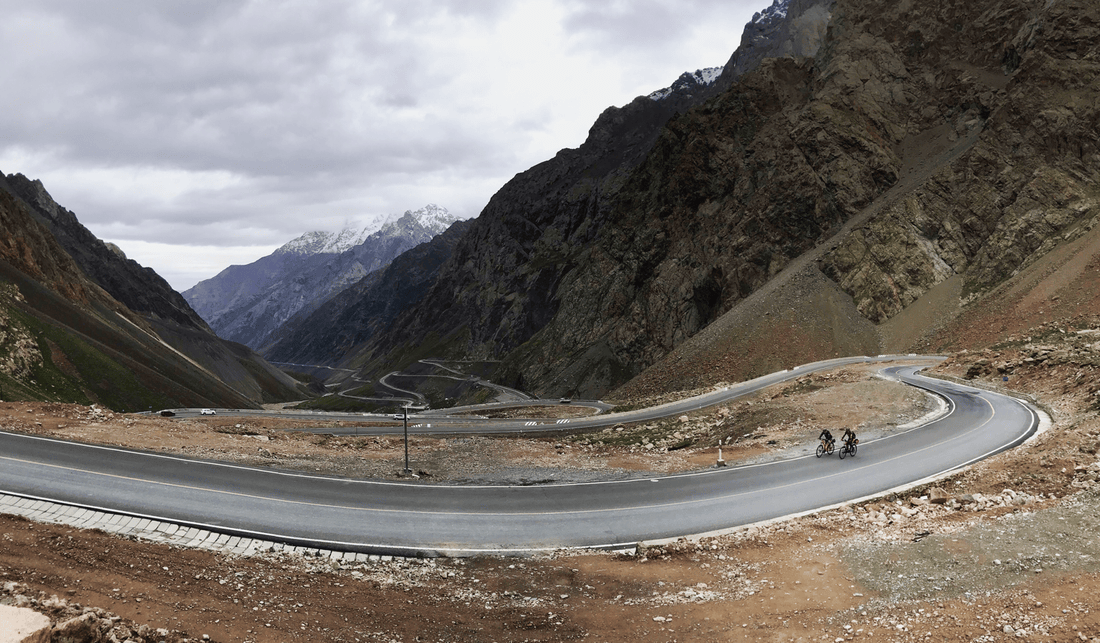
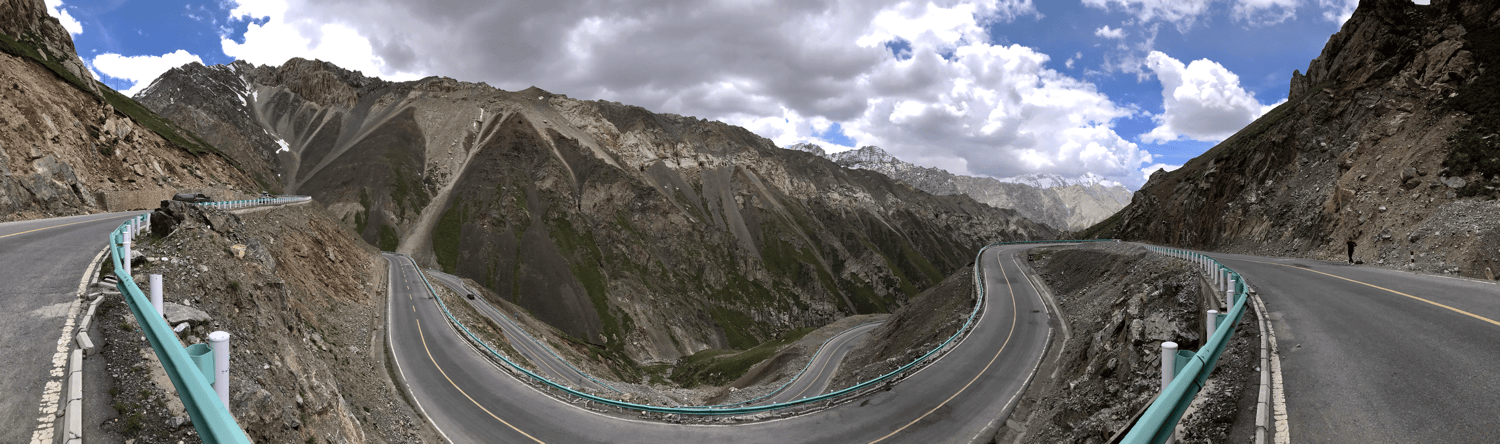
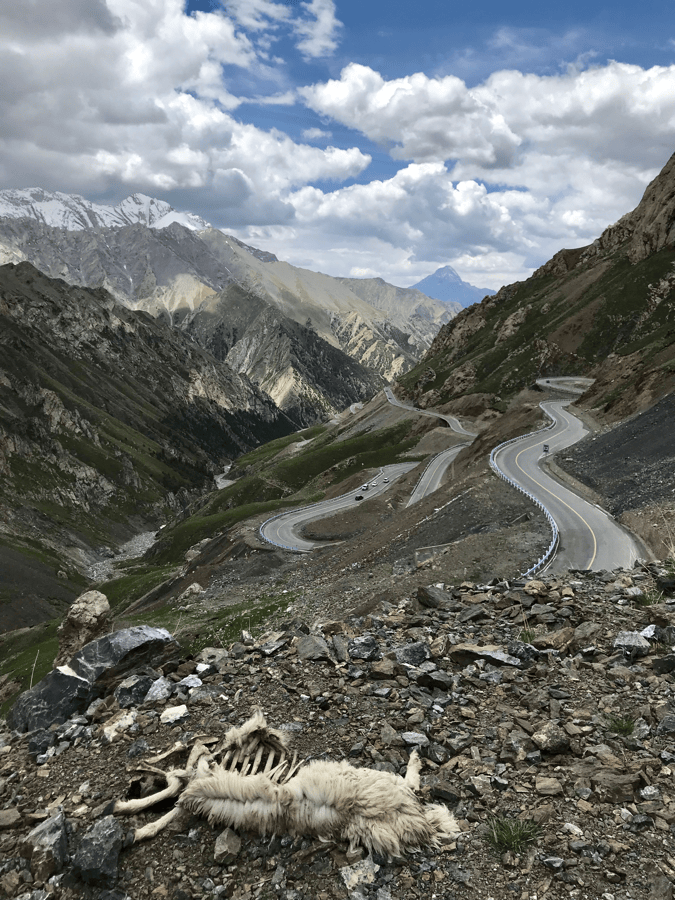
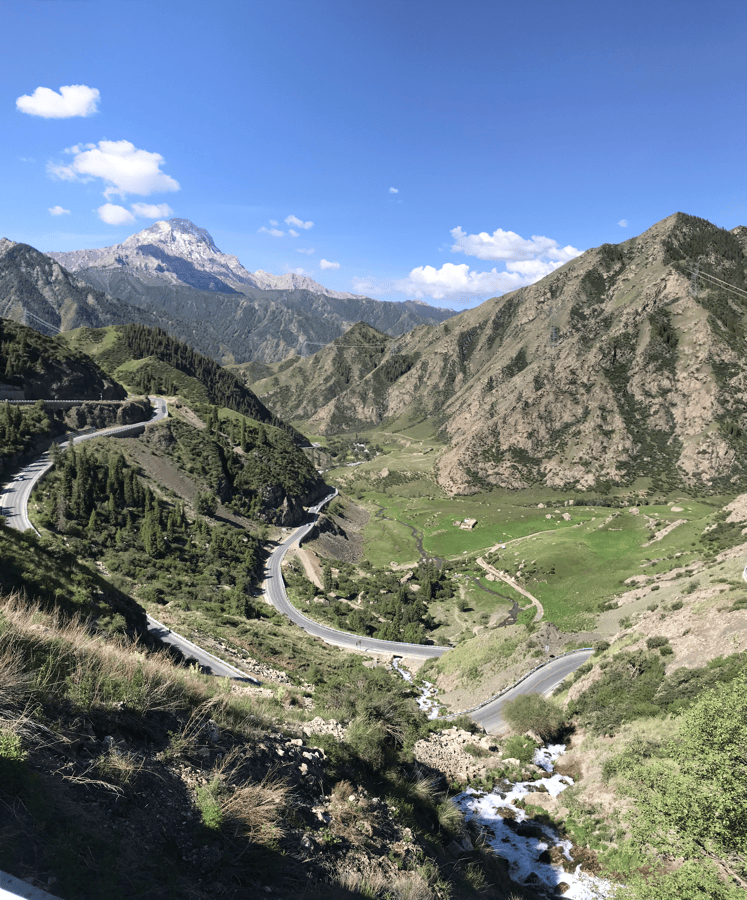
The tunnel was nearly two kilometers long, followed by an 11-kilometer descent with tight bends sometimes compared to the famous switchbacks of the Sichuan–Tibet route. The scenery was beautiful, but ride carefully. Willows filled the valley below. Although it looked inviting for camping, fences on both sides prohibited entry.
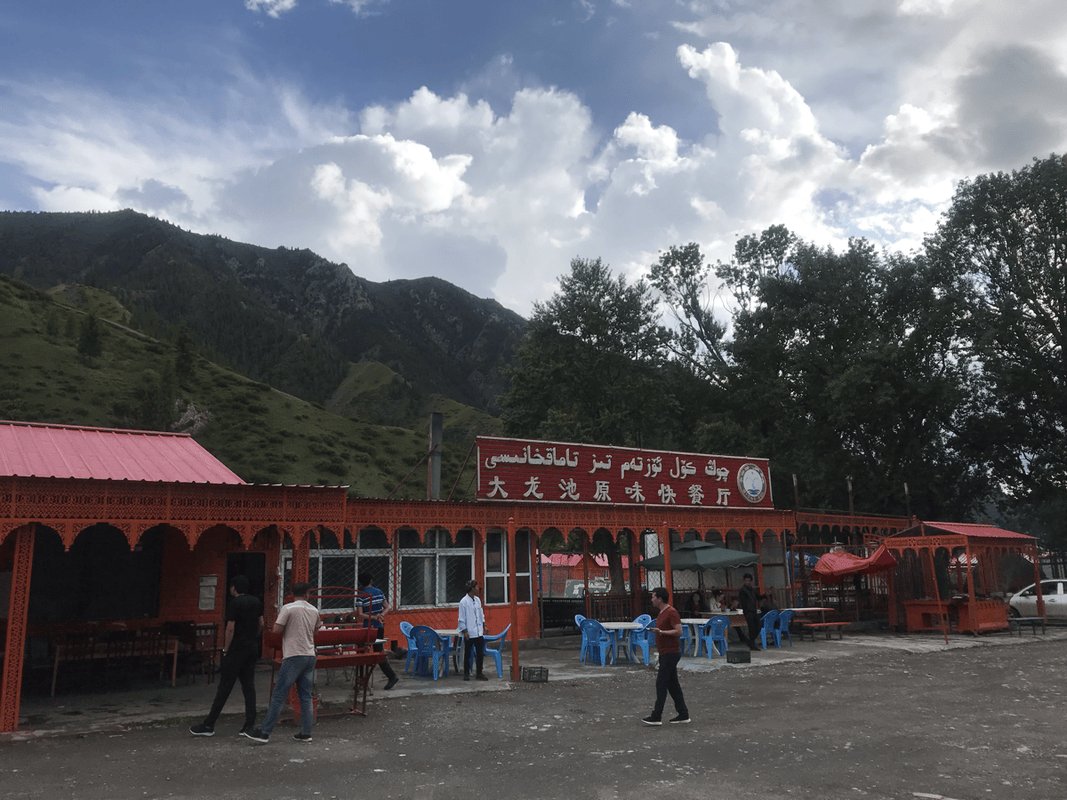
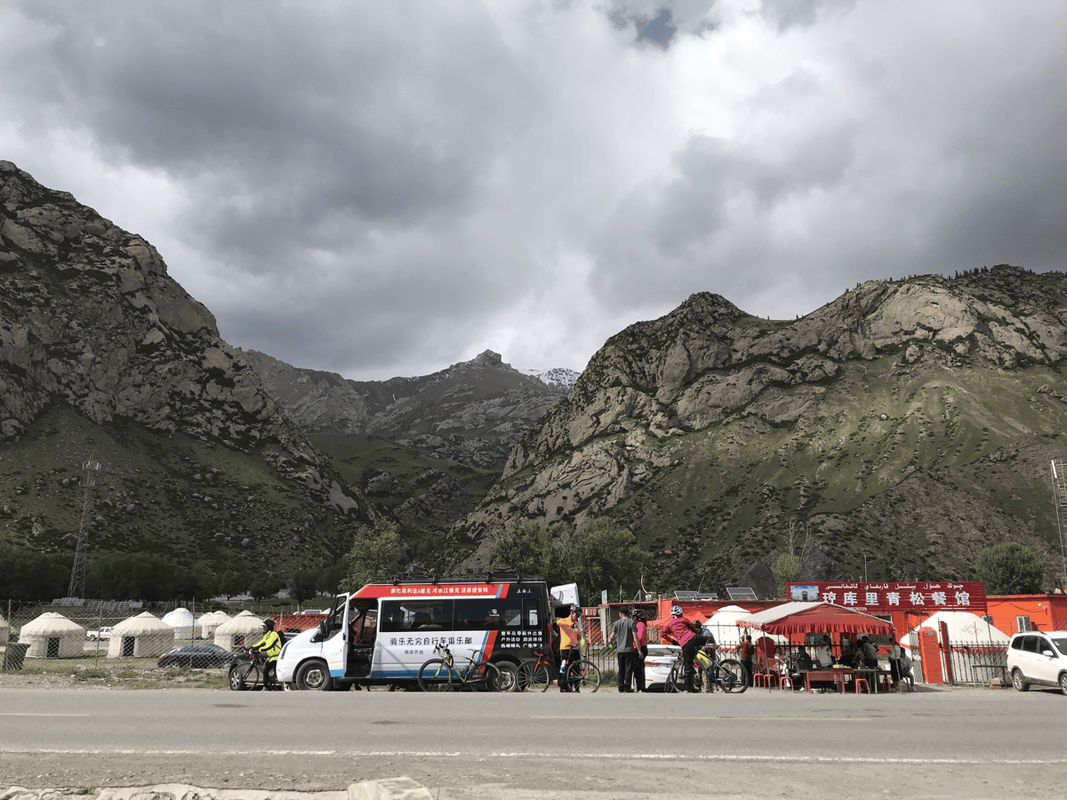
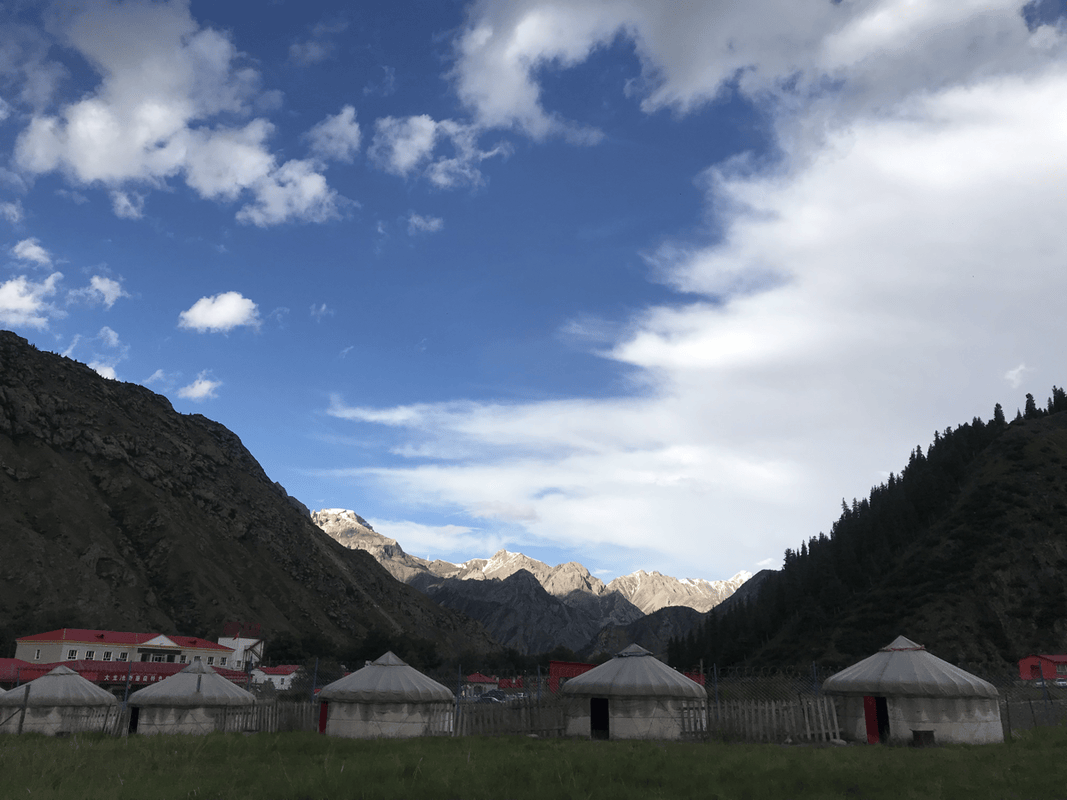
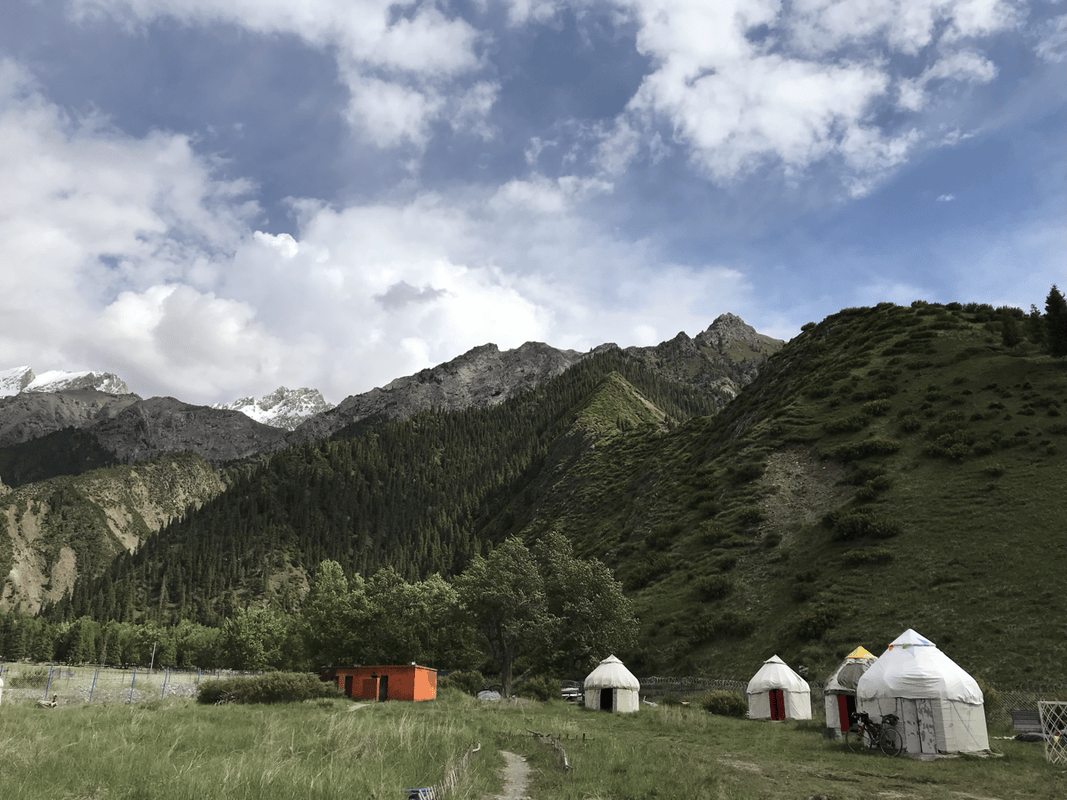
After several remote nights, Dalongchi was a useful place to sleep in a felt yurt and recharge electronics. There were shops, restaurants and many yurts for overnight stays. Compare prices. I checked only two places before finding one at RMB 100 per yurt, with evening charging available in the restaurant, and stayed there.
Day 7
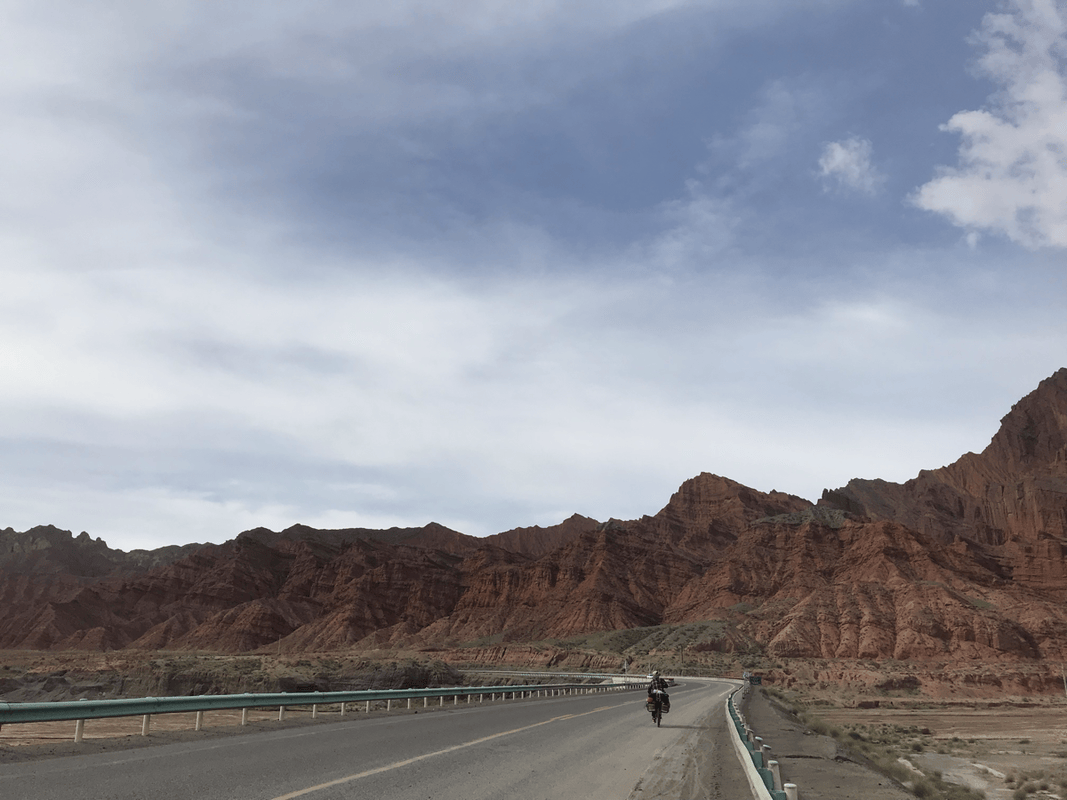
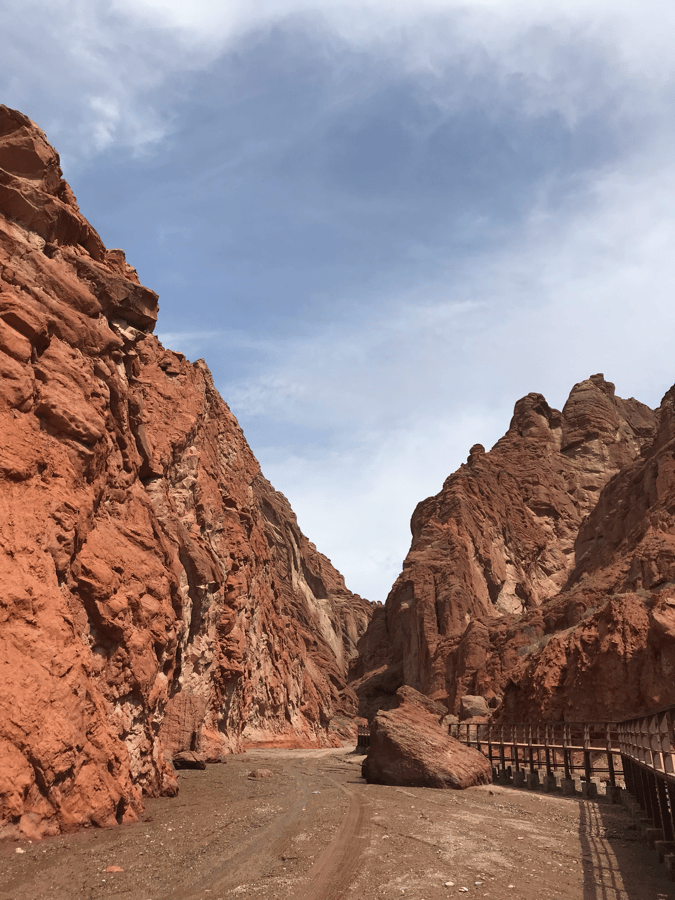
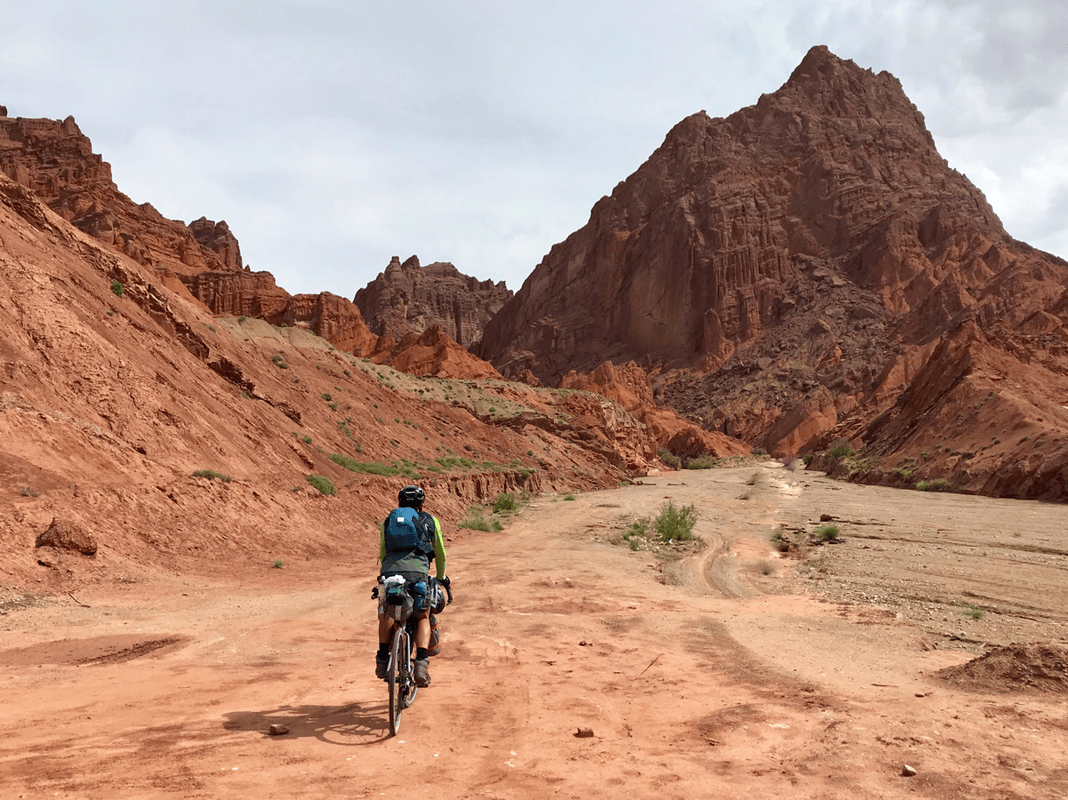
Route: Dalongchi (K952, H2200) → Kuruli (K991, H1800) → the Grand Canyon area (K1025).
Distance: 73 km. Cumulative: 483 km.
With enough energy, it would be possible to continue all the way to Kuqa at K1089, roughly 150 kilometers from Dalongchi. Without major climbing, I felt it was achievable. But if, like me, you are reluctant to leave this landscape, you can spend a night near the Grand Canyon instead.
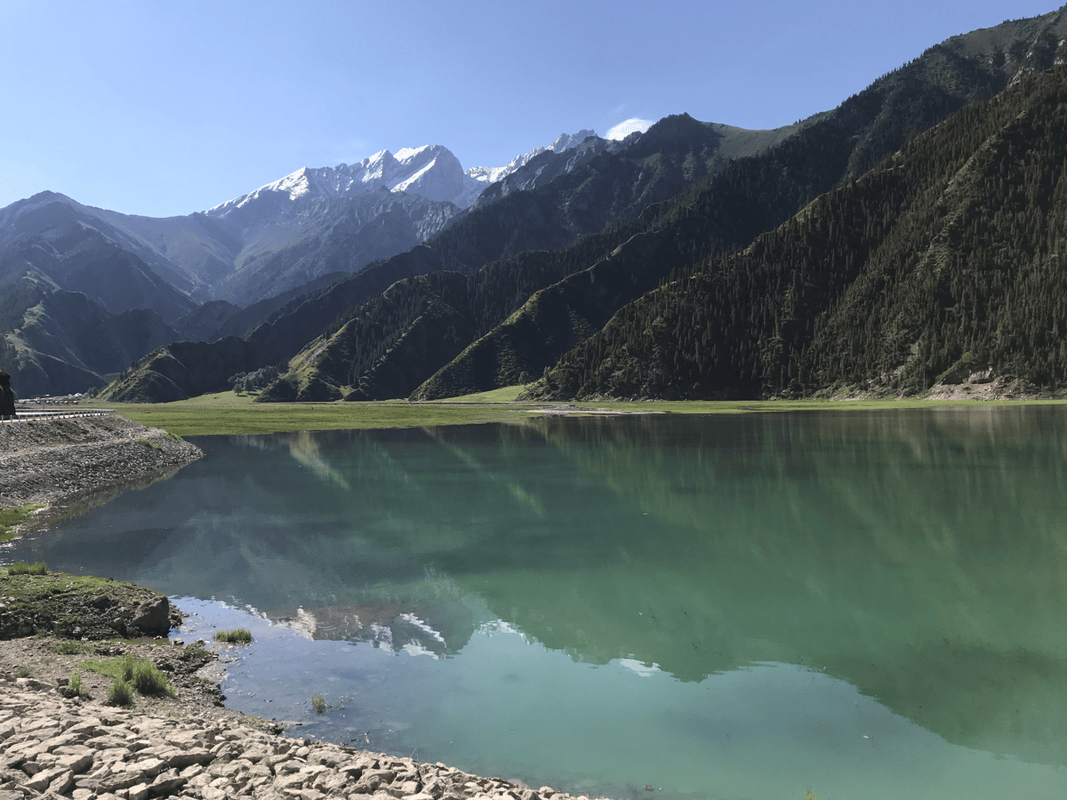
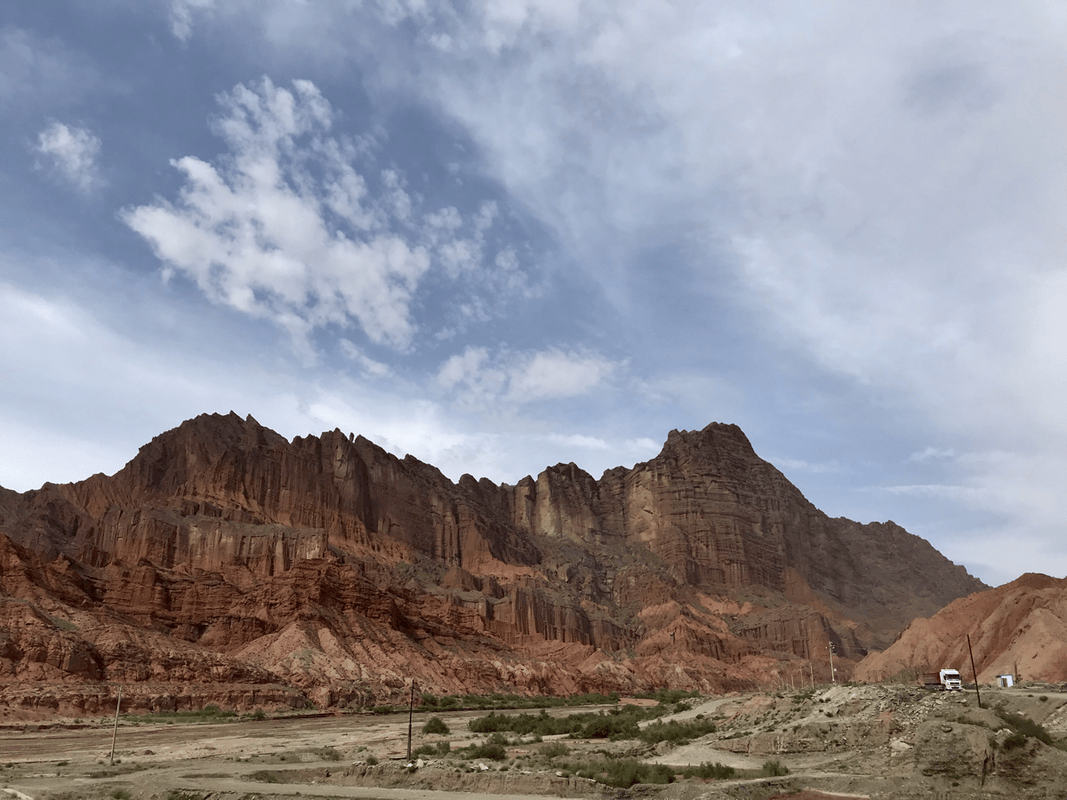
I filled up with water at Dalongchi and enjoyed the lake before a short rise and a series of descents. Xiaolongchi appeared first. Smaller than Dalongchi, it had a quiet elegance that appealed to me even more. Following the river valley, the snowy peaks disappeared and the mountains became increasingly bare, entering the terrain described as karst in the original account. Abandoned buildings and open ground looked promising for camping, but access was prohibited.
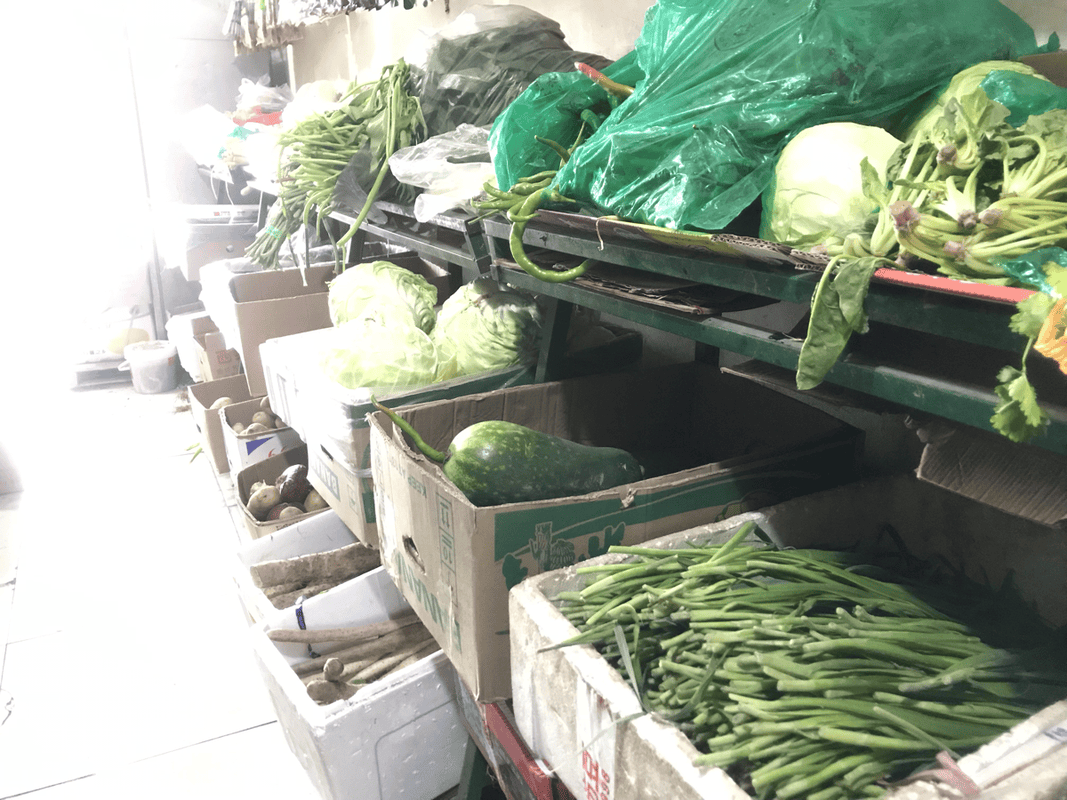
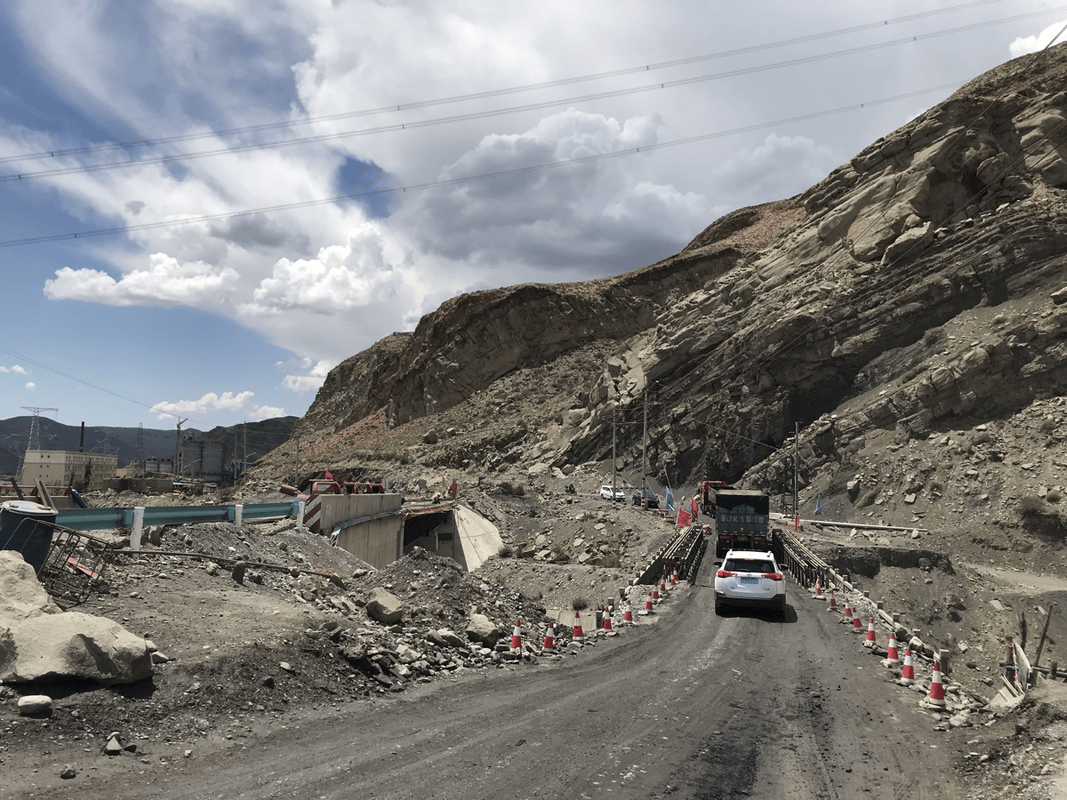
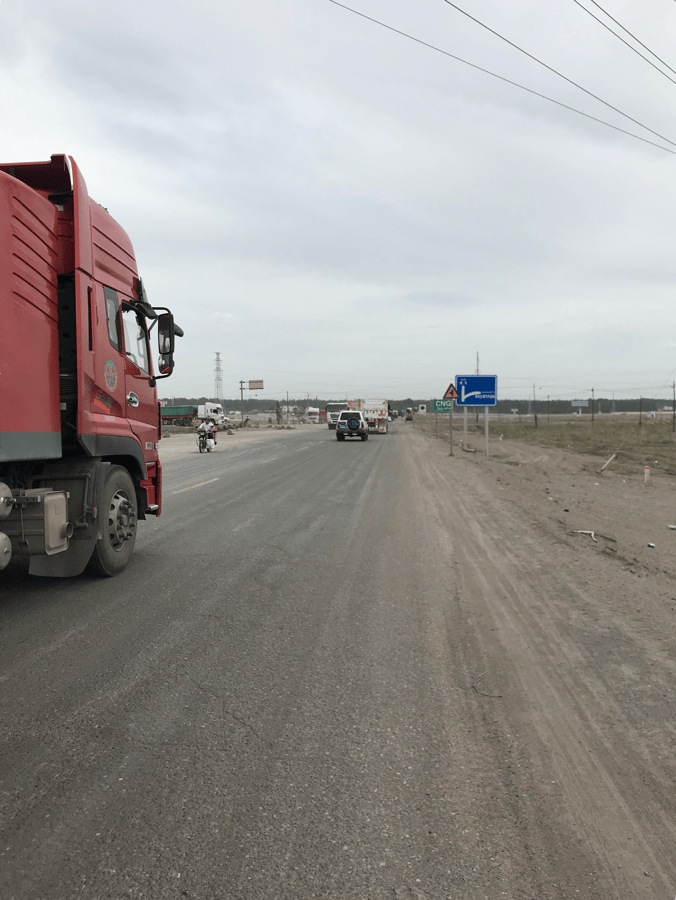
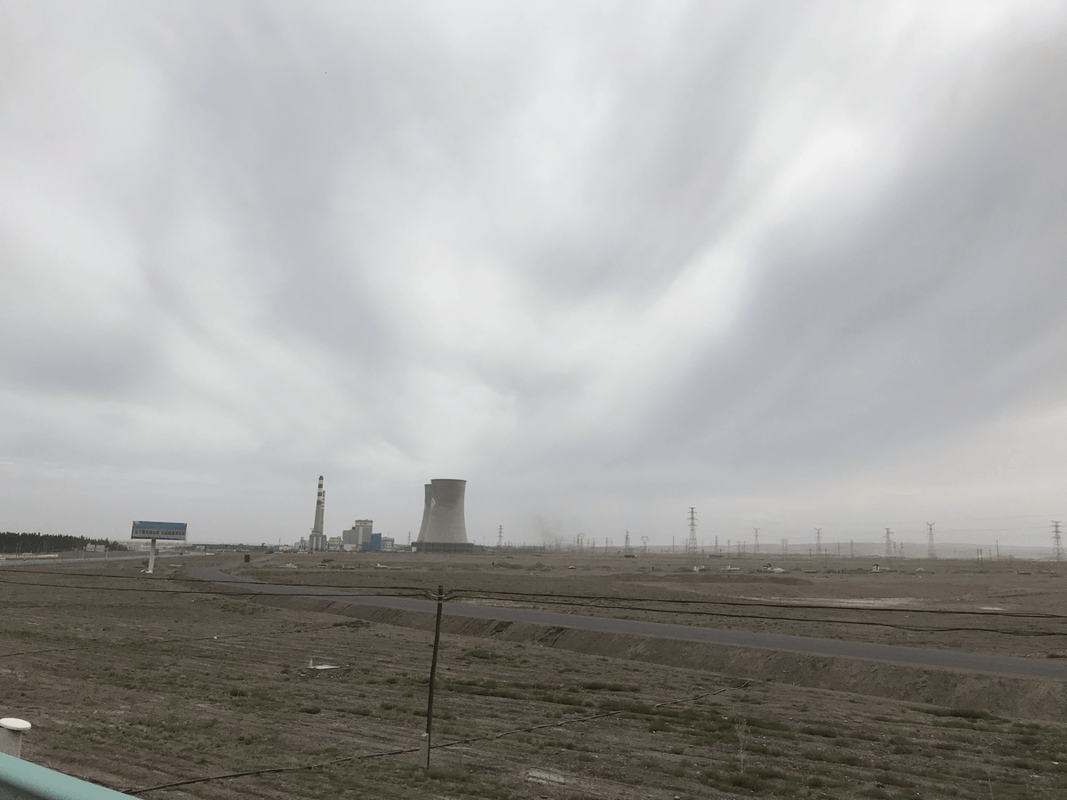
Kuruli was the location of the Kuqa coal mine operated by Henan Mining. Heavy trucks became common from here, bringing an abrupt return to reality, and some road sections were rough. Restaurants and small shops offered food and supplies. There was little to buy near the canyon, so anyone planning to stay there needed to get water and dinner in Kuruli.
I noticed open ground shortly before the Grand Canyon that looked possible for camping. The main attraction charged admission, which I chose not to pay. About a kilometer farther on, an abandoned canyon attraction on the right did not charge when I visited. I thought it looked suitable for camping too.
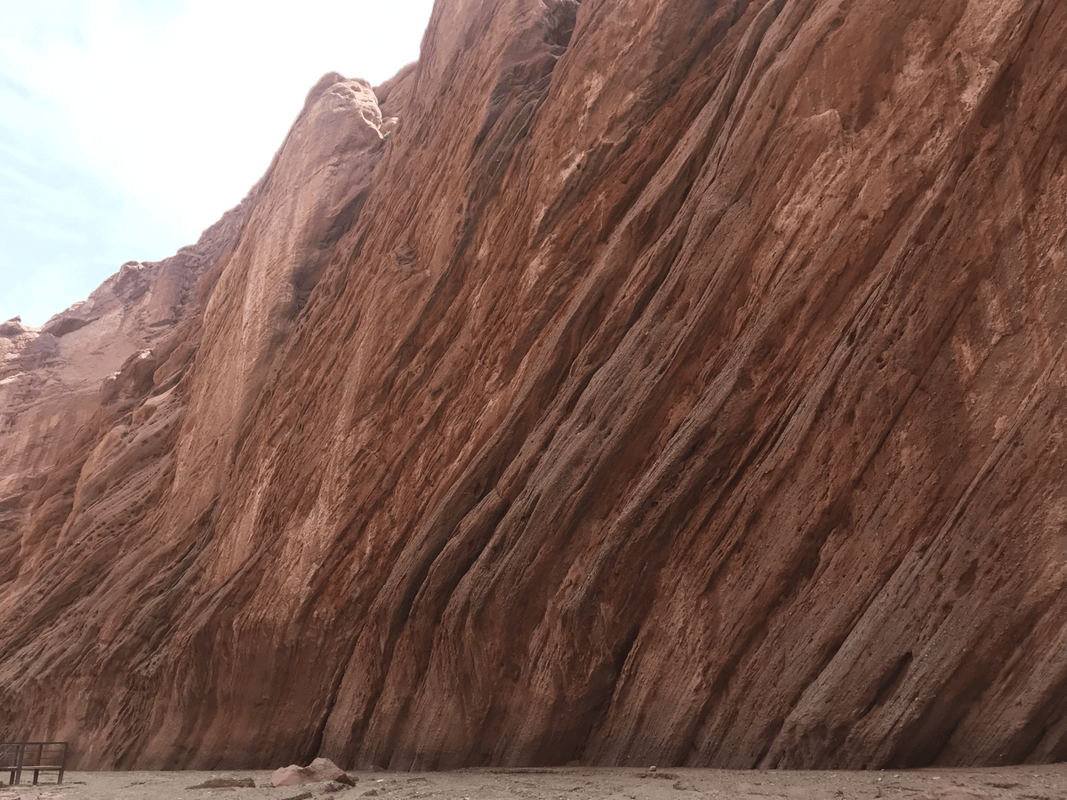
Day 8
Route: Grand Canyon (K1025) → Kuqa (K1089 + 15, H1050).
Distance: 79 km. Cumulative: 562 km.
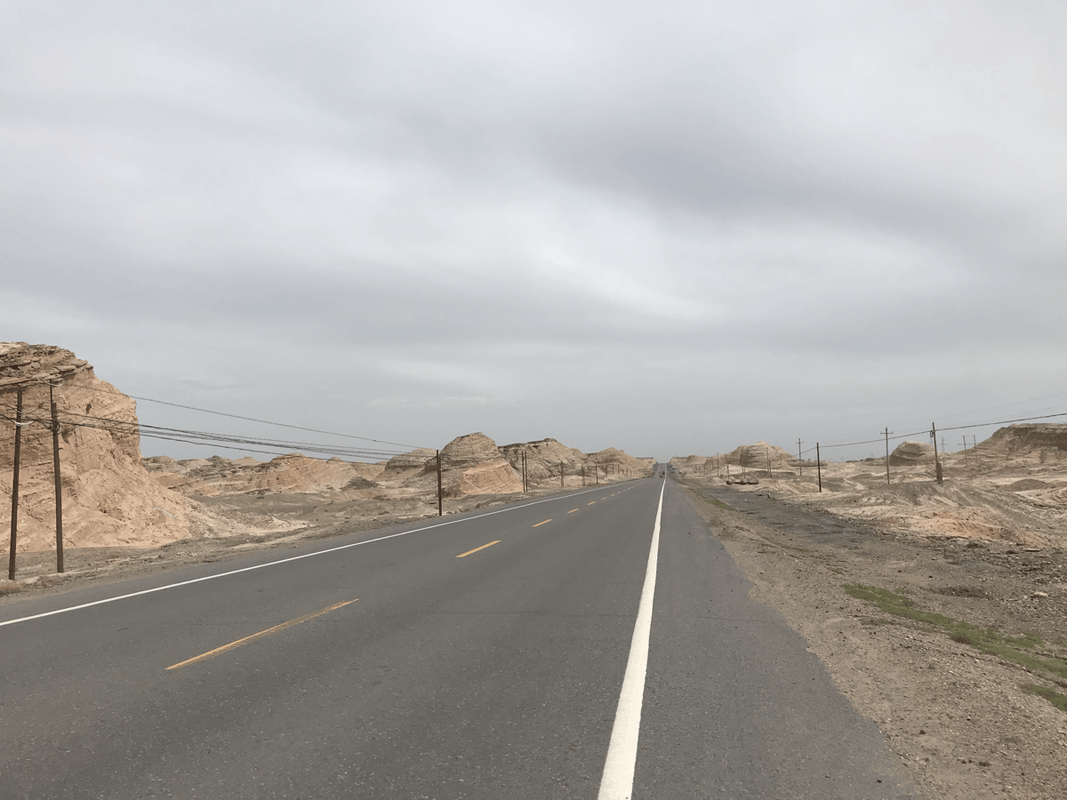
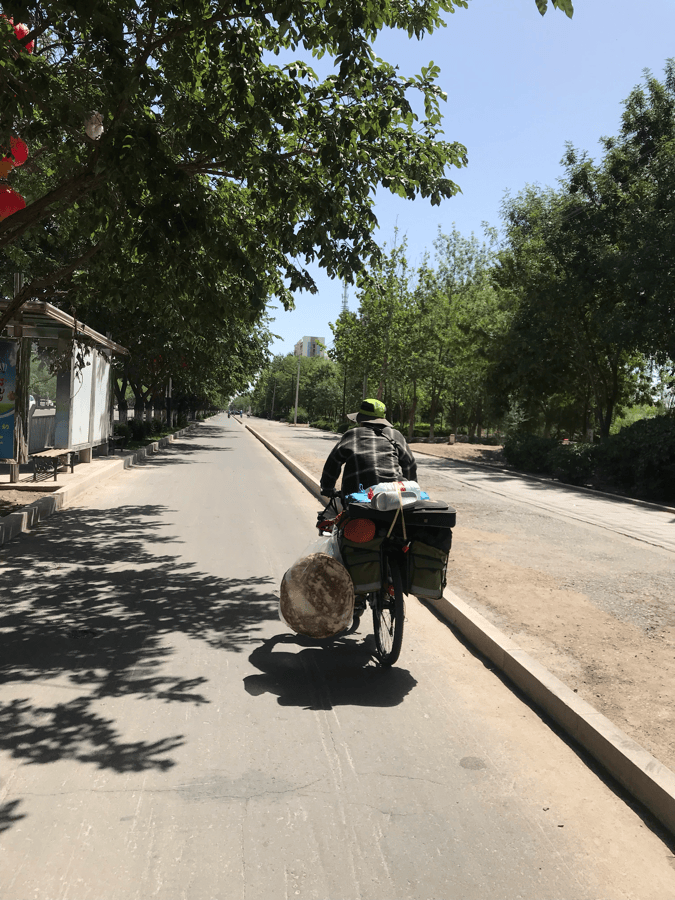
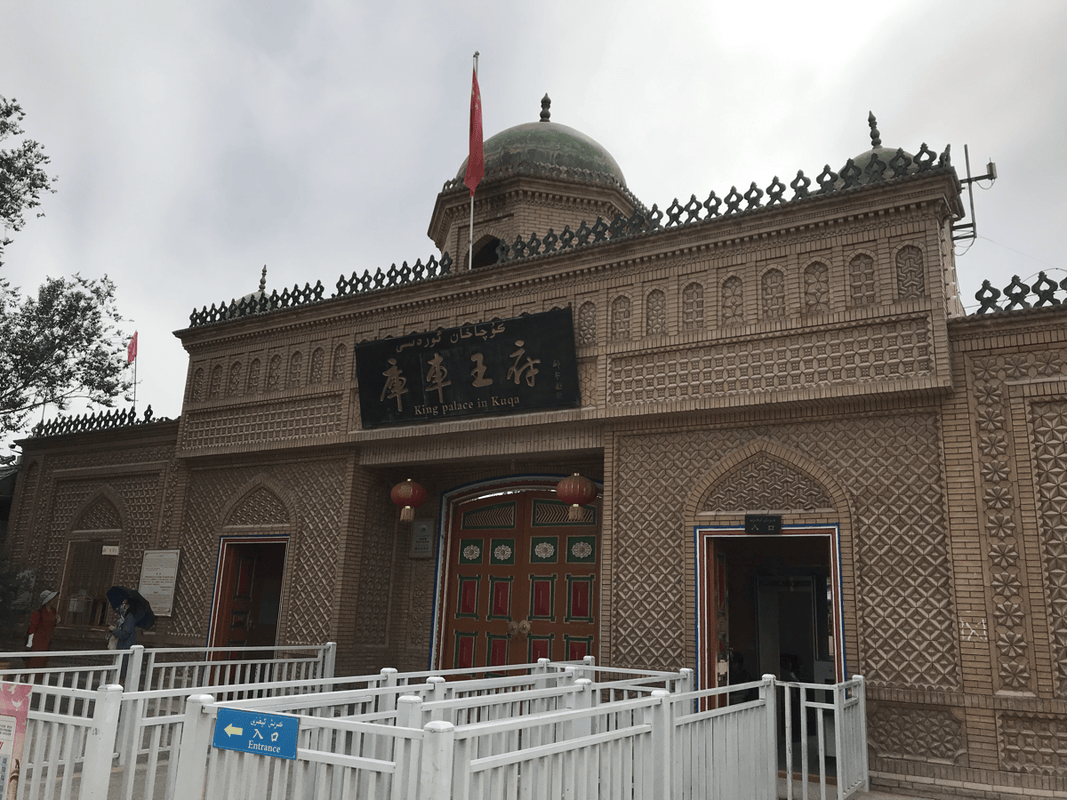
There was not much to say about this final section: the snow mountains were gone, the city drew closer, and traffic, gravel and dust increased. I had considered sightseeing in Kuqa, but my companion talked me out of it, saying that many city attractions felt manufactured and were not worth it. I rode straight into town for a shower at the hotel.
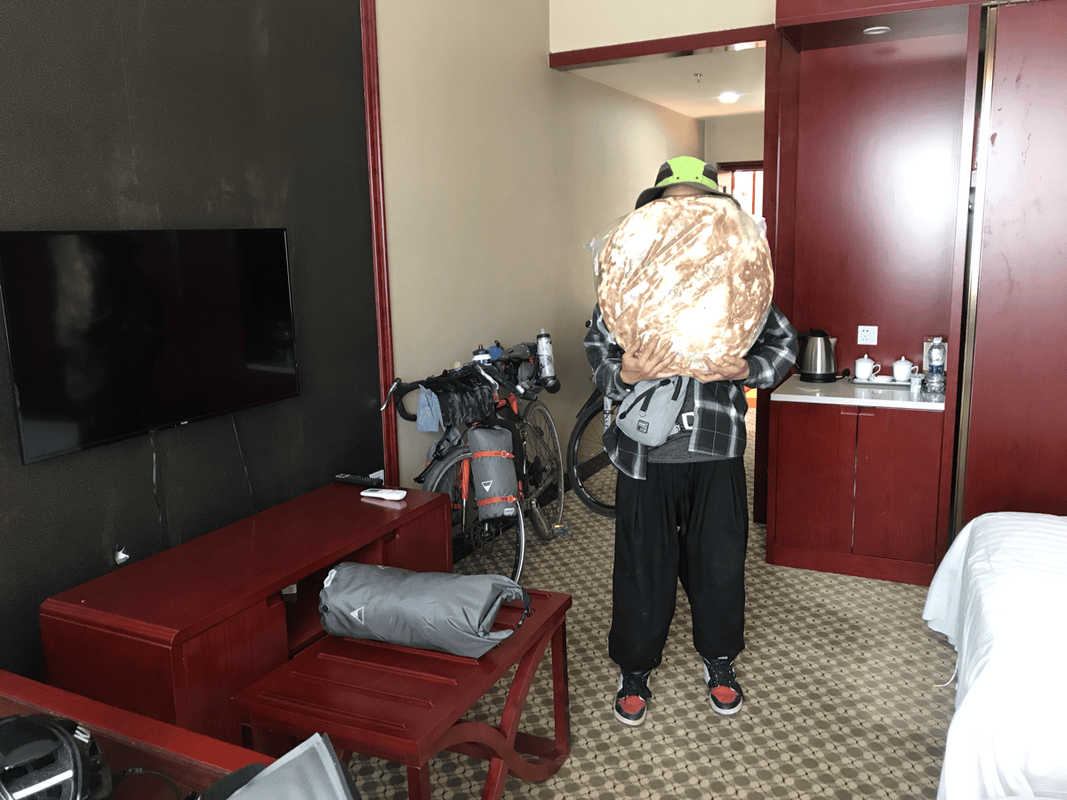
My companion arrived later after buying Kuqa naan. He said it was the biggest in Xinjiang, and the enormous bread was almost as large as our wheels. At the time, I understood Kuqa Hotel to be the only property there able to accommodate travelers in my category. Local booking apps offered better rates.
Returning from Kuqa to Urumqi
I had originally intended to continue onto the desert highway, simply to see the desert. But Duku had been so beautiful that I wanted to leave the trip’s memories there. Something at home also needed my attention, so I decided to return directly to Urumqi.
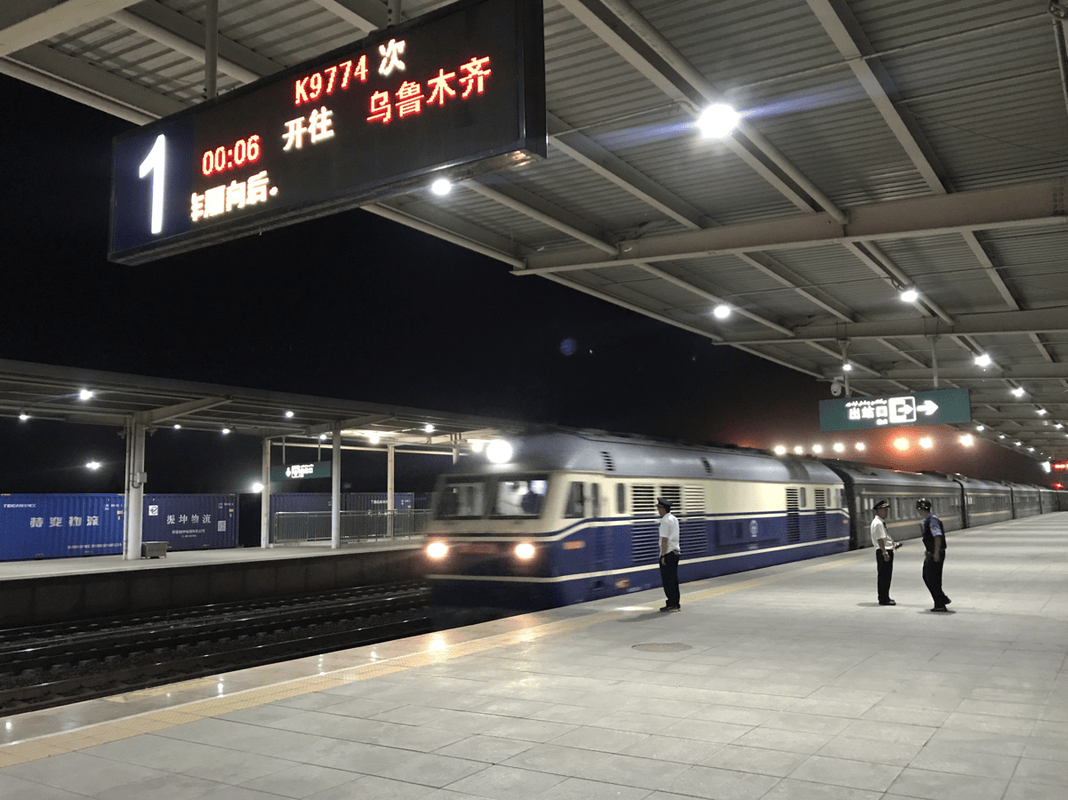
Although I had learned about bicycle rail freight earlier, Kuqa station did not have a freight point for my bike. I used ZTO Express instead, paying about RMB 200. Staff found a box, packed the bike and even drove me to the station, which I appreciated. Unfortunately, my rear quick-release skewer was bent in transit.
In Urumqi, the local depot did not have a vehicle large enough to deliver the bike to my hostel, so I collected it myself. Unable to find a taxi there, I rebuilt the bike at the depot and rode back. It was a bit of an ordeal.
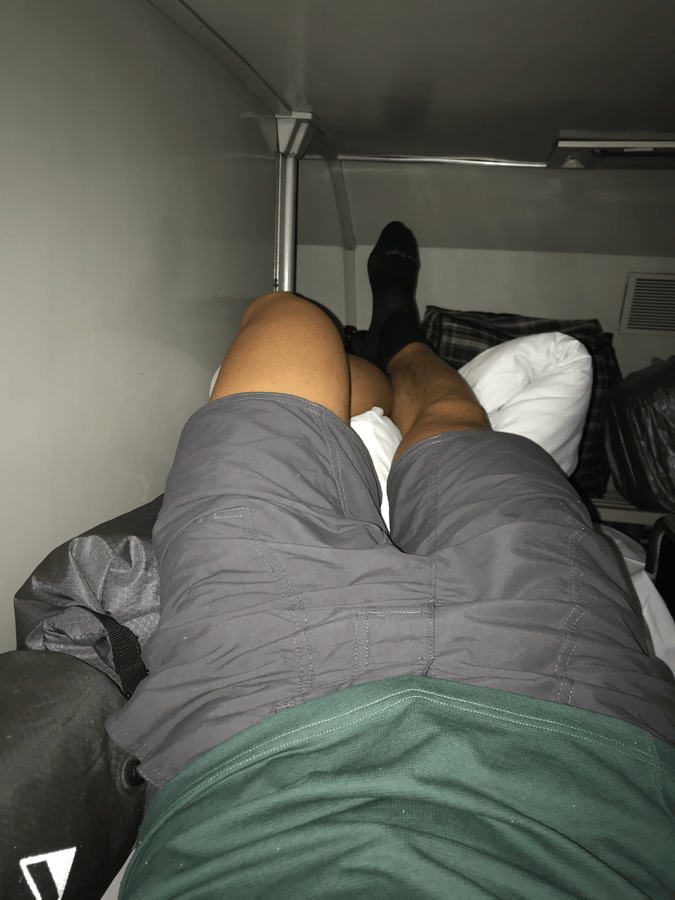
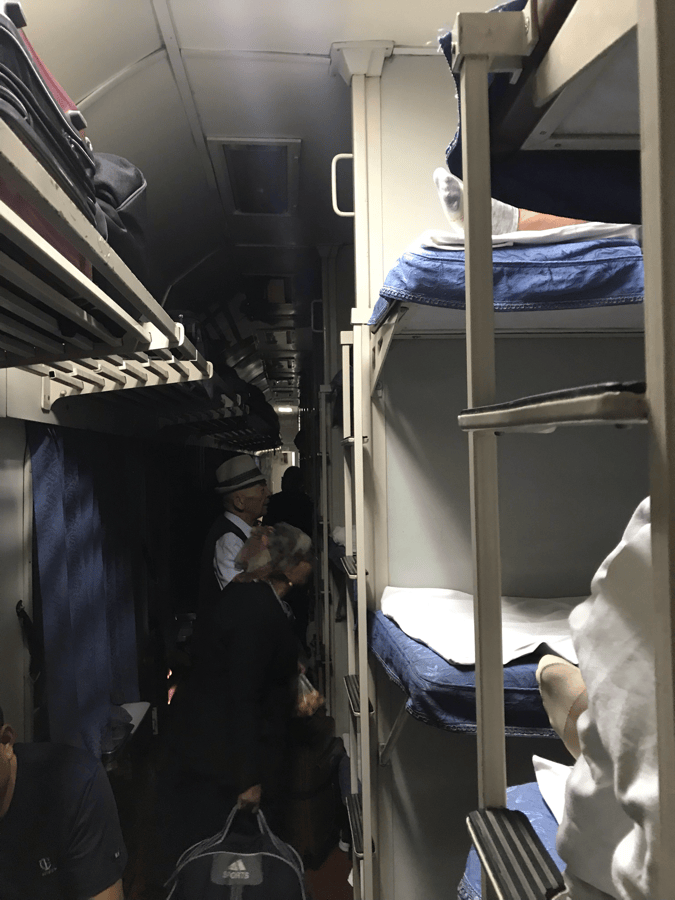
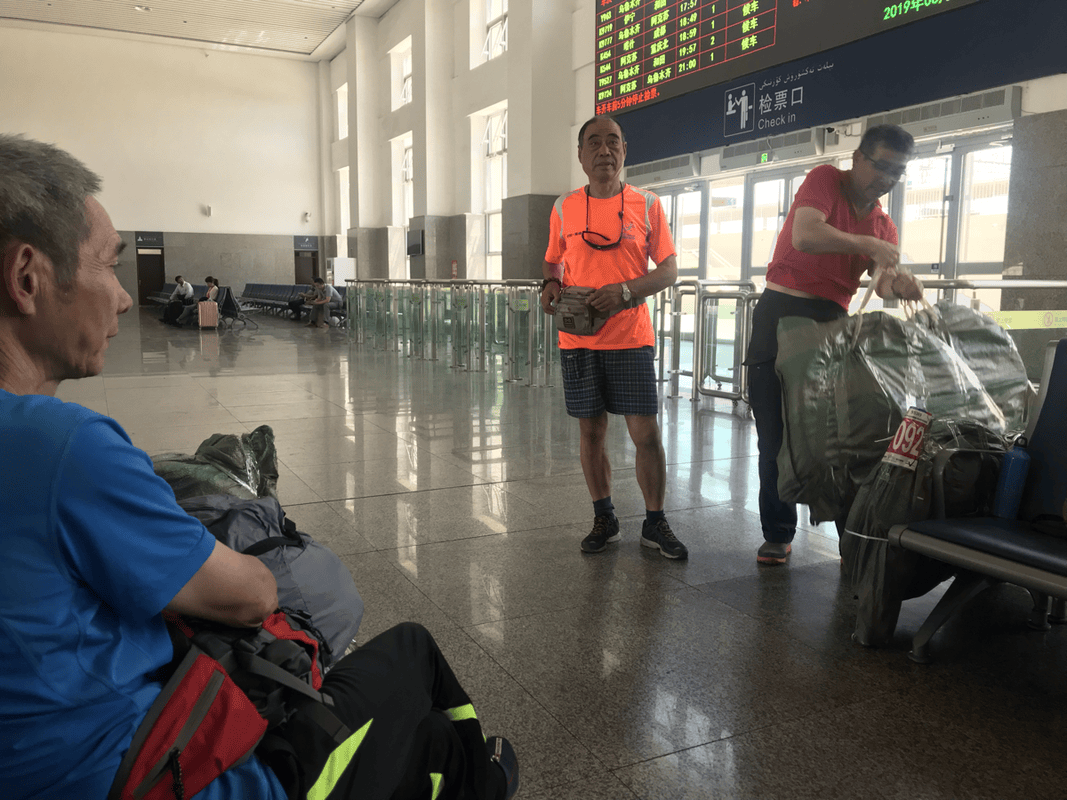
Although I understood that bicycles were not permitted directly aboard passenger trains, I saw mainland cyclists wrap theirs in woven sacks and board without staff stopping them. On the long-distance sleeper train, they stored bikes under the lowest bunks. My six-berth compartment was cramped; based on what I saw, a four-berth compartment would have offered more room. This observation should not be taken as confirmation of a transport policy.
I carried my luggage on my back at the station. The shoulder straps on the newer WOHO bags made this much easier than juggling several heavy bags by hand.
For the flight home, staying again near Ziyoulv Youth Hostel made it easy to ask a nearby bike shop for a cardboard box, pack the bike at the hostel and take a taxi to the airport. The taxis I encountered used meters, and I felt comfortable taking them.
Final Thoughts
A rather adventurous cycling friend recommended the Duku Highway after my plan to visit Kyrgyzstan fell through. Riding it turned out to be an unexpected highlight. Mountains, grasslands, valleys and streams were all part of the journey. Every day brought scenery that made me want to linger, and every day I wanted to ride more slowly. This is a road worth savoring.
Because I had limited information beforehand, I missed a few places. Uncertainty on the road sometimes made me hurry, and I wish I had planned more carefully. I hope this account helps future riders make better plans and enjoy the road more deeply.
Bikepacking diary: Facebook
Instagram: @andersonmao1203
For the original Chinese article and photo galleries, visit Bikepacking diary: Duku Highway Guide.